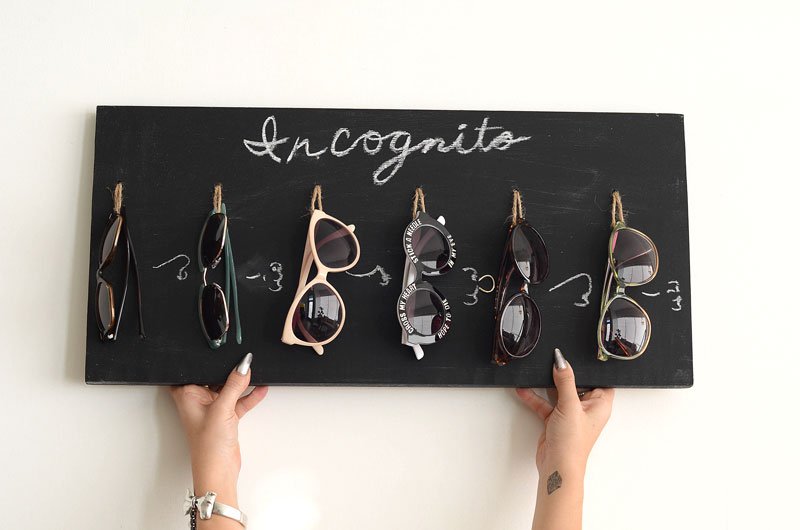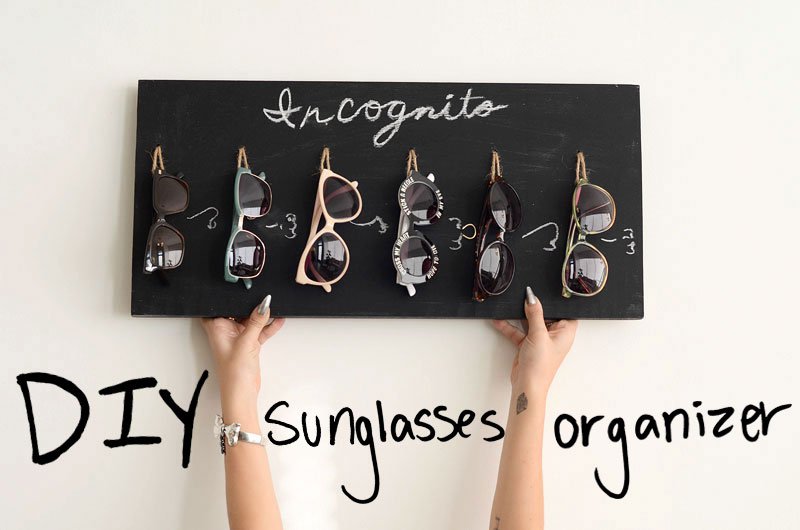
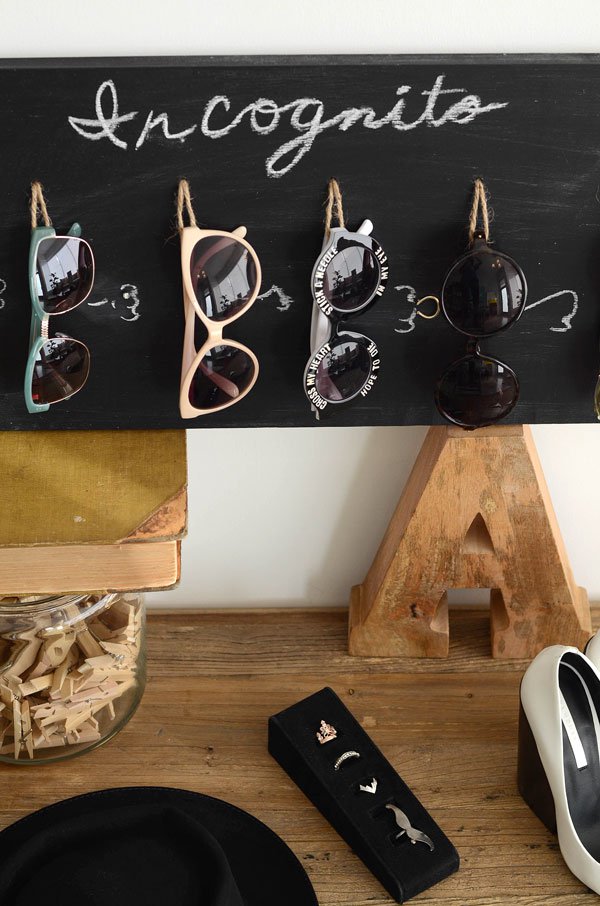
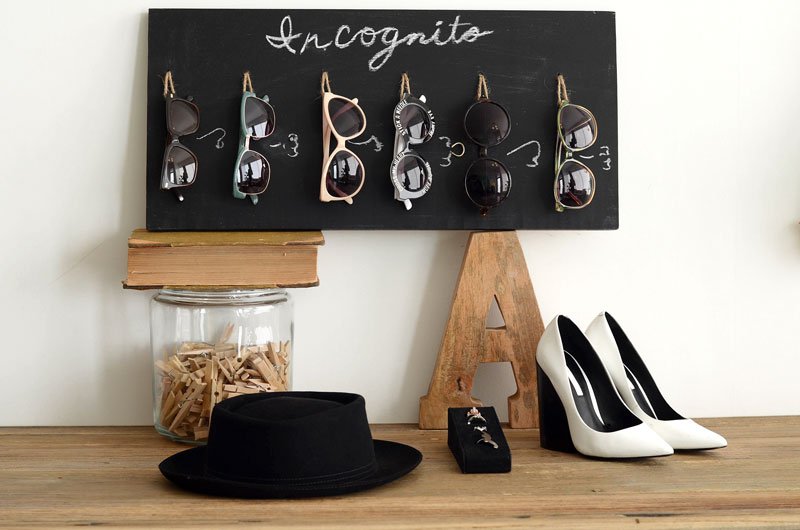
A DIY project to give your sunglasses or glasses a nose to sit on forevermore. Style this project in a vanity area, bedroom, or entranceway!
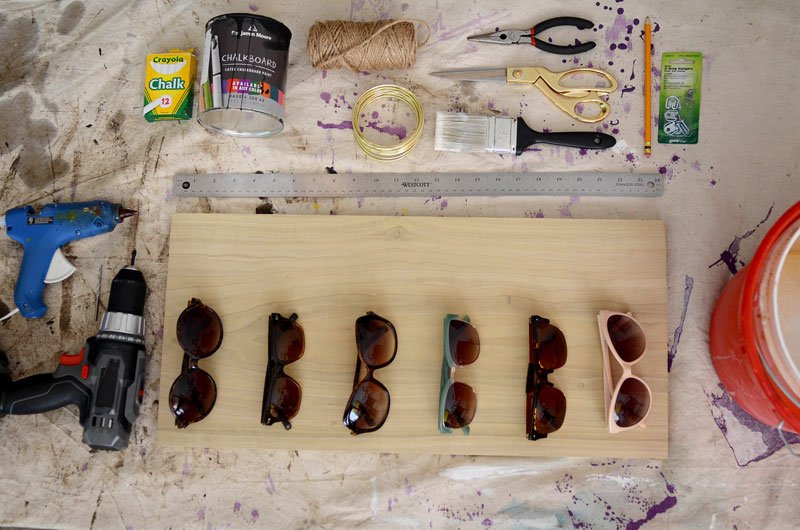
Prep It:
- wooden board
- hot glue gun
- drill and a drill bit larger than your twine
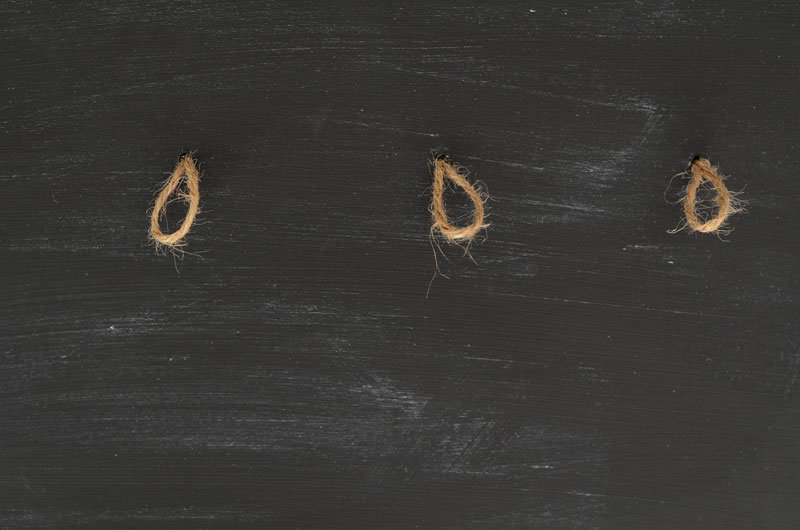
- twine
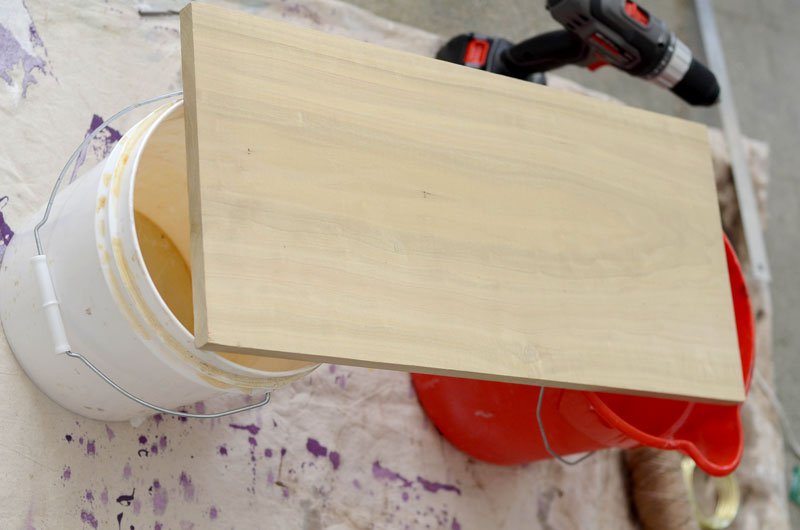
- work horse (or buckets in our case!)
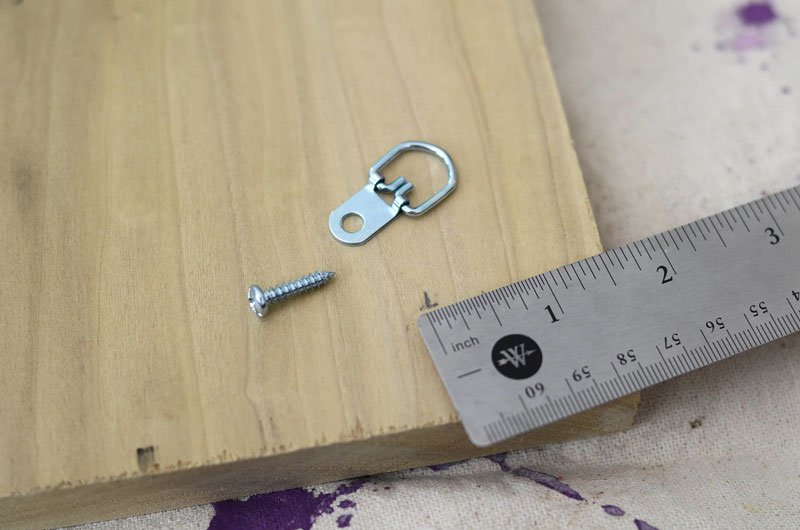
- ruler
- pencil
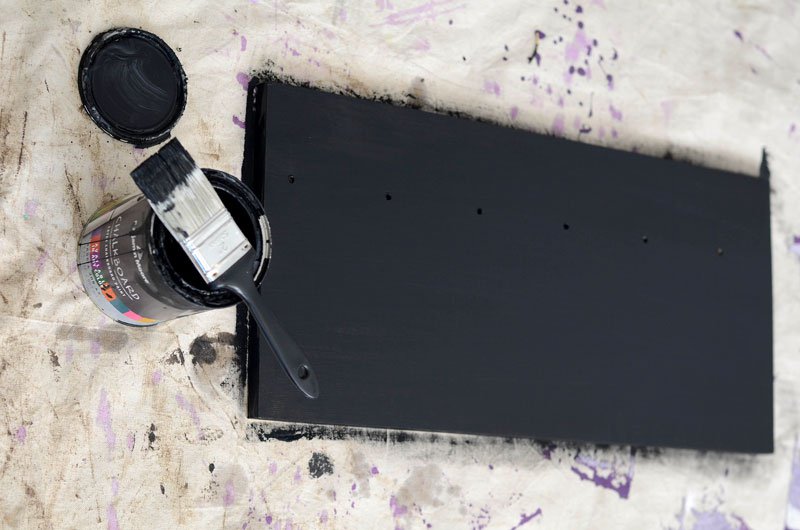
- chalkboard paint
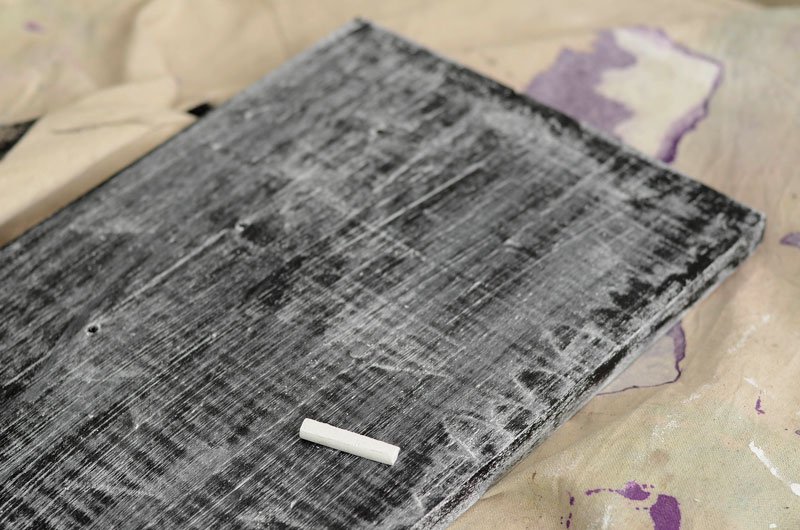
- chalk
- paint brush
- scissors
- a rhinestone
- wire
- wire cutters/pliers
- drop cloth
- D-ring picture hangers


Do It!:
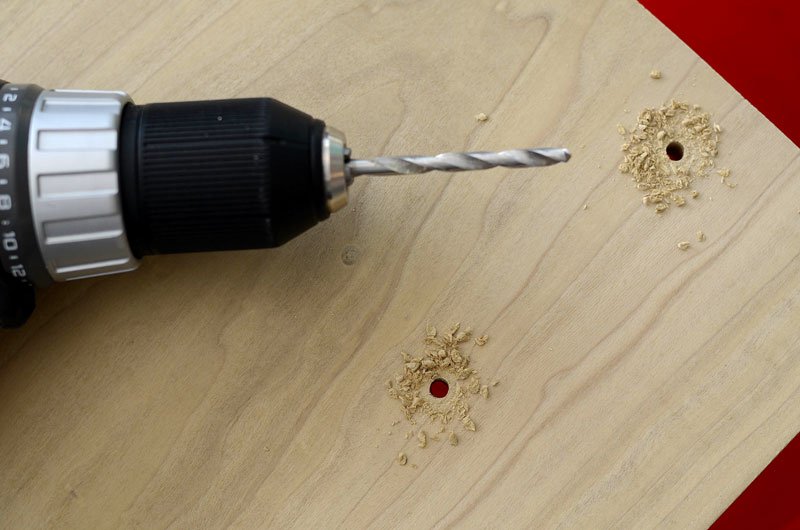
- Using your ruler and pencil, mark evenly spaced dots on the wood board where you will drill and thread the twine. (Note where the sunglasses will sit. I started my marks closer to the left side to leave room for my final nose on the right side with 4 inches between each mark.)
- Prop your board up and drill your holes - I used two buckets
- On the back evenly measure out where you want to screw in both of the D-ring picture hangers, about 1 1/2 inches down and in from the top corners should do the trick
- Screw in the D-ring picture hangers. (If you want to prop up your organizer instead of hanging up you can disregard step 3 & 4.)
- Apply two coats of the chalkboard paint onto the board and let dry between coats.
- Season the board by rubbing chalk evenly over the completely dried chalkboard paint. (This will allow you to erase the chalk completely without ghosting chalk marks.) Erase!
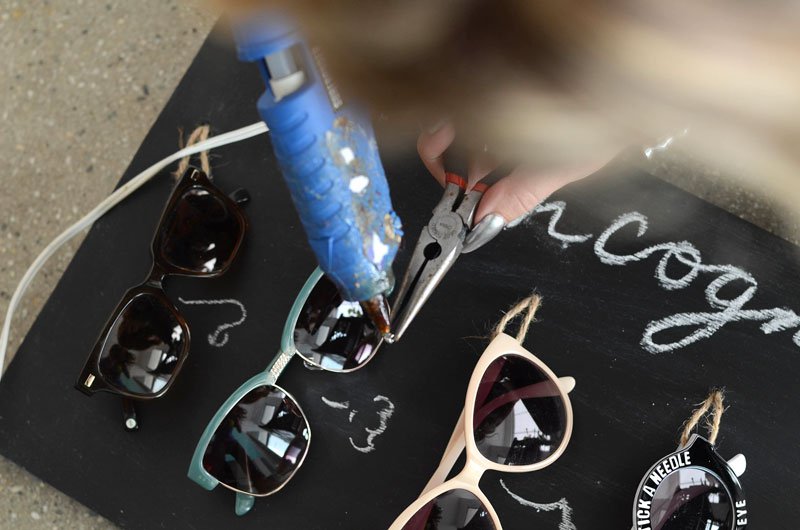
- Loop the twine through the drilled holes and tie in the back of the board.
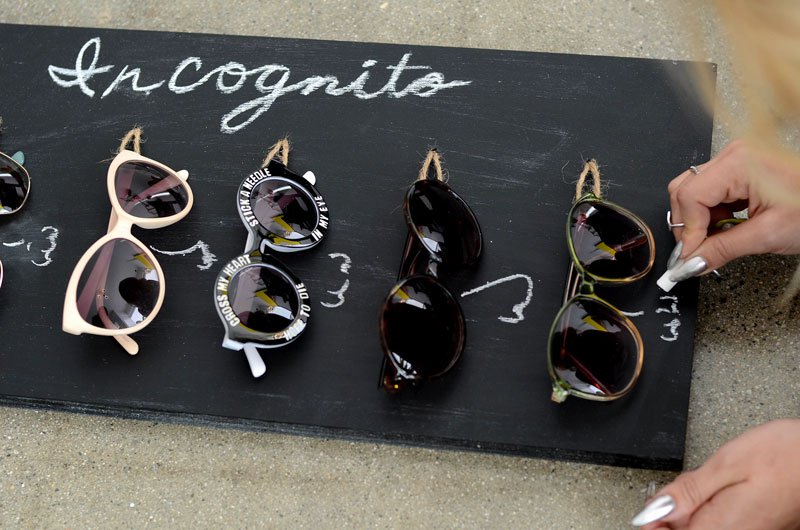
- Label your board as you like with chalk - I wrote "Incognito" because that's how I feel when I wear big sunglasses.
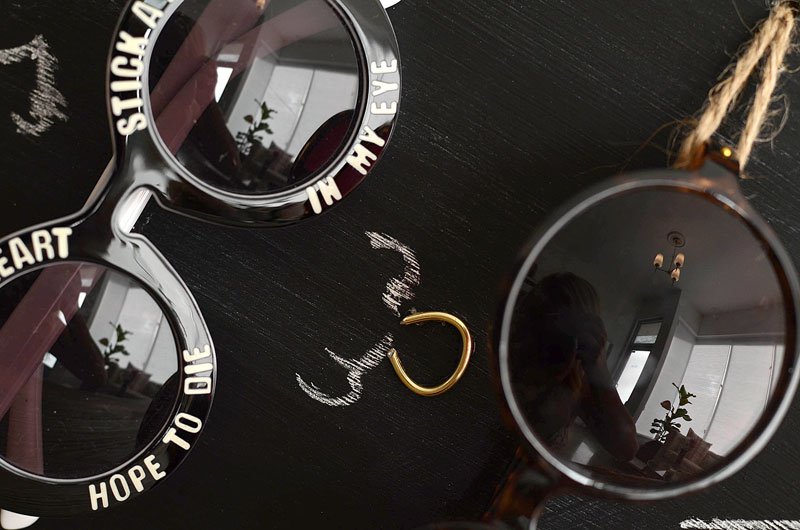
- Draw on your noses! Have fun with it and give your noses some diversity. :)
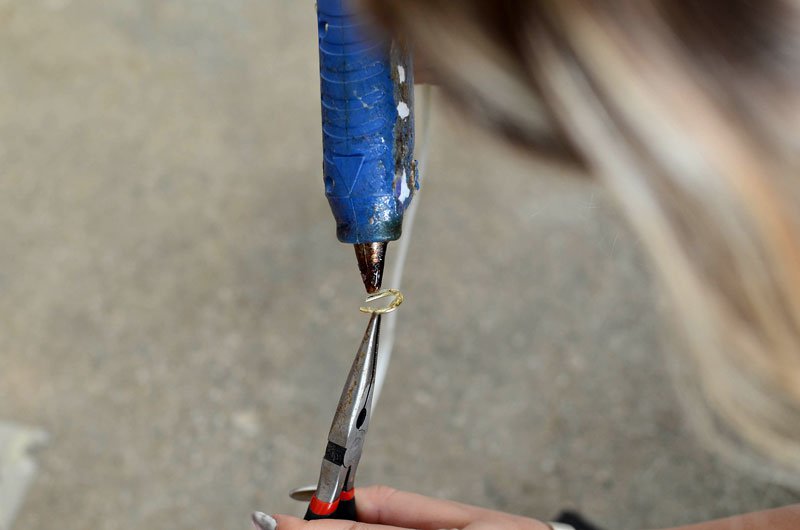
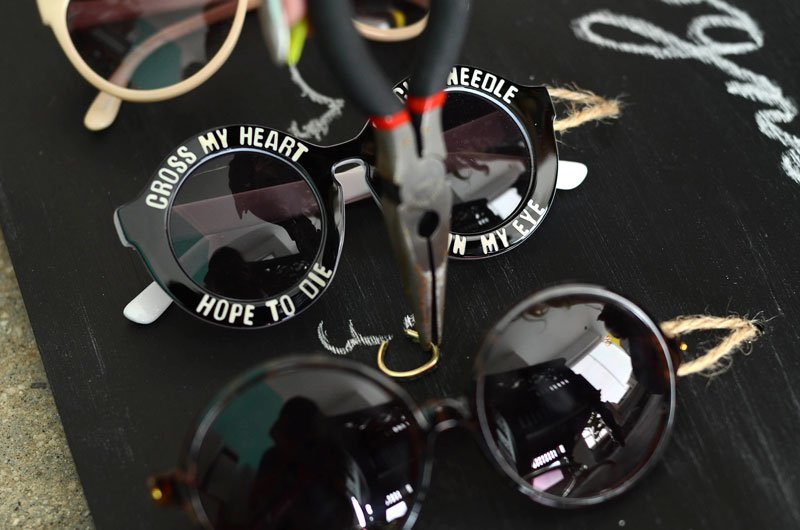
- Optional: Hot glue a rhinestone on one of your little noses as a nose ring and shape a small piece of wire into a half circle to hot glue on as a septum nose ring!
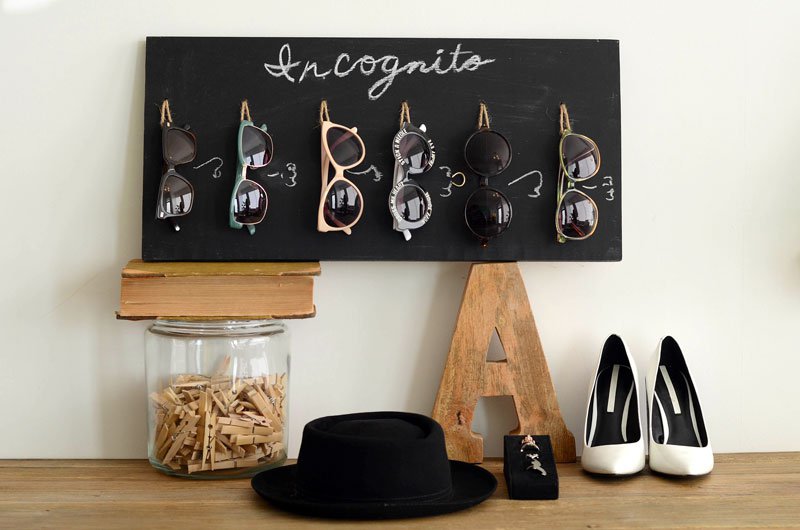
- Hang or prop up your organizer and display your sunglasses with flair.