Window coverings are a tricky subject. From curtains to valances to shades to blinds, velvet to tulle, discount to luxury, finding the right thing to block out the sun or frame your window is, frankly, kind of a drag.
What's even more of a drag is when the already installed curtains in your room look like they were made from a bad '80s prom dress. We are not talking the cute kind that Maria from Sound of Music could sew into a fashion line of playclothes for the von Trapp children.
So, then I started researching curtains and, apparently, tacky looking curtains wasn't a unique ailment. I was hoping to find something elegant and pretty without looking like Barbie threw up on my windows.
I love do-it-yourself home decor projects, but curtains always seemed a bit out of reach, because I am not amazing with a sewing machine, nor do I really like glue guns. Luckily, I was having a fancy cocktail with my celebrity interior designer friend Keith Lichtman of KL Interiors when I brought this conundrum to his attention. He showed me his $2500 luxury custom-trim curtains and said "I bet you could do this with some canvas and grosgrain ribbon."
Keith's curtains were made of high quality silk and were custom trimmed on the sides and bottom.
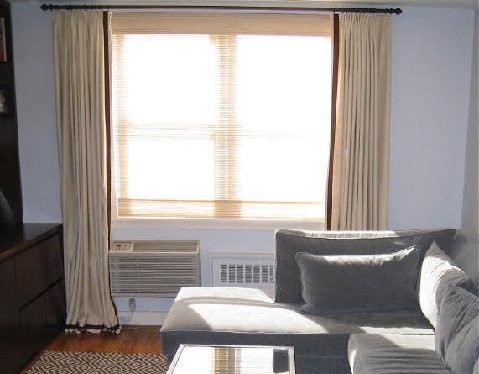
Photo courtesy of Keith Lichtman, KL Interiors

Photo courtesy of Keith Lichtman, KL Interiors
I decided to recreate this look with a heavy canvas at the lowest cost. I spent just about $25 total on the cloth by using, drumroll, paint drop cloths that were already cut into 4'x12' panels. Then I found some chocolate brown grosgrain ribbon in NYC's garment district for around $2/yard.
Other than that, measuring tape, scissors and industrial strength double-sided tape made this project possible. I like the red double-sided tape, because then you can see where it is on the ribbon.
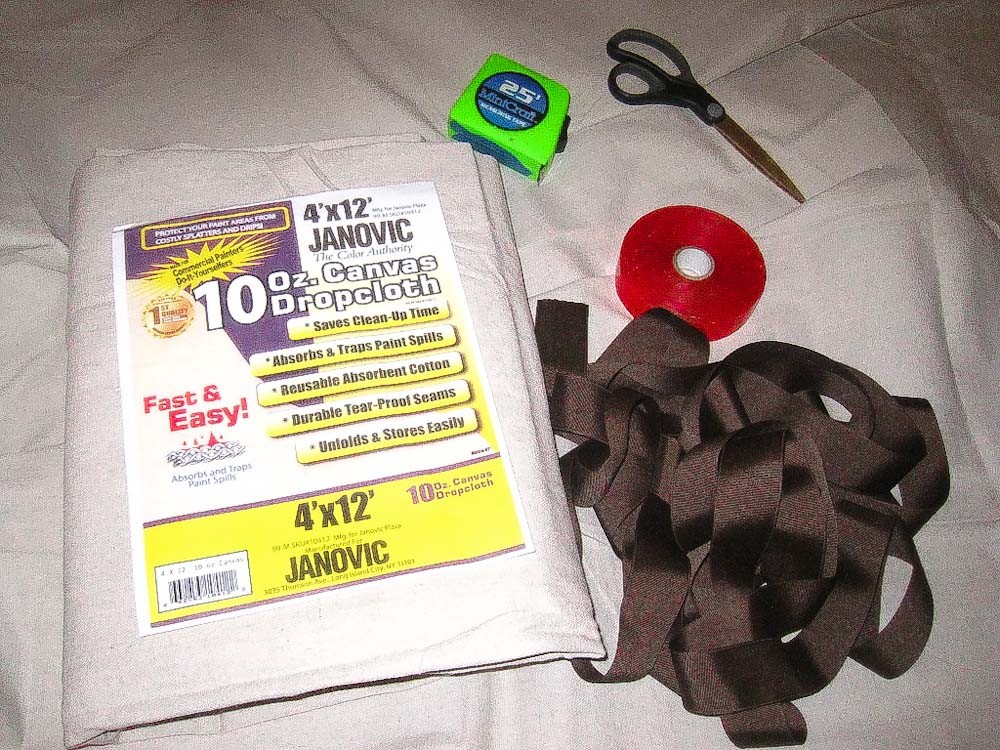
Photo by Michelle Won
So with some help and encouragement from Keith, we made some beautiful custom-trimmed curtains that look like they are made of heavy linen.
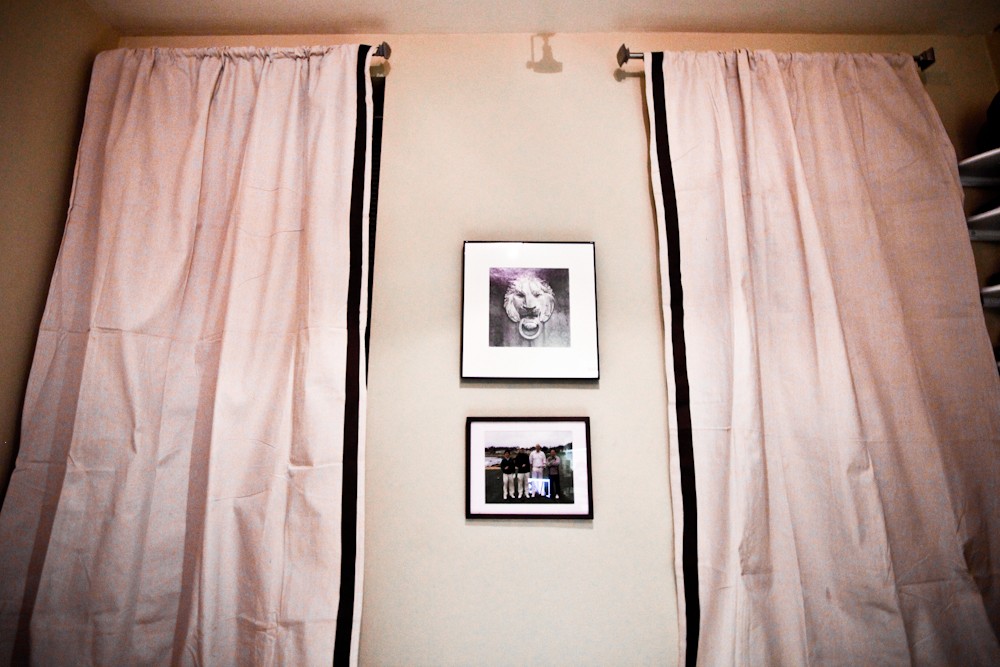
Photo by Michelle Won
Here is the process:
1. Find a nice canvas paint drop cloth with a little bit of brown or off-white in it. If you use pure white, it can end up looking like a sheet.
2. Find a high-quality ribbon fabric and color of your choice to complement your room.
3. Measure the width and height of your window. Double the width to calculate the width of your curtains (i.e. 2 feet across your windows means 4 feet of fabric). Height, you can let your curtains break on the floor a bit, or you can cut to length. Go with your personal preference. Add a couple of inches to allow you to have room to flap the fabric over the curtain rod.
4. Grab a pair of scissors and cut the length straight across. It doesn't have to be perfect, because the other 3 edges of your canvas are hemmed, so that means that you can use the cut side as the top of the curtain, which will be flipped over the rod, anyway.
5. Line up your ribbon to about an inch from the edge that you want the trim on. Start attaching double-sided tape and sticking your ribbon to the canvas. Leave about an inch extra at the top and the bottom of the fabric so you can flap it over. (As you can see in the video, it helps if you have an extra pair of hands. If you have controllable octopus arms, that works even better.)
6. Take down your curtain rod and flip the top of the fabric over the rod, allowing for about 2 inches of slack to be safe. Attach as you scrunch up the curtain along the rod with your double stick tape.
7. Hang your curtain rod. Voila!
A couple of tips:
- If you have 1 large window, the curtain on the left should have the trim on the right and vice versa.
- If you have 2 windows with space in the middle, same idea.
- If you only have 1 window, depending on what side of the room it is on, trim the opposite side (so the side without the trim is closer to the wall).
- If you dont want to do what is called a "curtain pocket" where you flip the fabric over the rod, you can get hooks with clips on them from any home store. You just add the clips to the top and then hook the curtain onto your rod.
Here is a companion video, because, as you can imagine, it's easier to understand how to do this by watching.
'Til the next time, decorate on a dime, because it's fun and awesome and then you don't have to feel like your room took the ugly train to the '80s for inspiration.