I'm normally a parenting writer/blogger but since every parent needs a good drink, from time to time, I've taken up DIY limoncello. I get asked for my recipe all the time - so here it is. What is limoncello?Limoncello is an Italian lemon liquor, produced mainly in Southern Italy (but now made and consumed world wide).
How's it made?By soaking the zest (the fine outer skin) of lemons in rectified spirit (highly distilled, highly concentrated alcohol) until the oils and color of the zest have infused into the spirits. A sugar/water mix is then added to sweeten and dilute the mixture to the proper proof.
Why make it at home?Because I'm not good at making wine and beer and stamp collecting gives me paper cuts on my tongue.
Okay, I'm sold, now what?Making limoncello is simple but it takes patience, there's a lot of doing stuff and then forgetting about your batch of limoncello, then doing more stuff, and then forgetting again. But it's worth the wait.
** EVERY STEP OF THIS RECIPE ASSUMES CLEAN HANDS AND SCRUBBED, CLEAN EQUIPMENT **
Step 1 - Gather your supplies.
1 1 Liter Glass bottle (swingtop is ideal)2 1 Liter glass jars (Ball jars work, but anything that seals tight is fine)1 Gold coffee filter1 Small box paper coffee filters that fit the aforementioned gold coffee filter1 microplane
1 750ml / 1 Liter bottle of distilled spirits. 190 proof Everclear is gold standard, check your local liquor store to find out what is the highest alcohol level you can legally buy in your state. Worst case scenario, you can buy 100 proof vodka but this is NOT recommended.
10-16 organic lemons (or other citrus but we'll discuss this later, organic isn't mandatory but it makes later steps easier)
Step 2 - clean and zest your lemonsScrub the outside of the lemons, make sure you get off any dirt, wax, pesticide, labels, etc. Don't be lazy about this part, really get them clean.

Using your microplane, remove the fine outer skin (aka 'zest') of the each lemon into a clean bowl. Get all the zest you can but do not microplane so deeply that you get the thick, white layer (aka 'pith') underneath the yellow outer layer. Pith makes for bitter limoncello.
As an alternative, you can use a traditional peeler to remove the zest. However, it's significantly harder to avoid the pith when using a peeler.
Once you've zested (aka skinned aka microplaned) all your lemons, place the zest into one of your (cleaned) glass jars.
Step 3 - mix the zest and the grain alcoholHow much grain alcohol you add depends on what proof alcohol you purchased. This recipe is for a 1 liter batch, try the following: 360ml for 190 proof grain alcohol440ml for 151 proof grain alcohol660ml for 100 proof alcohol of any kind
Add the appropriate amount of grain alcohol to the jar containing the zest, seal it tightly, and give it a good shake. Store it in a cool, dry, dark place.
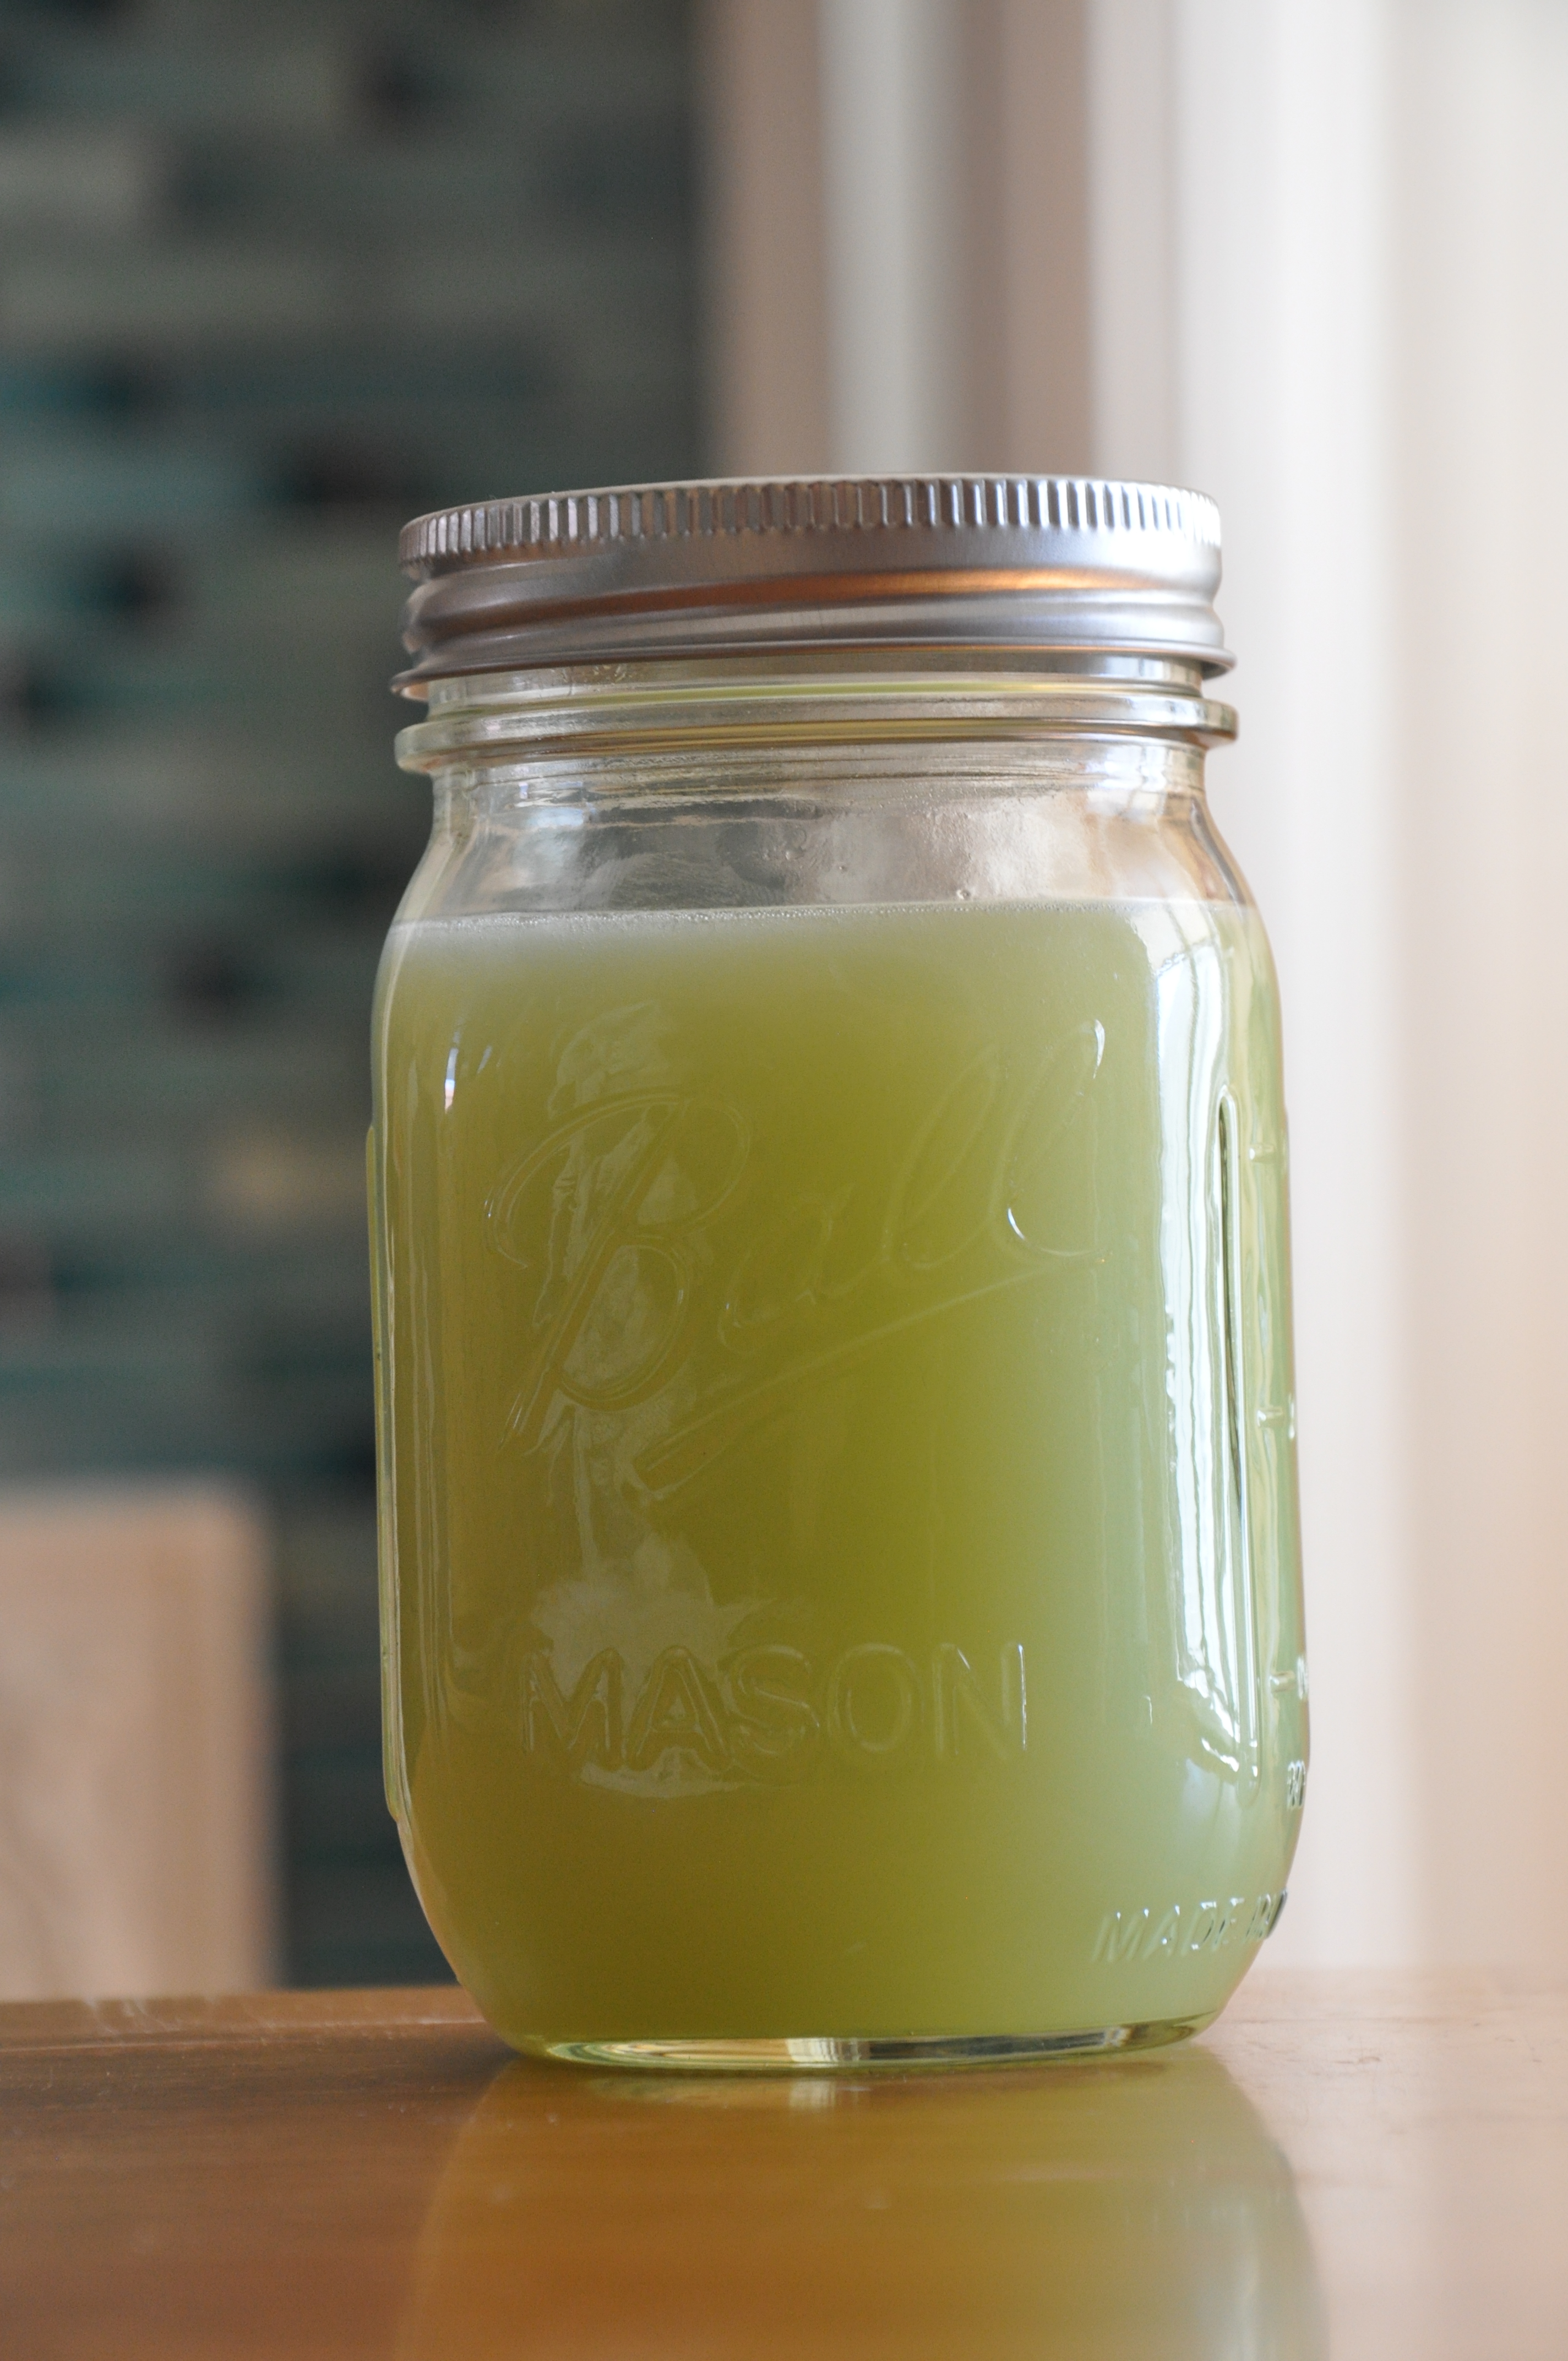
The photo on the left is a batch of LIME I was making last month, yours should be more yellow in color (obviously).
Step 4 - waitThis is the boring part. The longer you are willing to wait, the more flavorful your final product will be. While you're waiting, the alcohol is pulling the oil, flavor, and color out of the lemon zest. You want to allow as much of this as you can. Purists recommend that you wait up to 60 days before you move to the next step. I use 190 proof grain alcohol and have had good results with 4 weeks (28 days). I know people who do less but I strongly encourage patience, it will be rewarded. When it comes to waiting, more is better.
Feel free to shake your mixture once a day or so. It may or may not help but it feels like you're doing something.
Step 5 - filter your mixtureAmazing! You've managed to wait many weeks and now you're ready to filter. This is the most 'not sexy' part of the recipe but it's also the difference between a great final product and a mediocre glass of lemon flavored alcohol.
 Place your gold coffee filter into the top of your second 1 liter glass jar (use in conjunction with a funnel if needed). Pour your mixture through the filter. This step will filter out all zest and any particulate that might be in the mixture. If your hands are clean, you can press the zest that catches in the filter to squeeze out that last little bit of liquid.
Remove the filter, throw the zest in the trash, clean the filter.
Thoroughly wash and dry glass jar #1. (the jar that originally had the zest/alcohol mixture in it)
Add a paper filter to the gold filter and place it on top of the newly cleaned jar #1. Pour your liquid from jar #2 back through the paper+gold filter into jar #1. This will take some time and patience. About halfway through, your paper filter will likely become so saturated that you'll want to switch to a new one. Make sure you lose as little liquid as possible if/when you switch to a new paper filter.
Once the filtering is done, reseal your jar.
Step 6 - add your simple syrup
Now it's time to add some sugar-water to your mixture. This not only sweetens it (yum), it dillutes the grain alcohol from 190 proof down to something a normal human being would enjoy drinking. There's some small amount of debate about it, but I normally shoot for about 68 proof (34% alcohol by volume) which seems to be the traditional standard.
How much water you use will depend on what strength of grain alcohol you used as a base. Remember that this recipe is specific to a 1 liter batch. If you started with:
360ml of 190 proof grain alcohol - add 650ml of simple syrup (about 2.75 cups)440ml of 151 proof grain alcohol - add 567ml of simple syrup (about 2.4 cups)660ml of 100 proof alcohol of any kind - add 340ml of simple syrup (about 1.4 cups)
There are a zillion videos and recipes online for making a simple syrup, here are my hints:
Stir constantly while making your simple syrup and don't let the sugar burn. Also, let the simple syrup cool to room temperature before adding to your mixture. This might take a while but you need to wait it out. I often make a little spot in the refrigerator and let it cool in the fridge.
Traditional simple syrup is 1 cup of water to 1 cup of white sugar. In my opinion, this makes for a limoncello that is way too sweet. I use significantly less sugar in my batches. For your first batch, I recommend making a simple syrup with HALF the sugar - so for every cup of water in your simple sugar recipe, use 1/2 cup of white, granulated sugar. You might find that you prefer a final product that is more or less sweet and next time around you can adjust accordingly, but this is a good starting place.
Once you've made and cooled your simple syrup, add it to your filtered grain alcohol mixture, reseal it, and give it a good shake.
Step 7 - wait some moreAgain, it's time for some patience. Put your 1 liter mixture in a cool, dark place. The longer you let the mixture sit, the more it will smooth and mellow out. If you HAVE to cut corners, this is the step where you do it - but try not to cheat. My rule is to let it mellow for the same number of days/weeks that I let the alcohol/zest mixture steep. Four to six weeks is ideal but in a pinch you could get away with three weeks. Again, when it comes to waiting, more is generally better.
Step 8 - bottle your final productCongratulations! You've got yourself a finished, 1 liter batch of homemade limoncello. Transfer the final product into a serving bottle (something like the 1 liter swingtop bottle that I mentioned up in Step 1). If you're determined to be the most amazing limoncello maker ever, you should filter it once more during this transfer (through a paper filter placed inside the gold filter) and then let it rest for 7-14 days in the serving bottle. No matter what you decide to do, make sure to put your bottle in the freezer for a while before serving - limoncello should be icy cold when it's served.
There are loads of great looking bottles out there. Swingtop are the easiest, but corked bottles also look great.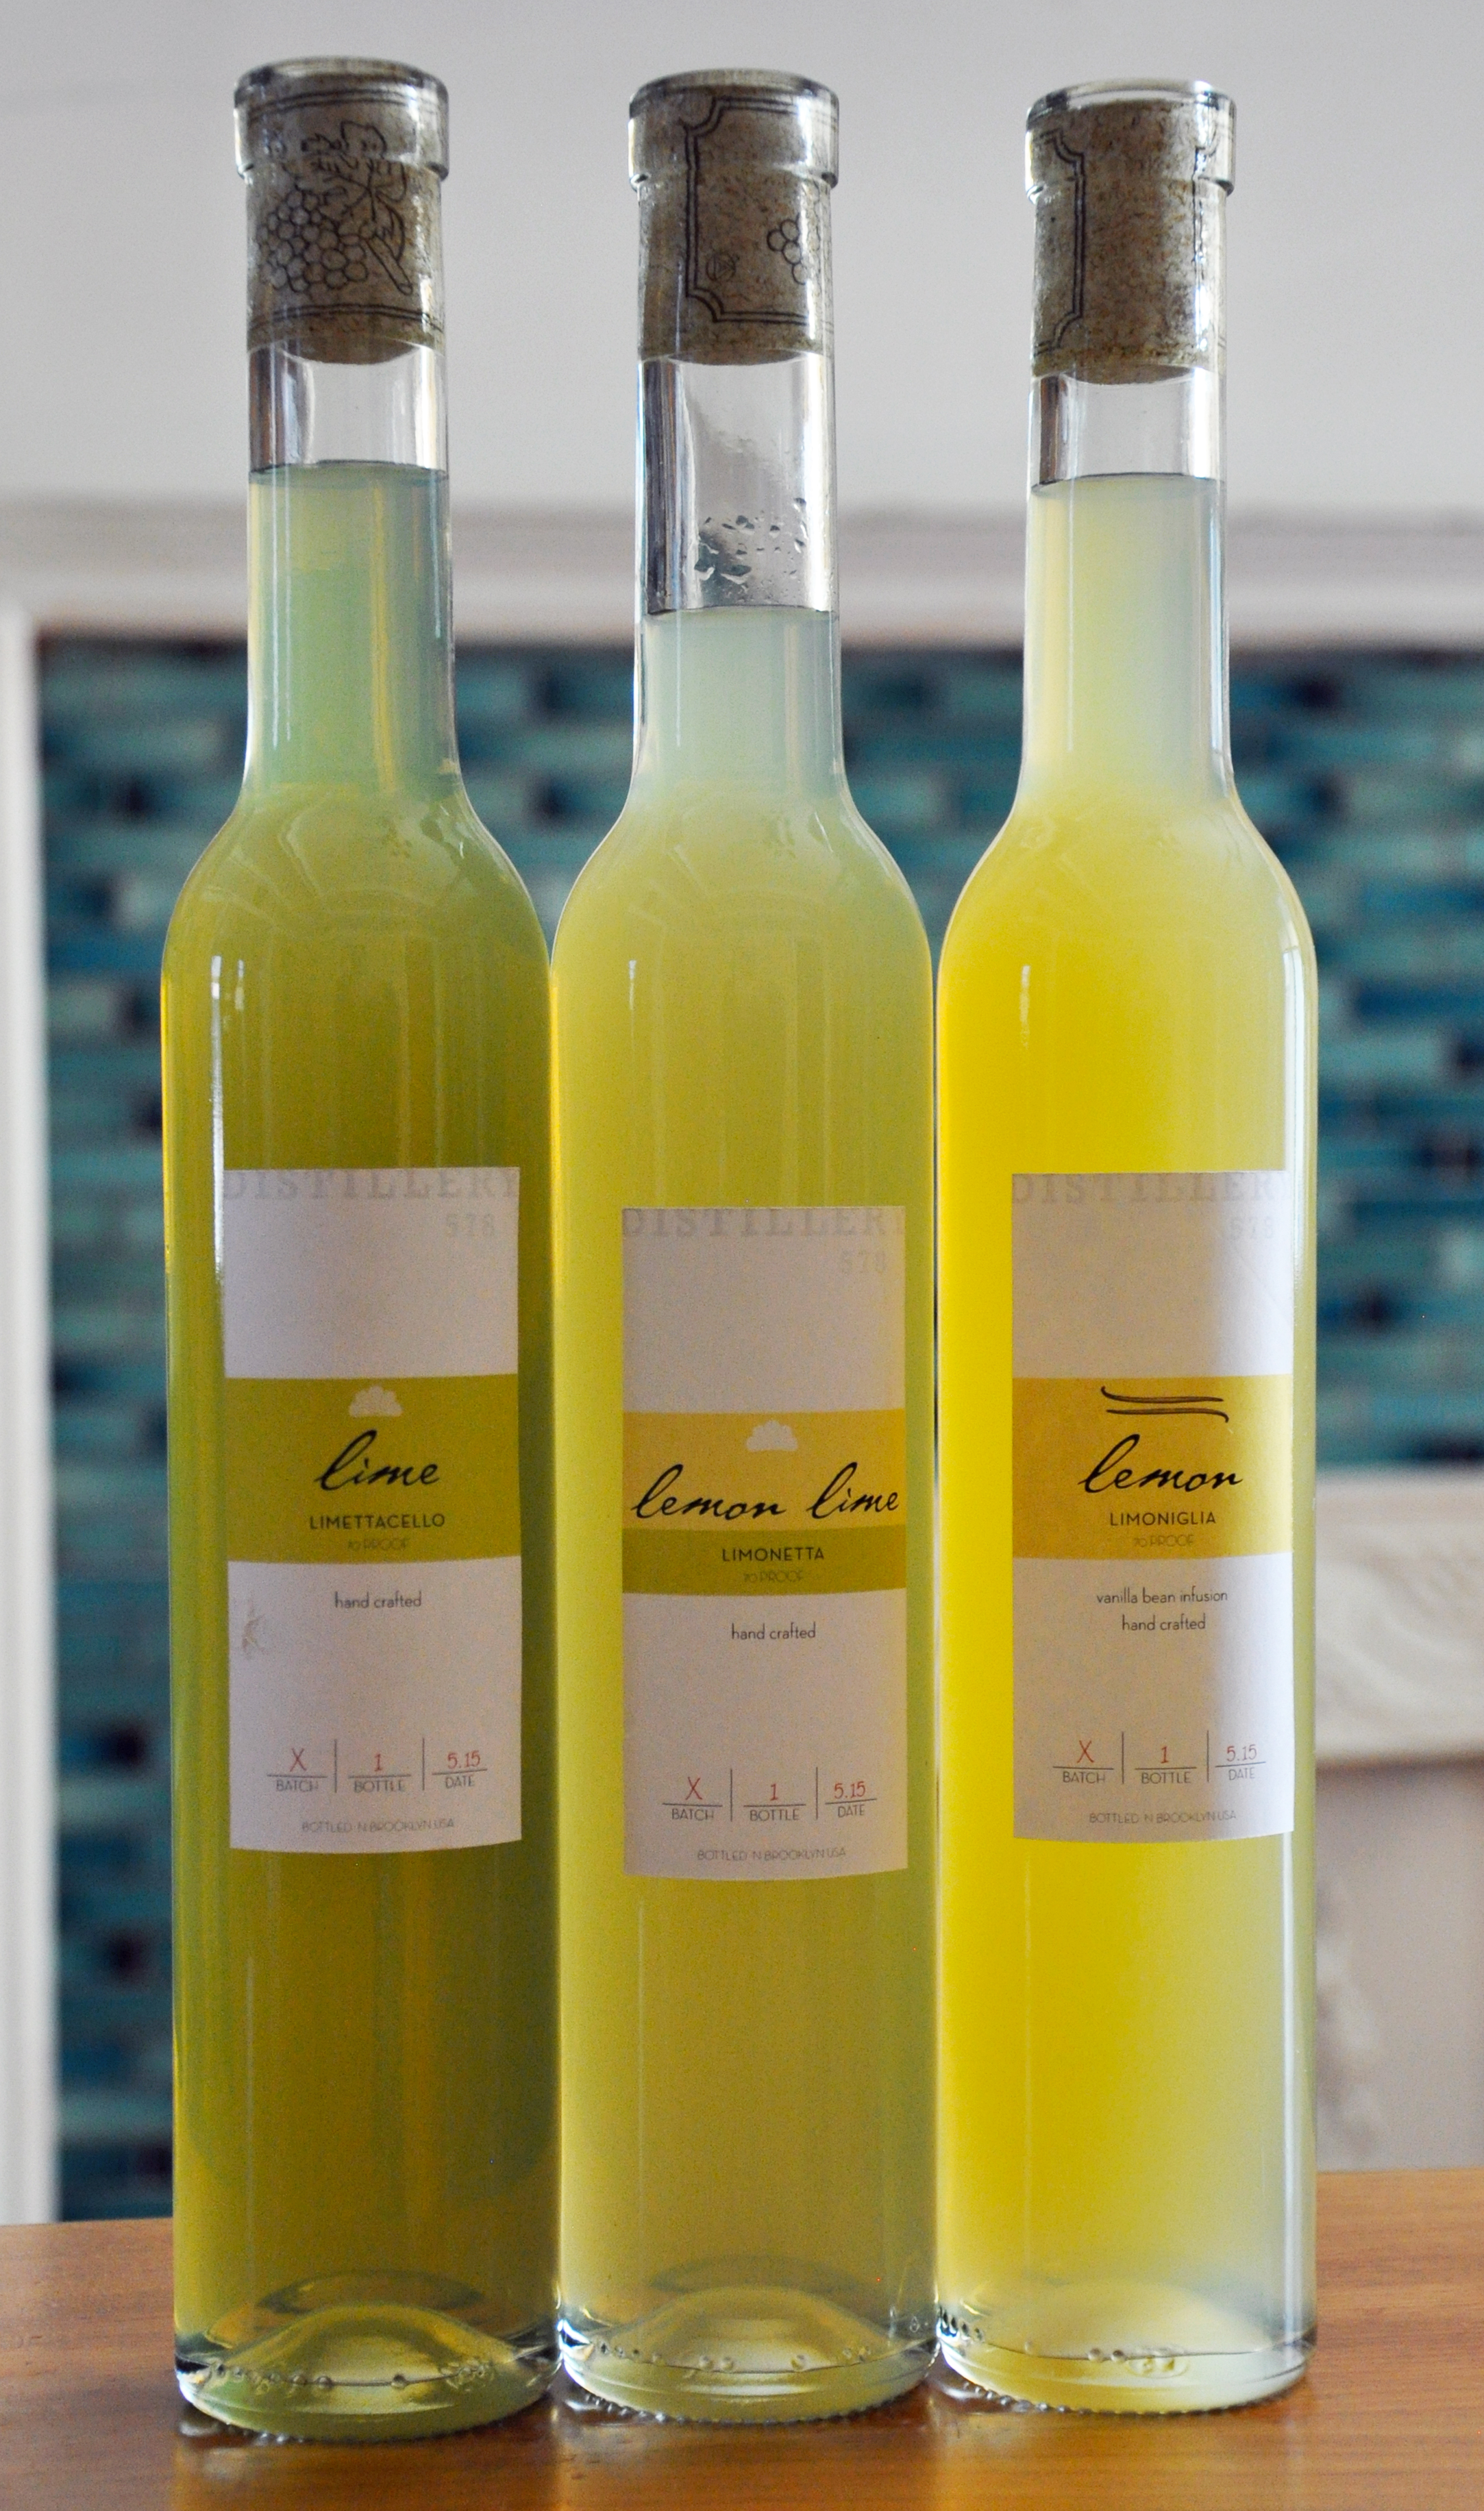
Step 9 - experimentOnce you've gotten a traditional batch under your belt, do some experimenting to find your signature style. Try making an orange-cello. Use only Myer lemons. Increase or decrease the sugar, the alcohol, the aging. There are no rules. If you come up with something brilliant, be sure to let me know (and save me some!)