For Teen Vogue, by Sarah Wu.
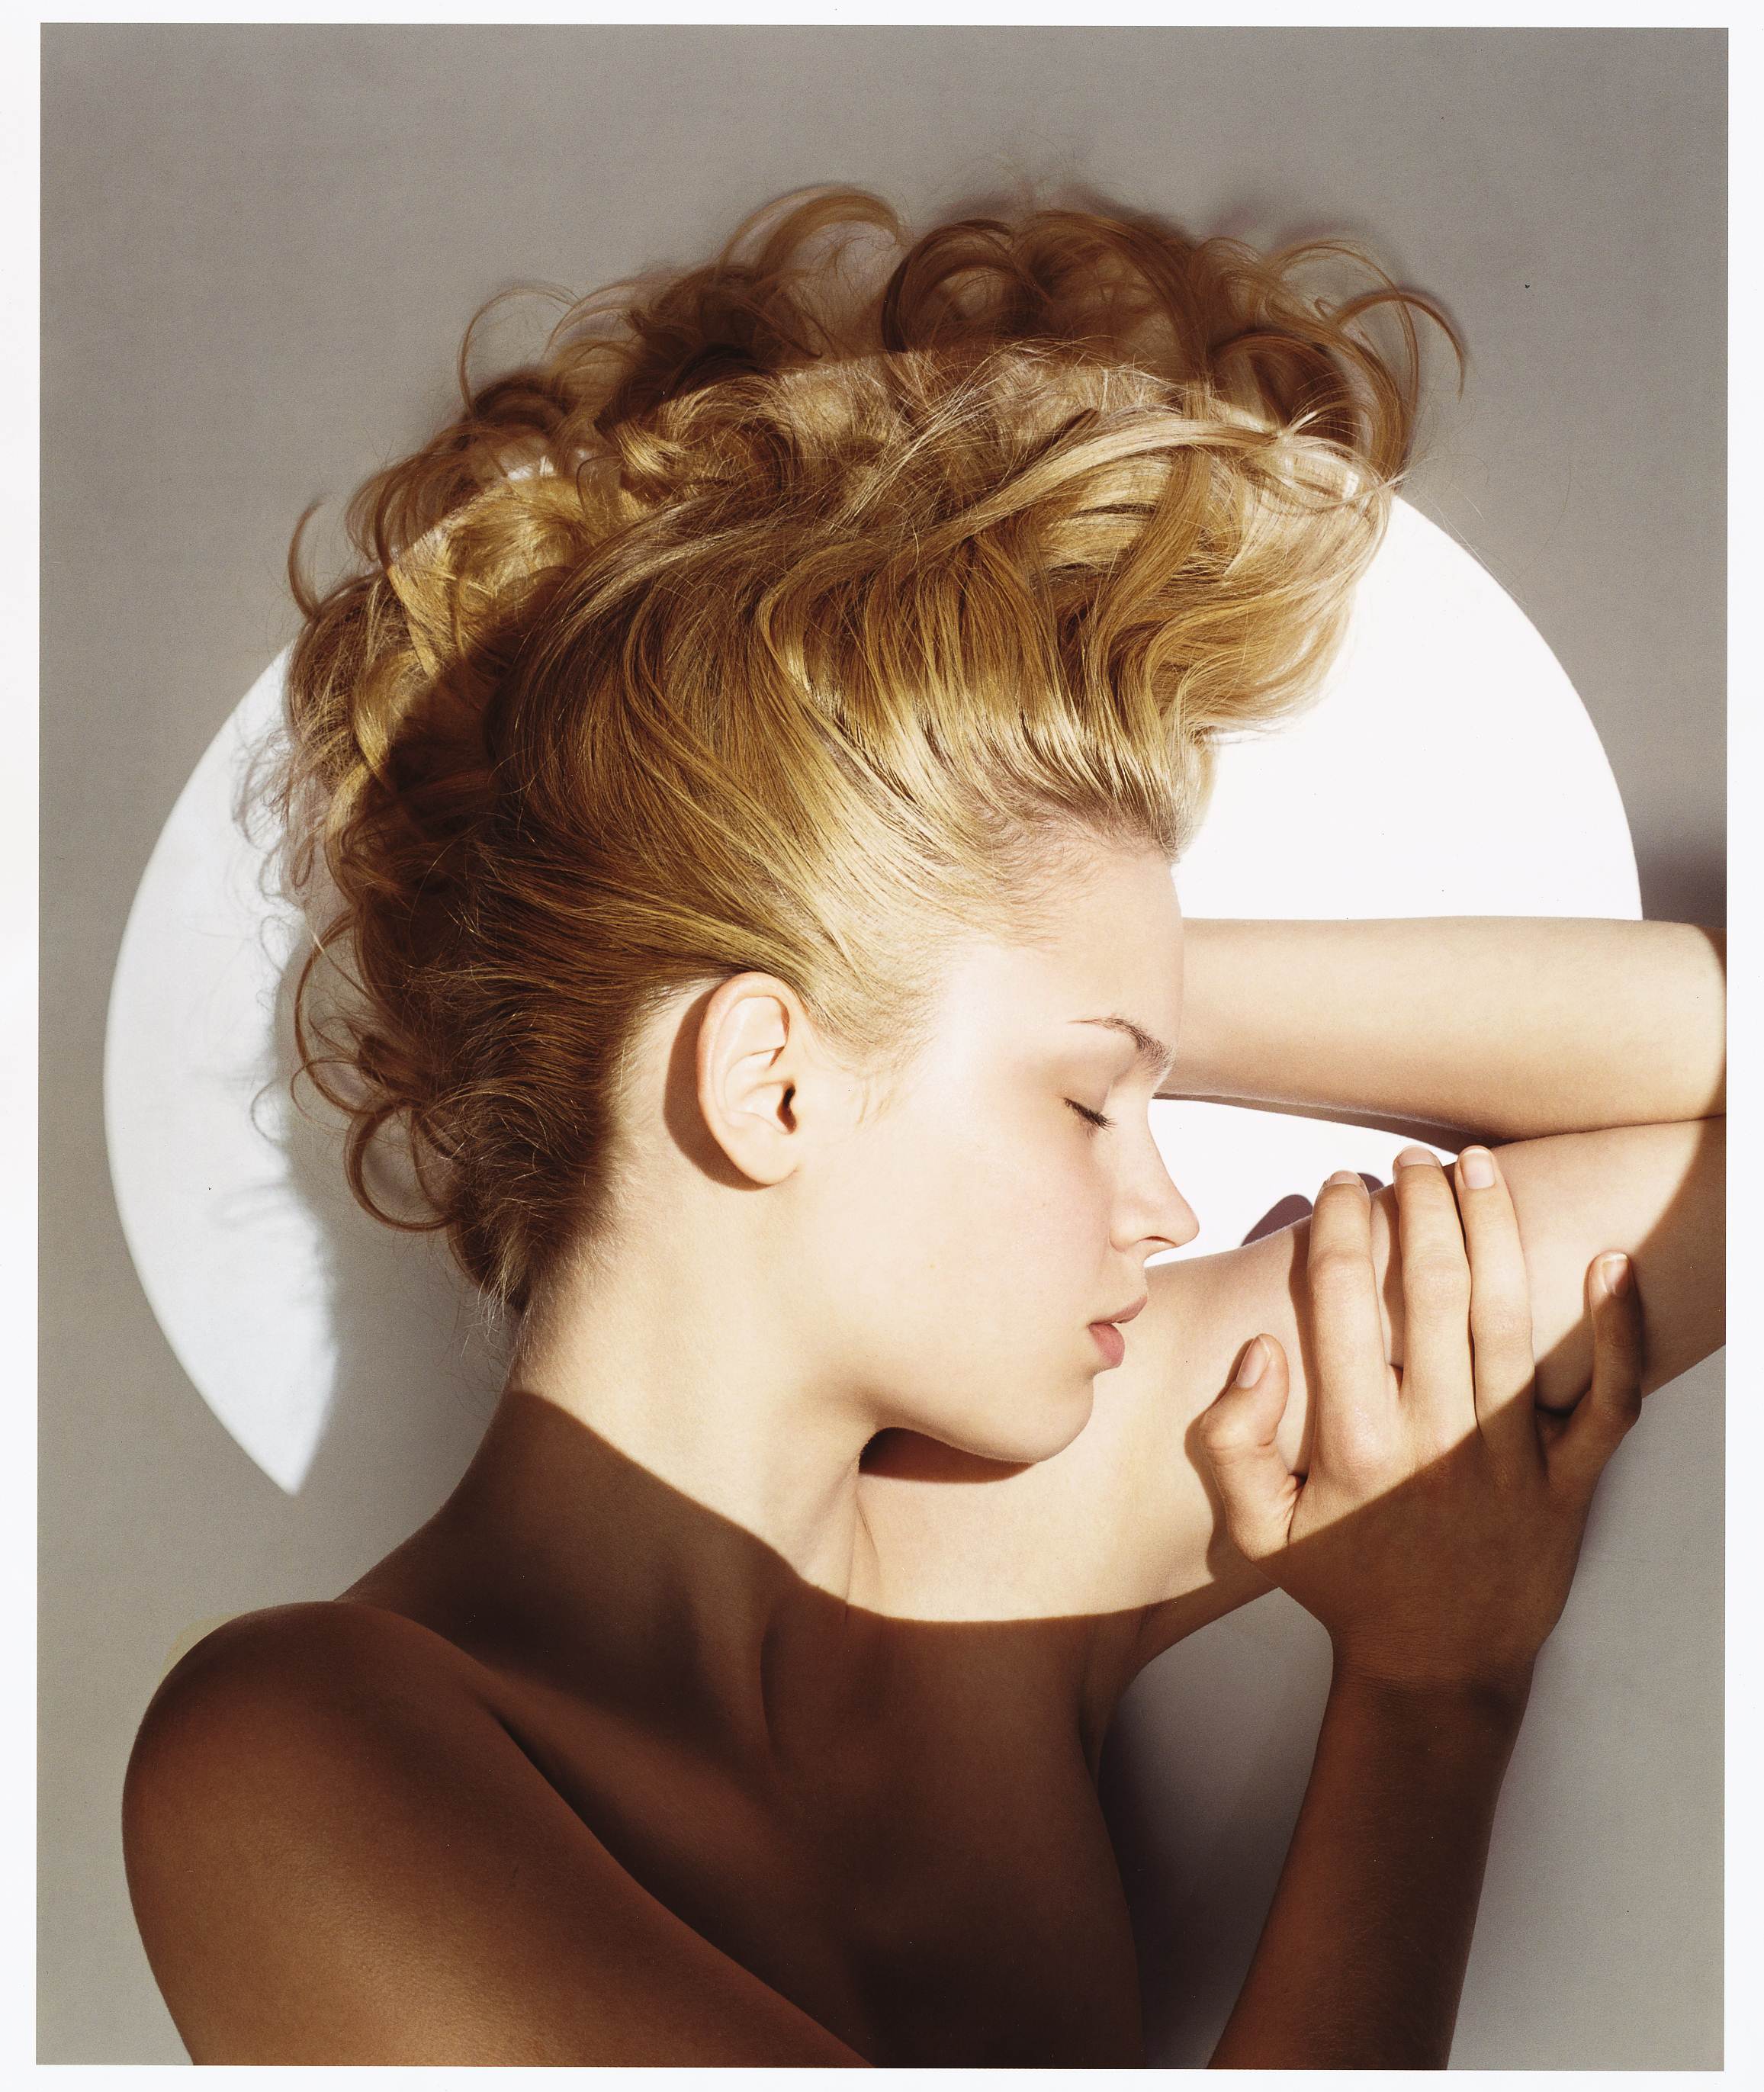
Photo: Ben Hassett
Lately, our Instagram feeds have been full of enviable travel shots and promises of sunshine. Maybe it's the fact that summer break is so tantalizingly close, but we're more than ready to transition into warm-weather beauty. And as far as hair goes, that means we've now got beach waves on the brain.
While this particular style has proven itself to be pretty much timeless, we're thinking about updating the look a little this year. We've already broken down how to get beach waves on any hair type, so now it's all about customizing the look even further. Enter mermaid waves, which sit at the intersection between more polished, loose curls and mussed, beachy texture. Plus, there's now a sparkly secret to make them even better. To get the scoop, we spoke to celebrity stylist (and beach wave queen) Sarah Potempa and Captain Blankenship founder Jana Blankenship. Read on for all their tips and tricks!
Choose your barrel.
Getting a perfect mermaid wave depends on a variety of factors, like the barrel size of your curling iron. "The Beachwaver S1.25 is what I used to create loose, sexy beach waves at the Victoria's Secret Fashion Show," says Sarah, referencing her 1.25" barrel. That doesn't necessarily mean you need the same one; consider your hair length first.
For shorter lengths, Sarah recommends a .75" barrel like the S.75. "Be sure to clamp the hair with the ends out when curling," she instructs. "Always start by curling away from your face, but with shorter hair, it's fun to alternate the direction of the waves to add texture." The next size up is a 1" like the S1, which she loves for "medium or longer, layered hair." If your cut is minimally layered or on the longer side, go for the S1.25.
Now you're ready to get curling! "For a smoother wave, you want to follow three simple steps," says Sarah. Start by misting hair with a heat protectant spray like Aussie Heat Protecting Shine Spray, and create sections using Darby clips. Hold your barrel at a diagonal, rather than vertical angle; the former gives you a more curl-like wave, while the latter gives you a beachier look. Clamp your hair with the ends in, and start curling (if you want more texture or are dealing with dry, damaged ends, clamp further up). Once you're done, allow hair to cool and run your fingers through for separation. "I love to spray Aussie Sprunch Hairspray onto the On Set Styling Brush and then brush through the hair," she adds. "The nylon and boar bristles combat frizz."
Try these sleep & heat hacks.
Let's say you can't find an outlet for your curling iron -- a definite possibility if you're taking a road trip or planning a beach day. Or, maybe you're just looking for a routine that takes next to no time. Sarah's solution is to maximize your beauty sleep. "Sleeping with buns is a great way to wake up with waves," she says. "I love to make one or two buns with The Wrap Up at night. When I take them out in the morning, I have effortless beach waves."
The right products will also help extend your style. "I sometimes use Aussie Sprunch Mousse on my hair to create nice texture," she says. You can use a similar trick to extend your heat-waved hair for a few extra days. "Use the Sprunch Hairspray once you're finished curling," she instructs. "You can spritz your hair before curling, too, if you need extra hold." For a look that lasts, refrain from running fingers through your hair until it fully cools. If your hair can take higher temperatures, turn up the heat: "If you really want long lasting curls, increase the temperature of the iron and pin your curls up with the Darby clips to hold them."
Put some gold on it.
Now, it's time to let those mermaid waves shine. We recently discovered Captain Blankenship's Golden Waves Sea Salt Shimmer Spray, which looks as mesmerizing on the hair as it does in the bottle. The secret to the formula's gleaming appearance is a generous dose of mica, which makes for literal Instagram gold. "It adds subtle sparkle to all hair colors," says Jana. "The mica reflects light, so it really sparkles in the sunlight, or when it catches any type of light."
Spray it on for more than shimmer; the spray packs a texturizing punch as well. "Golden Waves has a high concentration of salt that makes it effective as a texturizer, but it's balanced with organic aloe vera gel and organic sea kelp extract to keep hair soft and hydrated," she notes. The latter two ingredients mitigate the dryness you tend to get from actual salt spray, AKA the ocean. We found that this left hair slightly texturized, without making it crunchy or tangled. If your strands are extremely dry, you can try pairing this with a smoothing serum or treating it to a hydrating mask afterward.
In any case, you'll want to swap out your usual beach spray for a bottle of this stuff, stat. "We like to think it's like strolling through a sunbeam," says Jana. Mermaid status, unlocked.
More from Teen Vogue:
More Than Half of What You Eat Isn't Even Real Food, Study Finds

Related
Before You Go
