Having never stenciled anything before in my life, I was nervous about whether or not I'd be able to do it. But I can tell you now, there's nothing to it (I loved it so much I purchased a second stencil for another project almost immediately after completing this project).
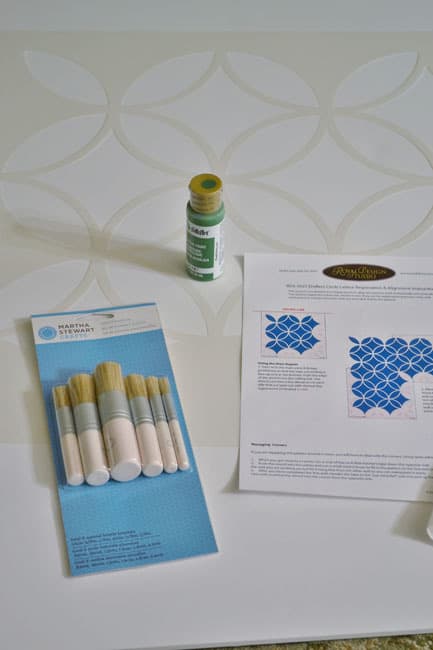
Here's what you need:
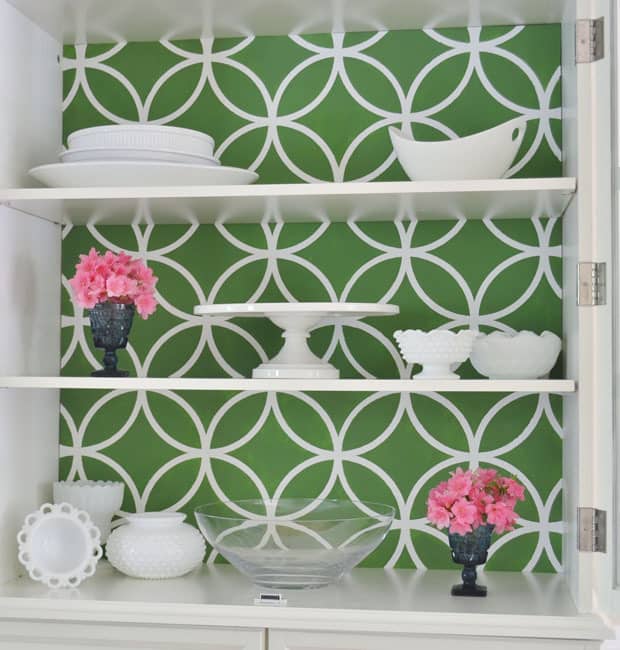
I used the Endless Circles Lattice stencil for my project. It came (quickly) in the mail and included basic instruction on using the stencil. My biggest concern was being able to line it up correctly, which didn't end up being a problem at all.
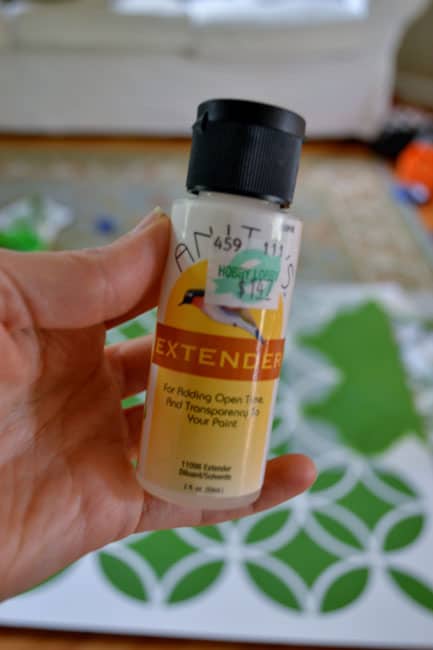
I used Martha Stewart stencil brushes for this (found at Amazon). I also used this Extender for my paint...
Royal Design Studio recommends Folk Art Extender, which I couldn't find at my local craft store. I was thisclose to doing this without the use of an Extender, but decided at the last minute to see what Hobby Lobby had. And, let me tell you, using an extender is a must! I tried to both ways and definitely found the paint easier to work with using the extender. It makes the paint thinner and easier to manipulate, a must for stenciling projects.
And here's the before picture of my china cabinet...
Now, just so you know, I didn't actually stencil the inside of my china cabinet. Instead, I used foam board (found at Michaels), cut to fit the cabinet, and stenciled that.
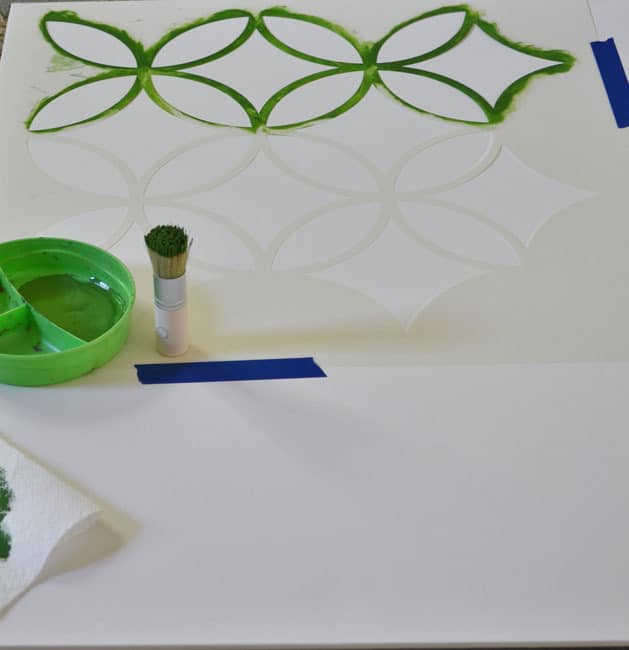
I positioned the stencil at the top left of my board (following the clear direction that came with the stencil), loaded my brush, wiped off the excess and began. Now, I did not use a stencil adhesive. I figured that since I was working horizontally, it wasn't necessary. I did, though, use some painters tape just to help me hold it in place.
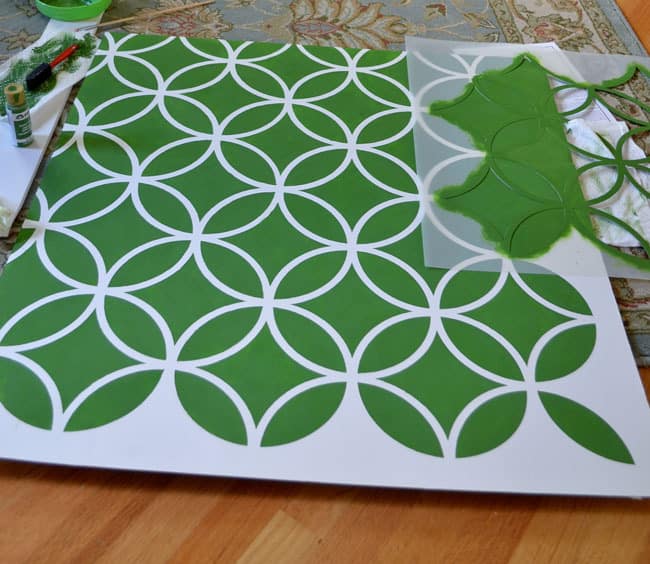
Almost done! I was really getting excited about my new stenciled china cabinet at this point...
This project took about 4 hours to complete, but the vast majority of that was drying time between coats.
I luuurve how this turned out. I seriously couldn't be happier with my *new* stenciled china cabinet!
Looking for more stencil inspiration? I stenciled a vintage dresser, as well!
How about you? Have you stenciled before? Do you want to learn? What in your home would be made happier by some stencil love?
Love to decorate your walls? Looking for a large selection of printable art that you can change out when the mood strikes? Our Home Decor Bundle (100 printables!) is now only $10! Printable art is an affordable way to fill a large, empty wall quickly and stylishly!
Linda is the founder of burlap+blue, a space dedicated to helping women live life more creatively. She is inspired by creativity, good books and the everyday. She lives with her husband and kids in Richmond, VA. Read more on her blog, shop her new Printables Shop, and connect with her on Twitter and Instagram.