Capturing Moments that tell a Story
We all have that one friend who shares pictures to social media with an album containing no less than 50,000 pictures in it. Mostly of the same scene. Possibly a different angle. But how far through that album do you actually get before you are bored to tears? Maybe 50.
There is a better way, folks! And I am here to tell you exactly how to do it.
Story-telling with pictures is essentially taking photographs with purpose.
Photographic story-telling is selective.
It is not slapping a bunch of pretty pictures in an album (or blog post) and hoping the story unfolds. What happens is you end up confusing and overwhelming the viewer by the sheer amount of photos presented to them, as well as a lack of organization.
I will teach you how to add meaning and depth to your photo-story.
The Story I am Telling Today:
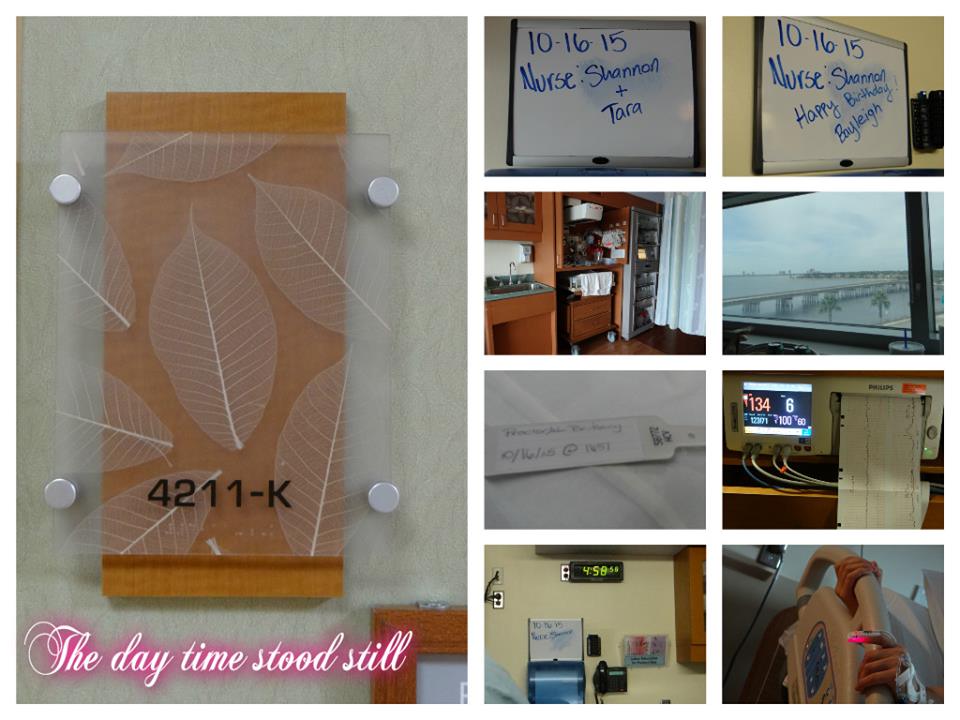
- Brittany texted me a 2:37 am on October 16th, 2015 to let me know she would be arriving at the hospital shortly.
- I arrived at the Hospital around 7:30am right as she was receiving an epidural.
- Her slow-progressing labor prompted induction medication and contractions began to strengthen around 1pm.
- Around 3:30pm, her water was broken by the doctor.
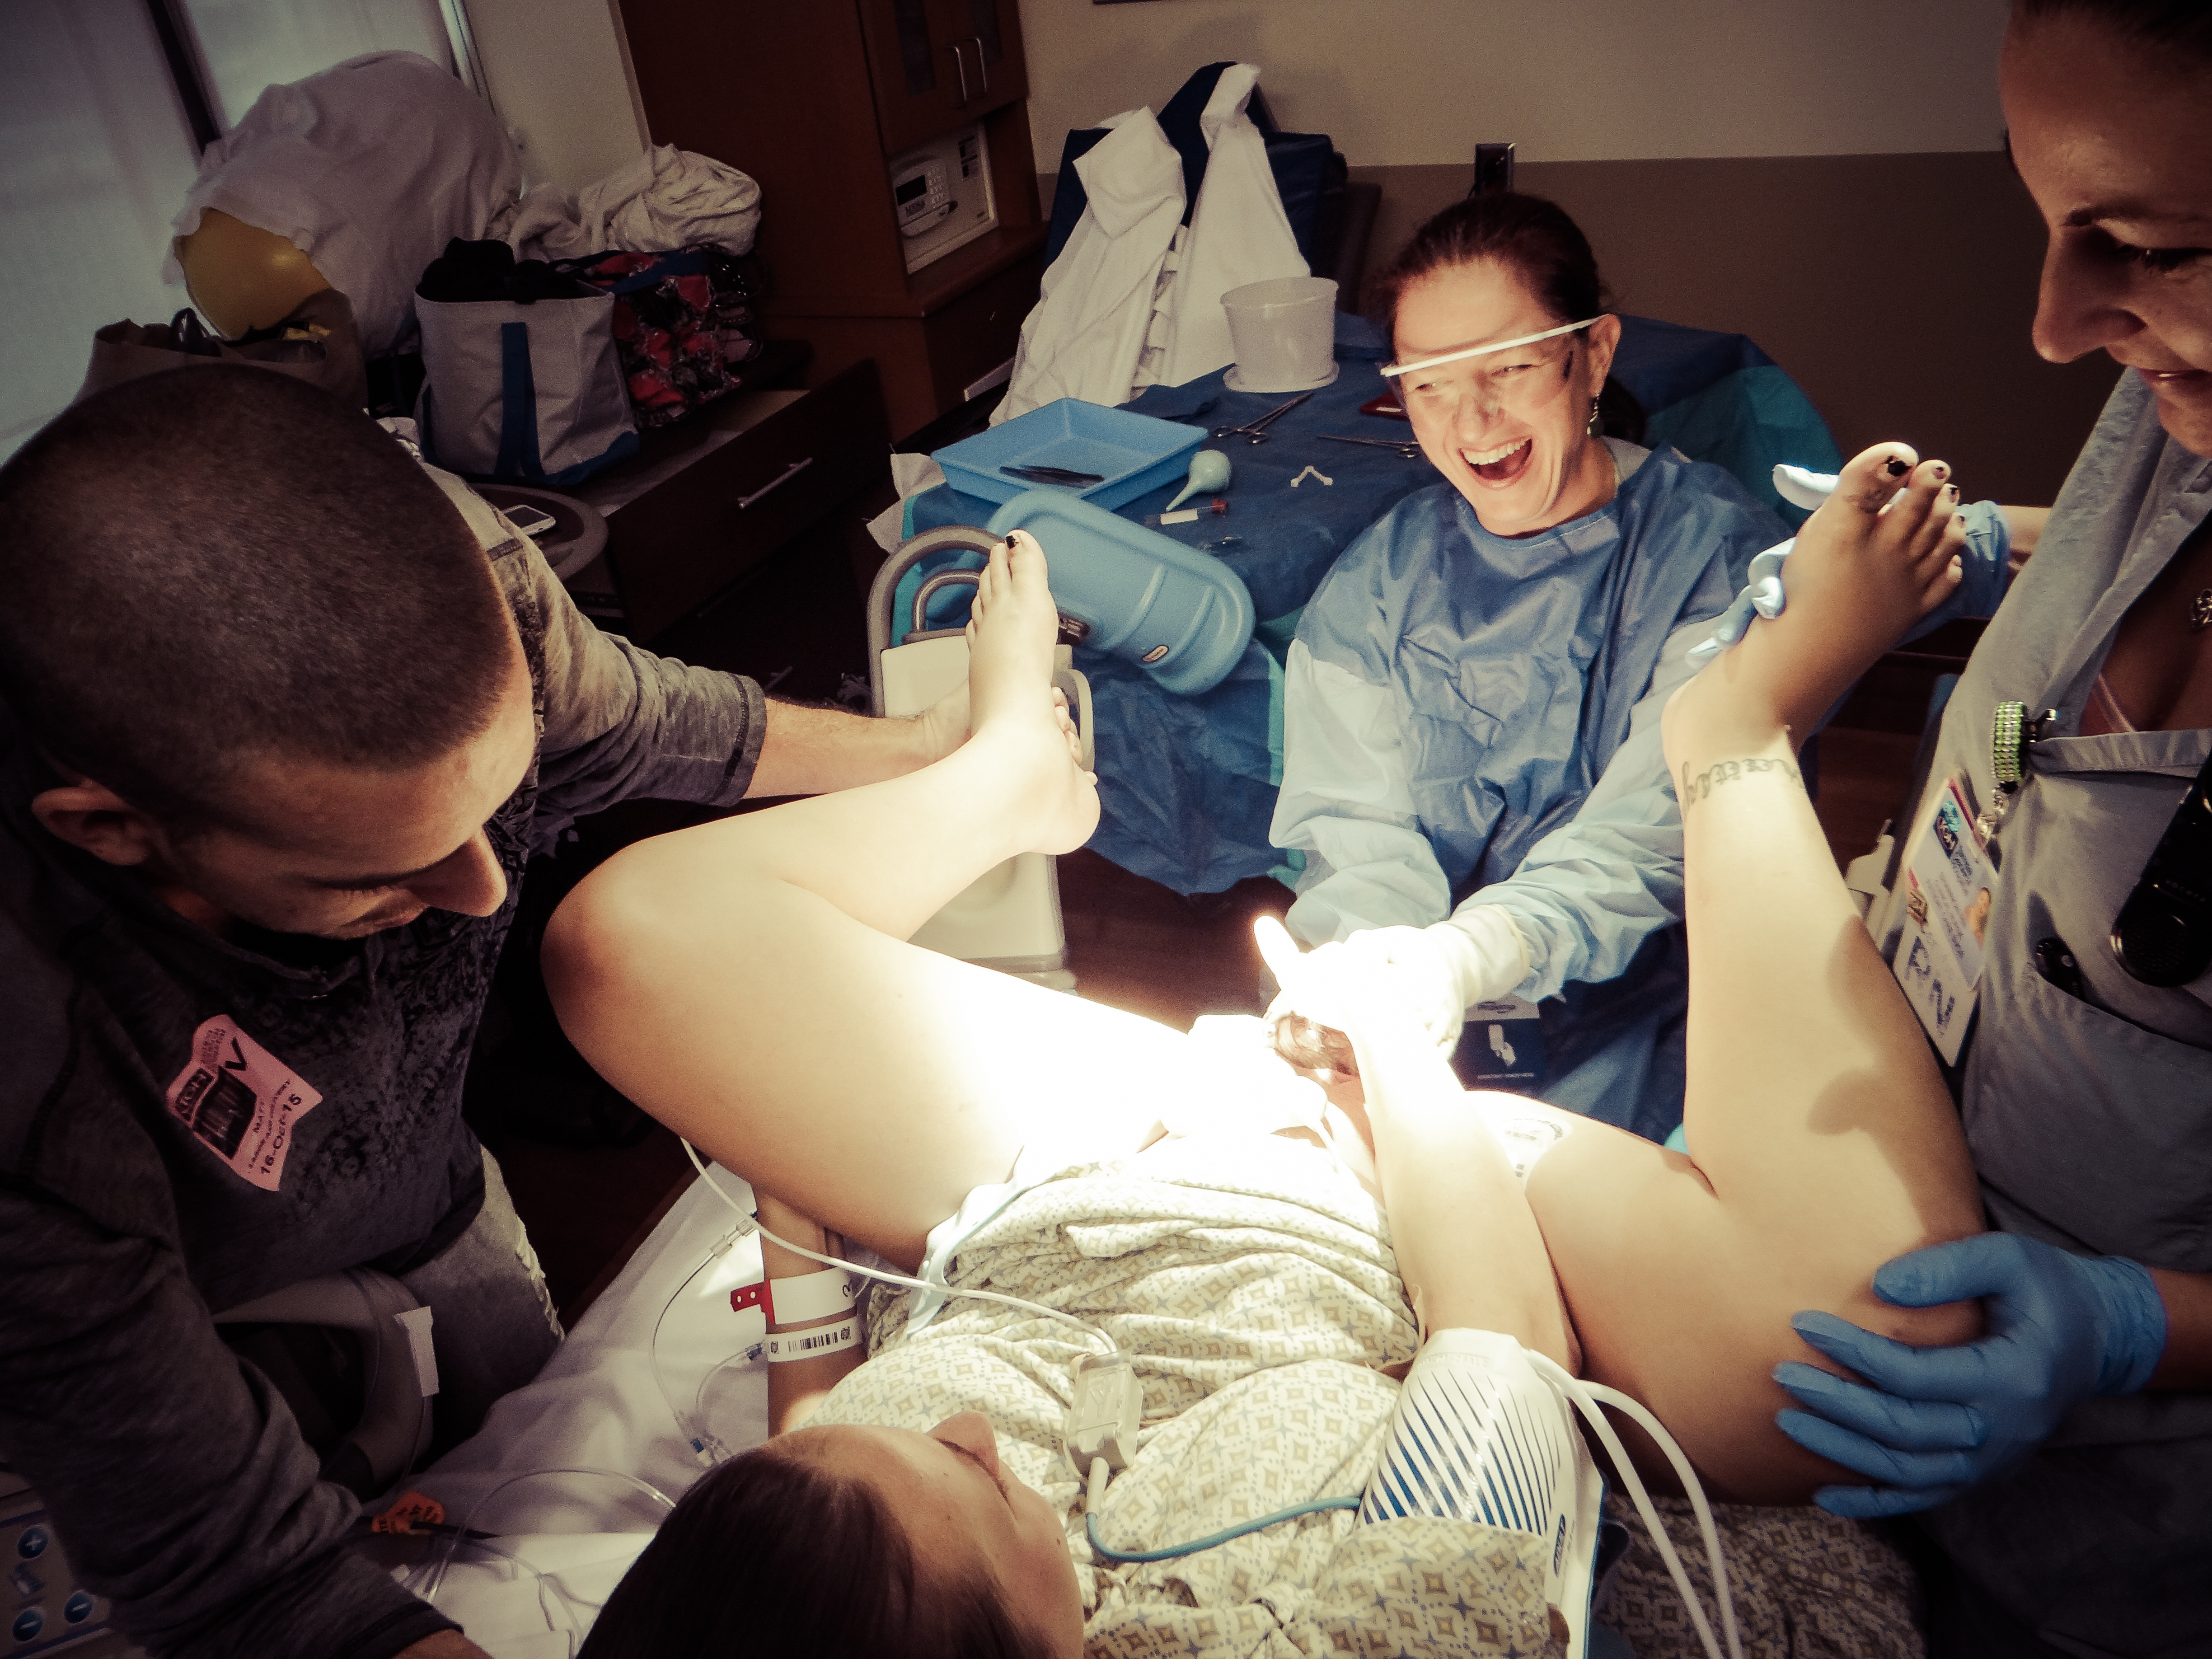
- She started pushing around 4:40 and at 4:51pm, Miss Bayleigh arrived.
Please Remember:
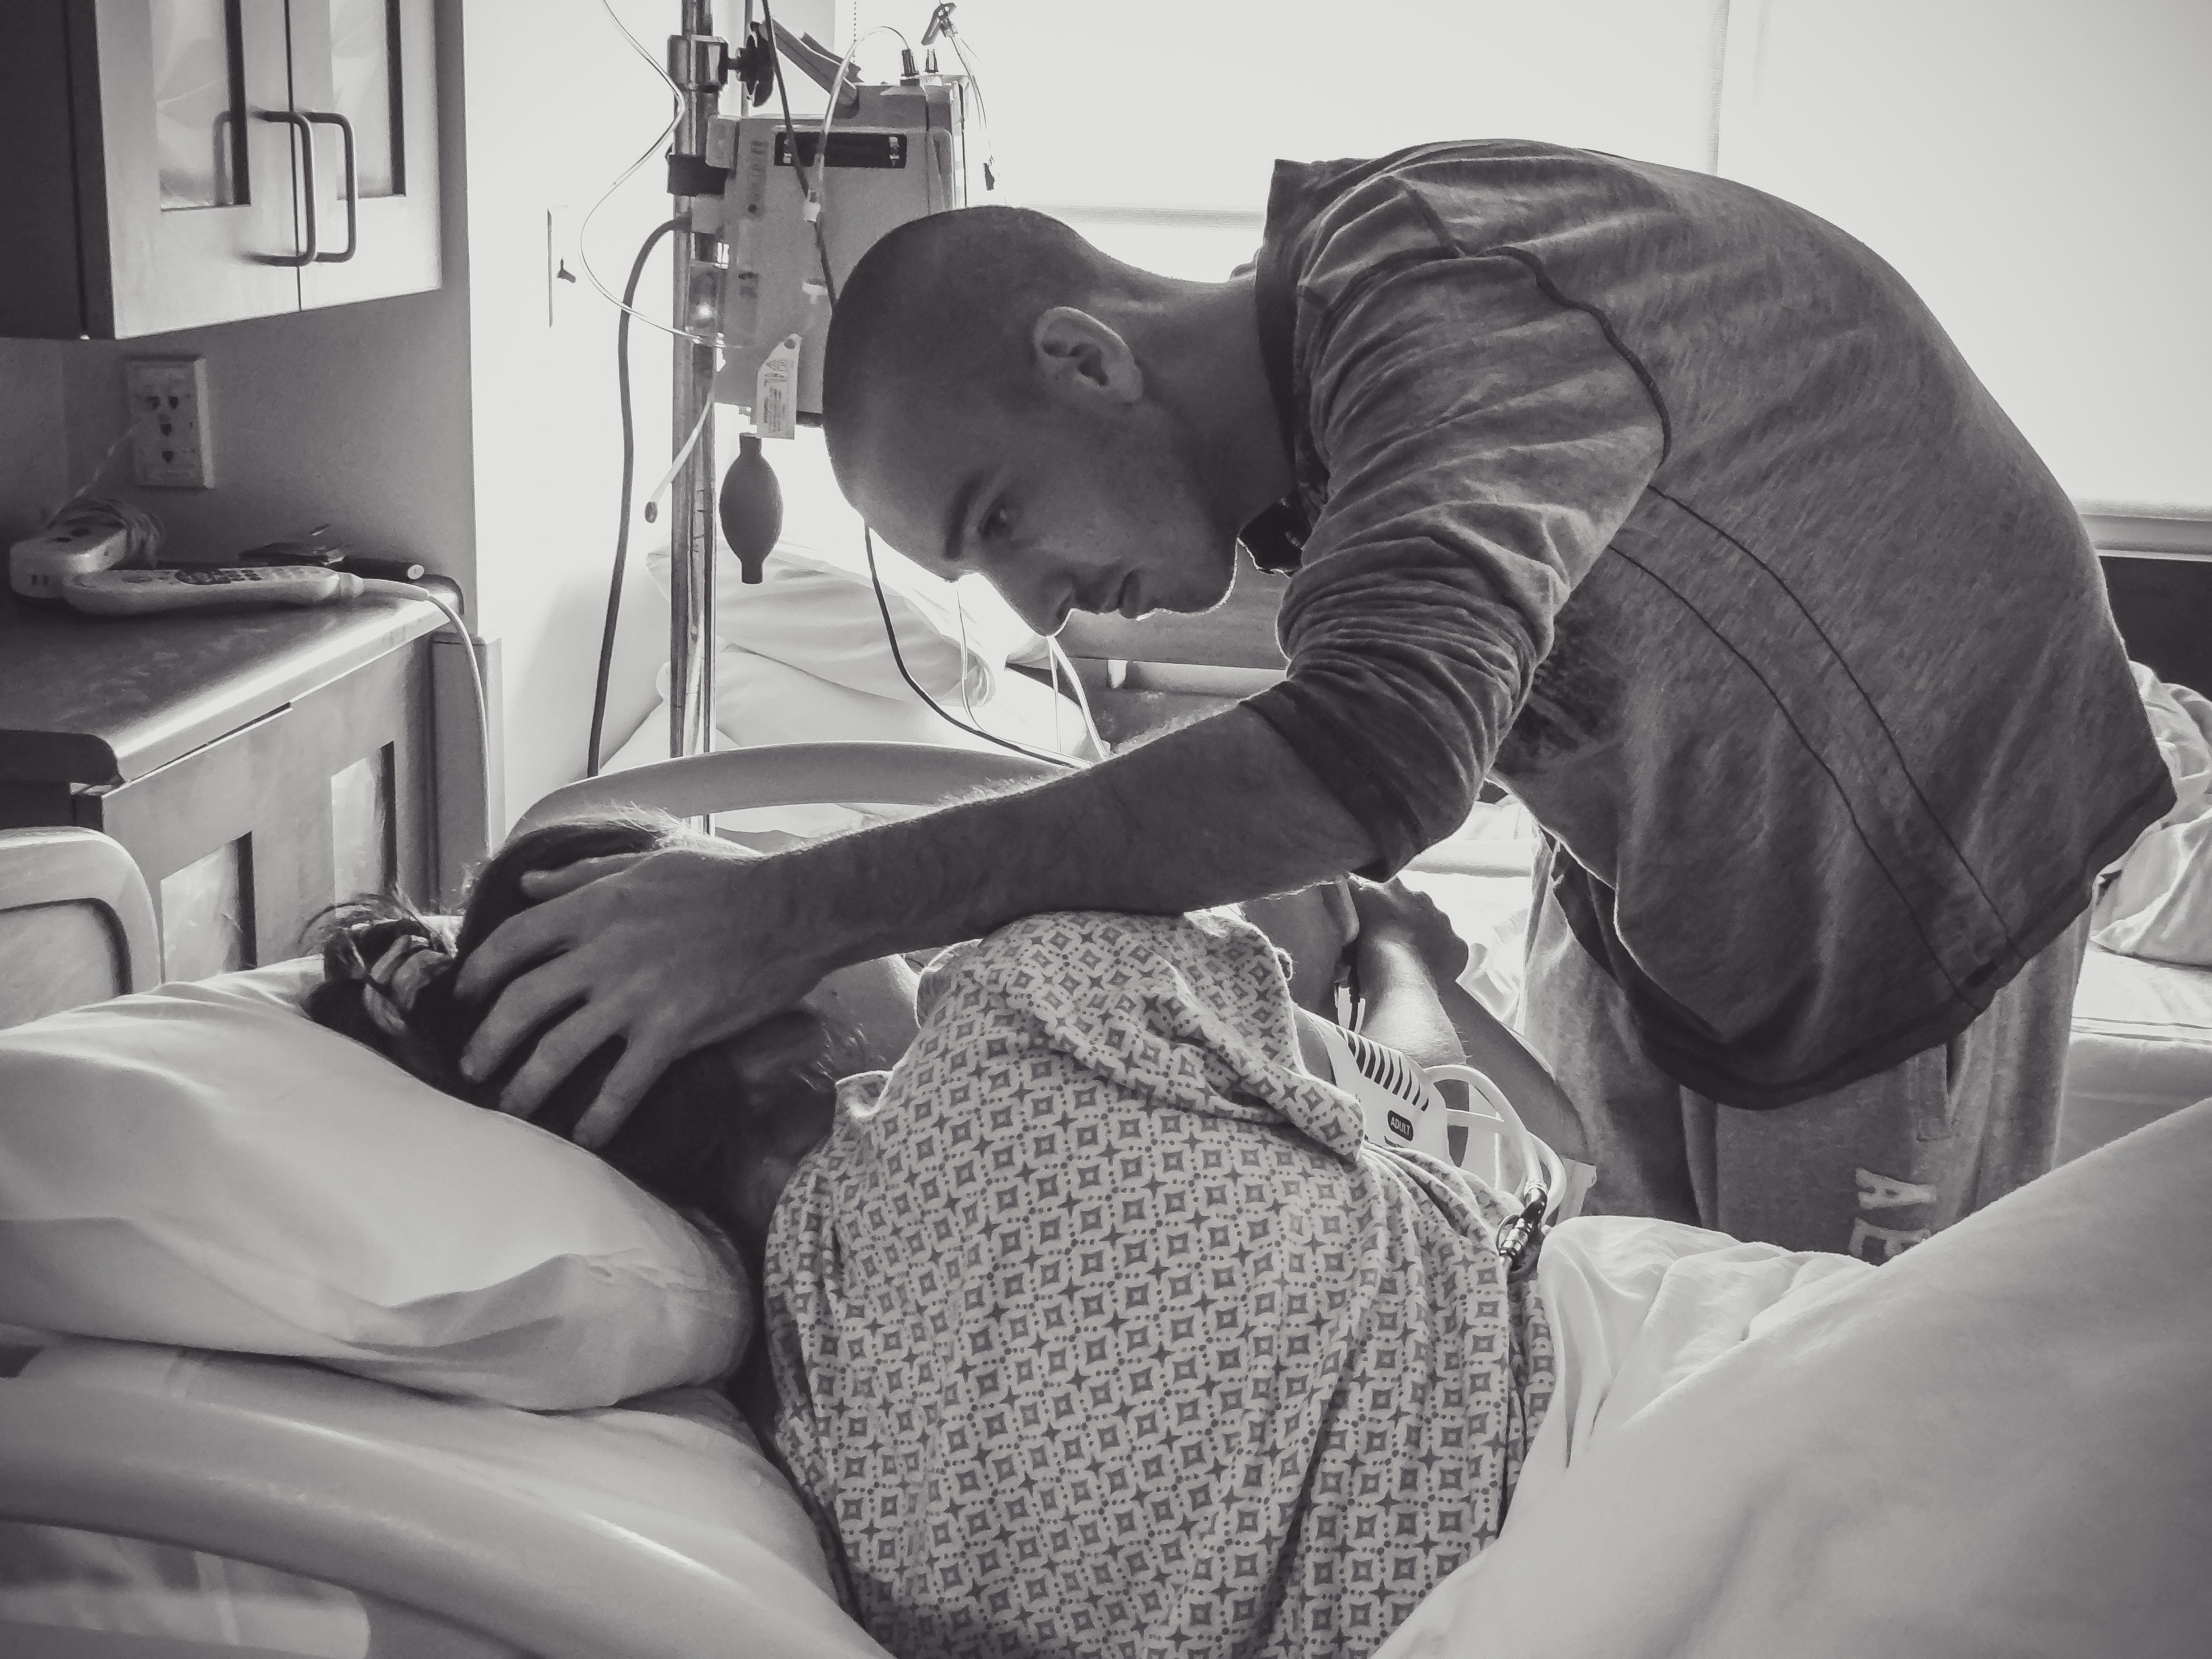
- My job was to (first and foremost) support my best friend. I was extremely focused on the pictures, but at the end of the day, wanted to be there for her.
- While the pictures are not technically perfect, my main concern was to be a fly-on-the-wall. I turned off the shutter sound on my camera, as well as the focus light (it was bright orange.) I did not use flash and the room was dim (again, comfort for everyone else) so the shots I got are more emotional than sharp and bright. I hope you understand.
- You do not need any fancy-shmancy equipment to follow these guidelines, any camera will do!
Pre-Visualize Your Story
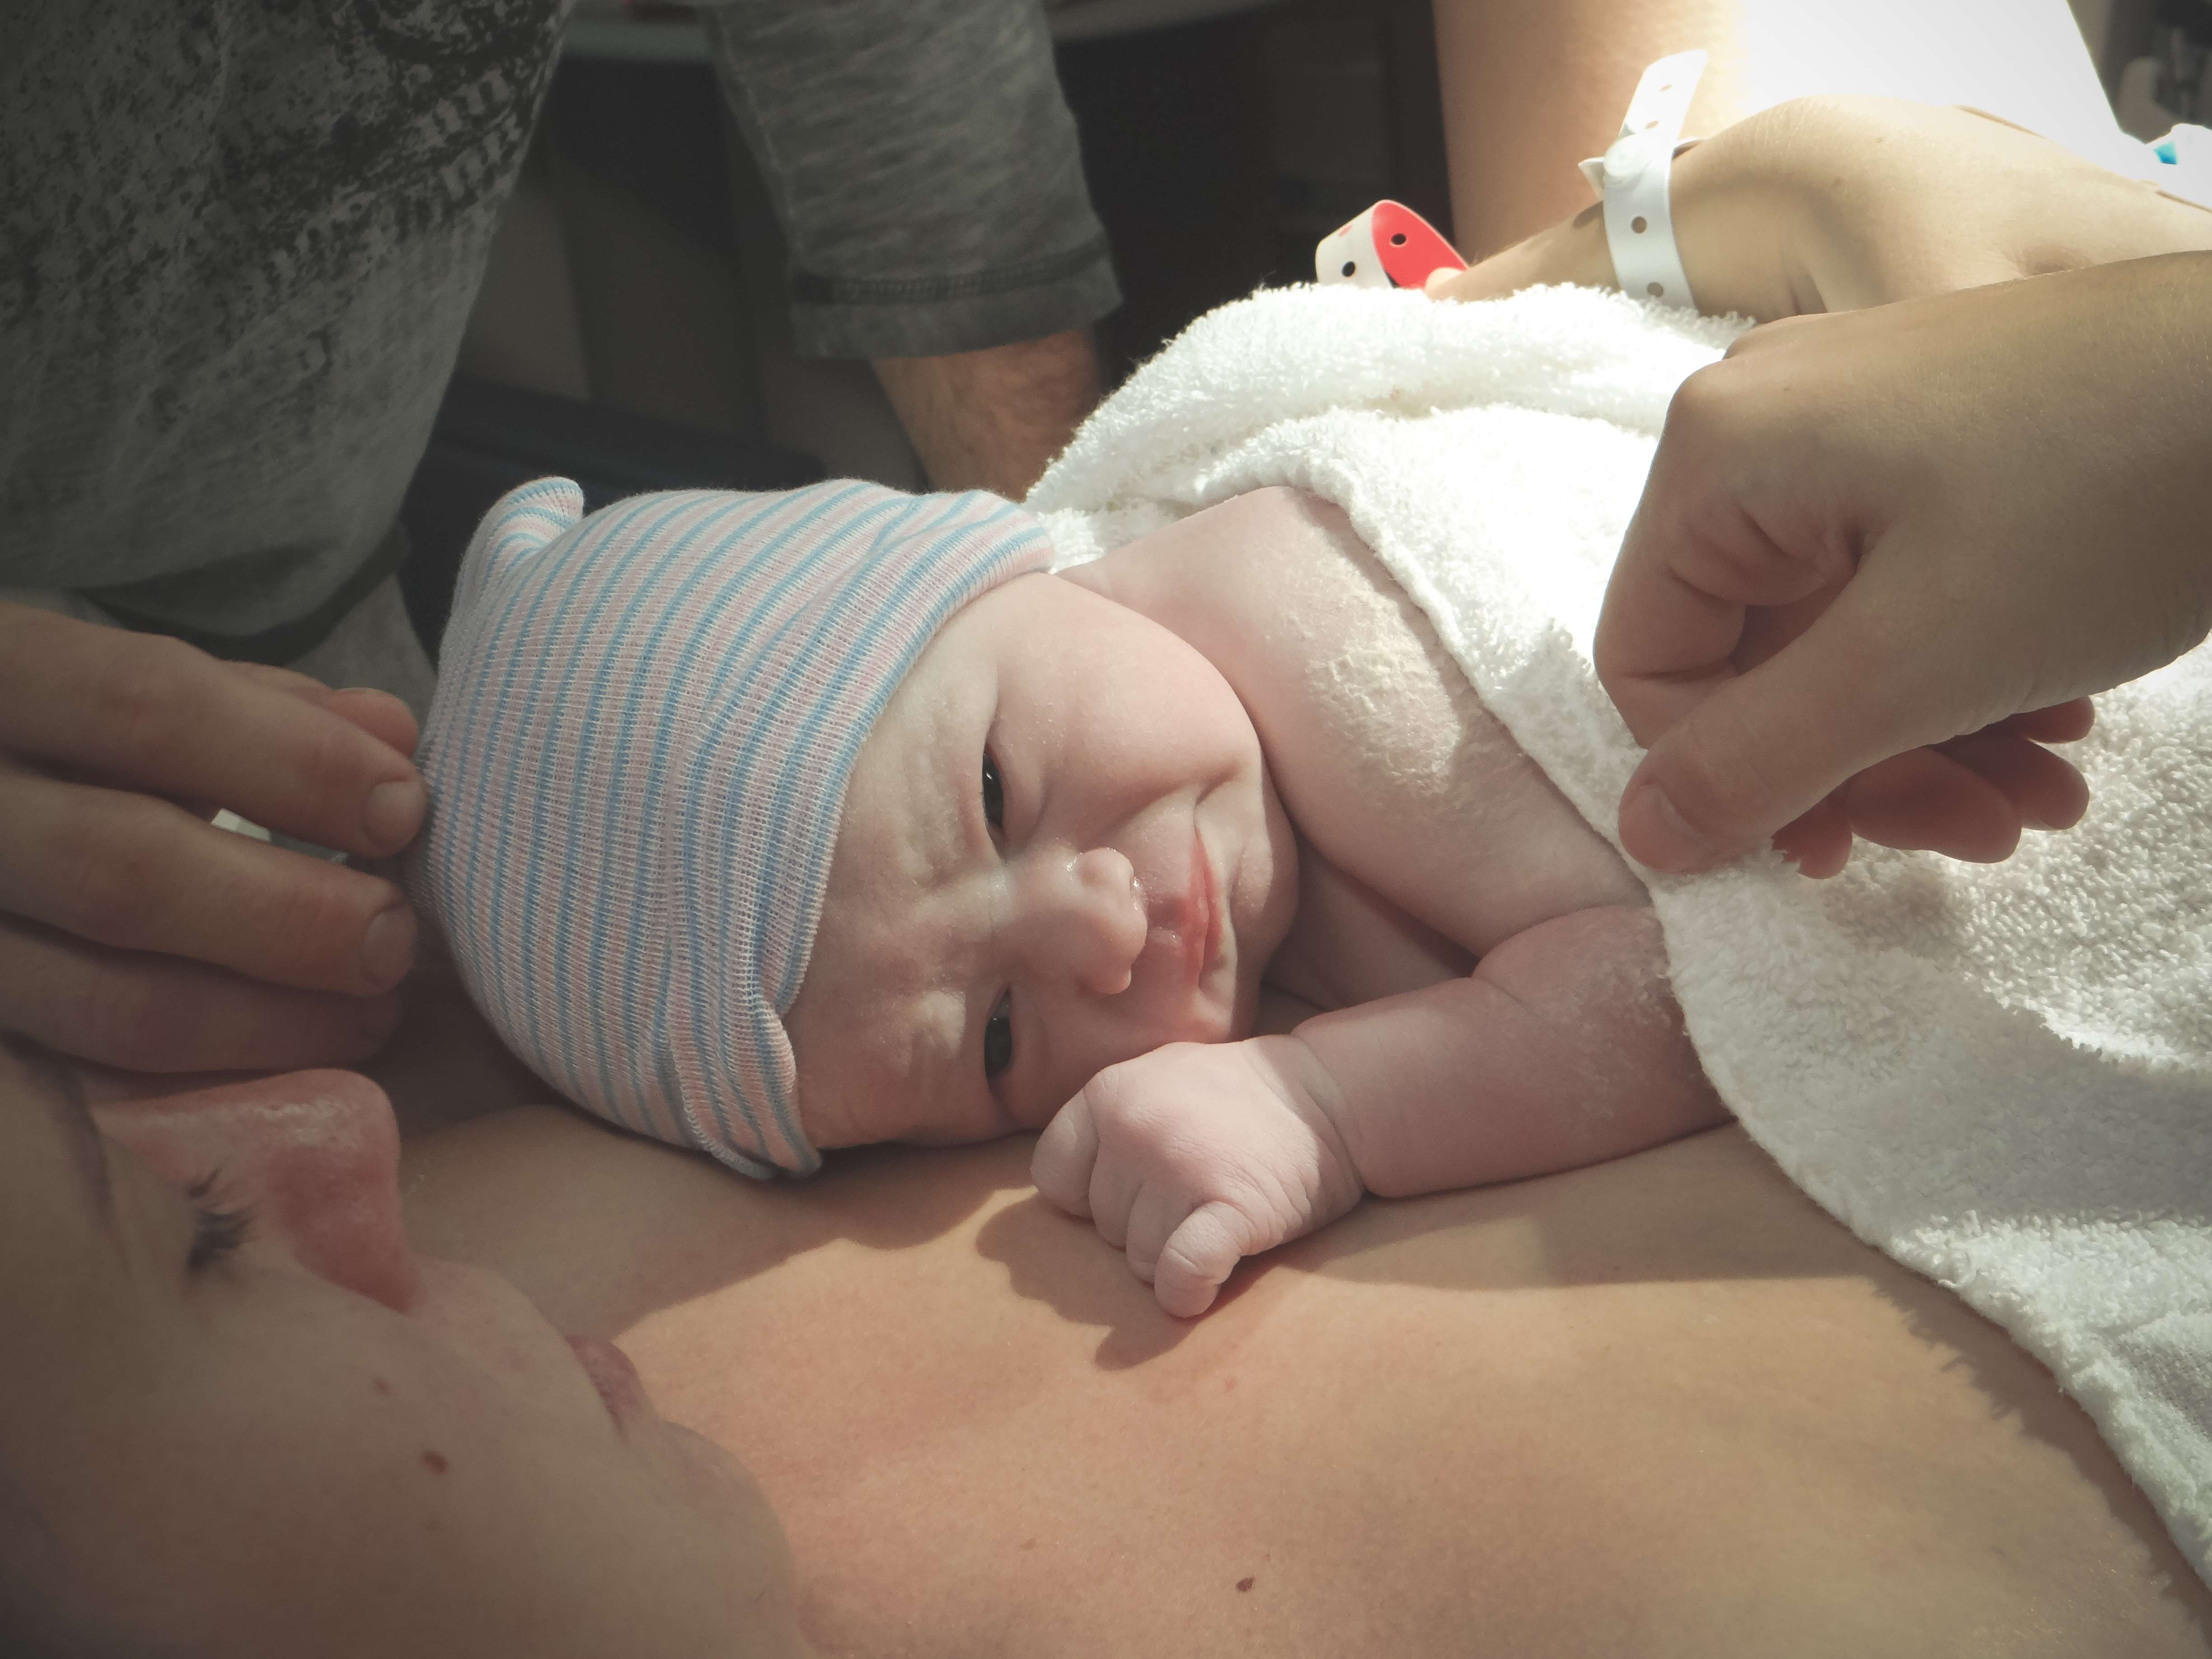
-If possible, get physically closer to your subject, rather than zoom.-Filling the frame is the easiest way to imagine a close-up shot.
-Think of close-ups as a magnifying glass, not a telescope.
-You do not need any special equipment for a detail shot, just get as close as you can.-The actual detail you photograph does not have to be "small" because small is a relative word. The detail needs to be a smaller part of a bigger subject.
-Size is not the only determining factor of a detail shot. Using color and depth of field is a great way of establishing detail, even when you have a wider shot. As long as the viewer's eyes are drawn to a particular detail.
-Look out for reflections, textures, and silhouettes to start training your eye to "see" the details.
If you go into a scenario where you will be taking pictures that you want to tell a story with, pre-visualize what kind of story you are telling, take the above 4 types of shots and put them together. Voilà!
Remember, less is more. Out of the 300+ pictures I took (mostly out of boredom because babies do not operate on a schedule) I ended up actually using only 26 to tell her story (below.)
An added bonus to this method is less post-editing! You will inevitably end up cropping less because you went into the situation prepared for what kind of shots you need. Score!
Proceed With Caution: If you are sensitive, these pictures may be too graphic for you or small children.


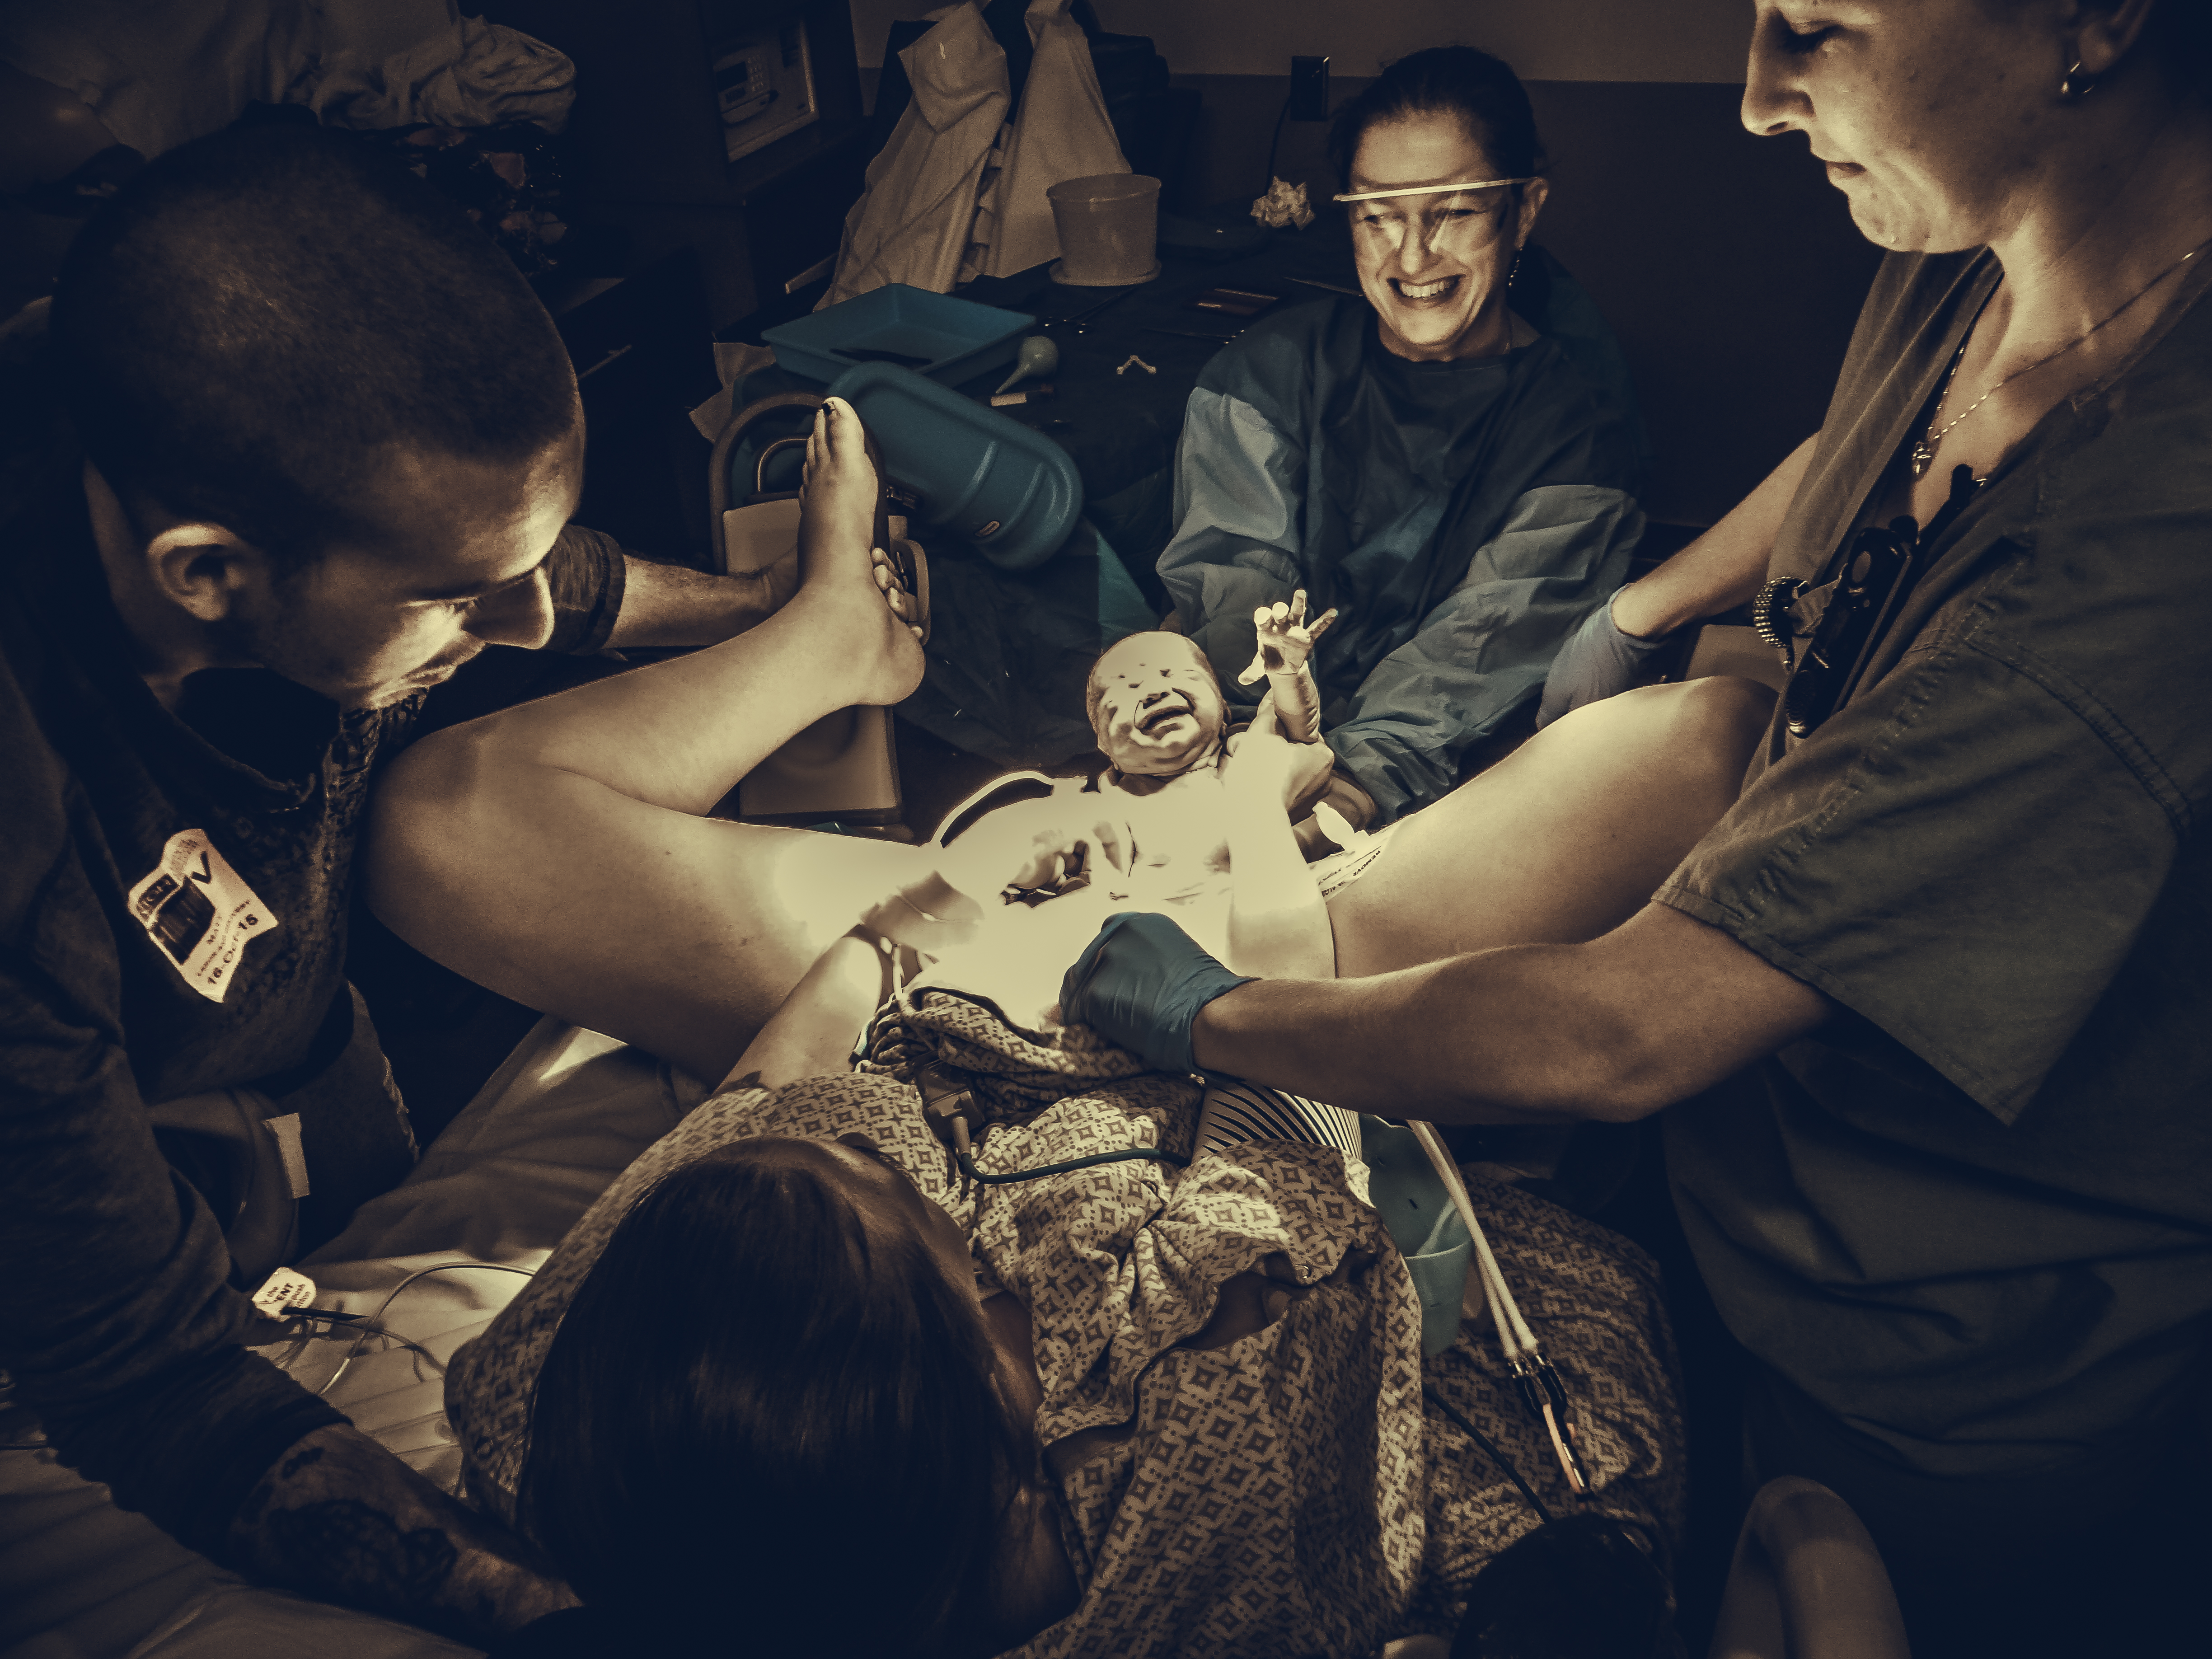
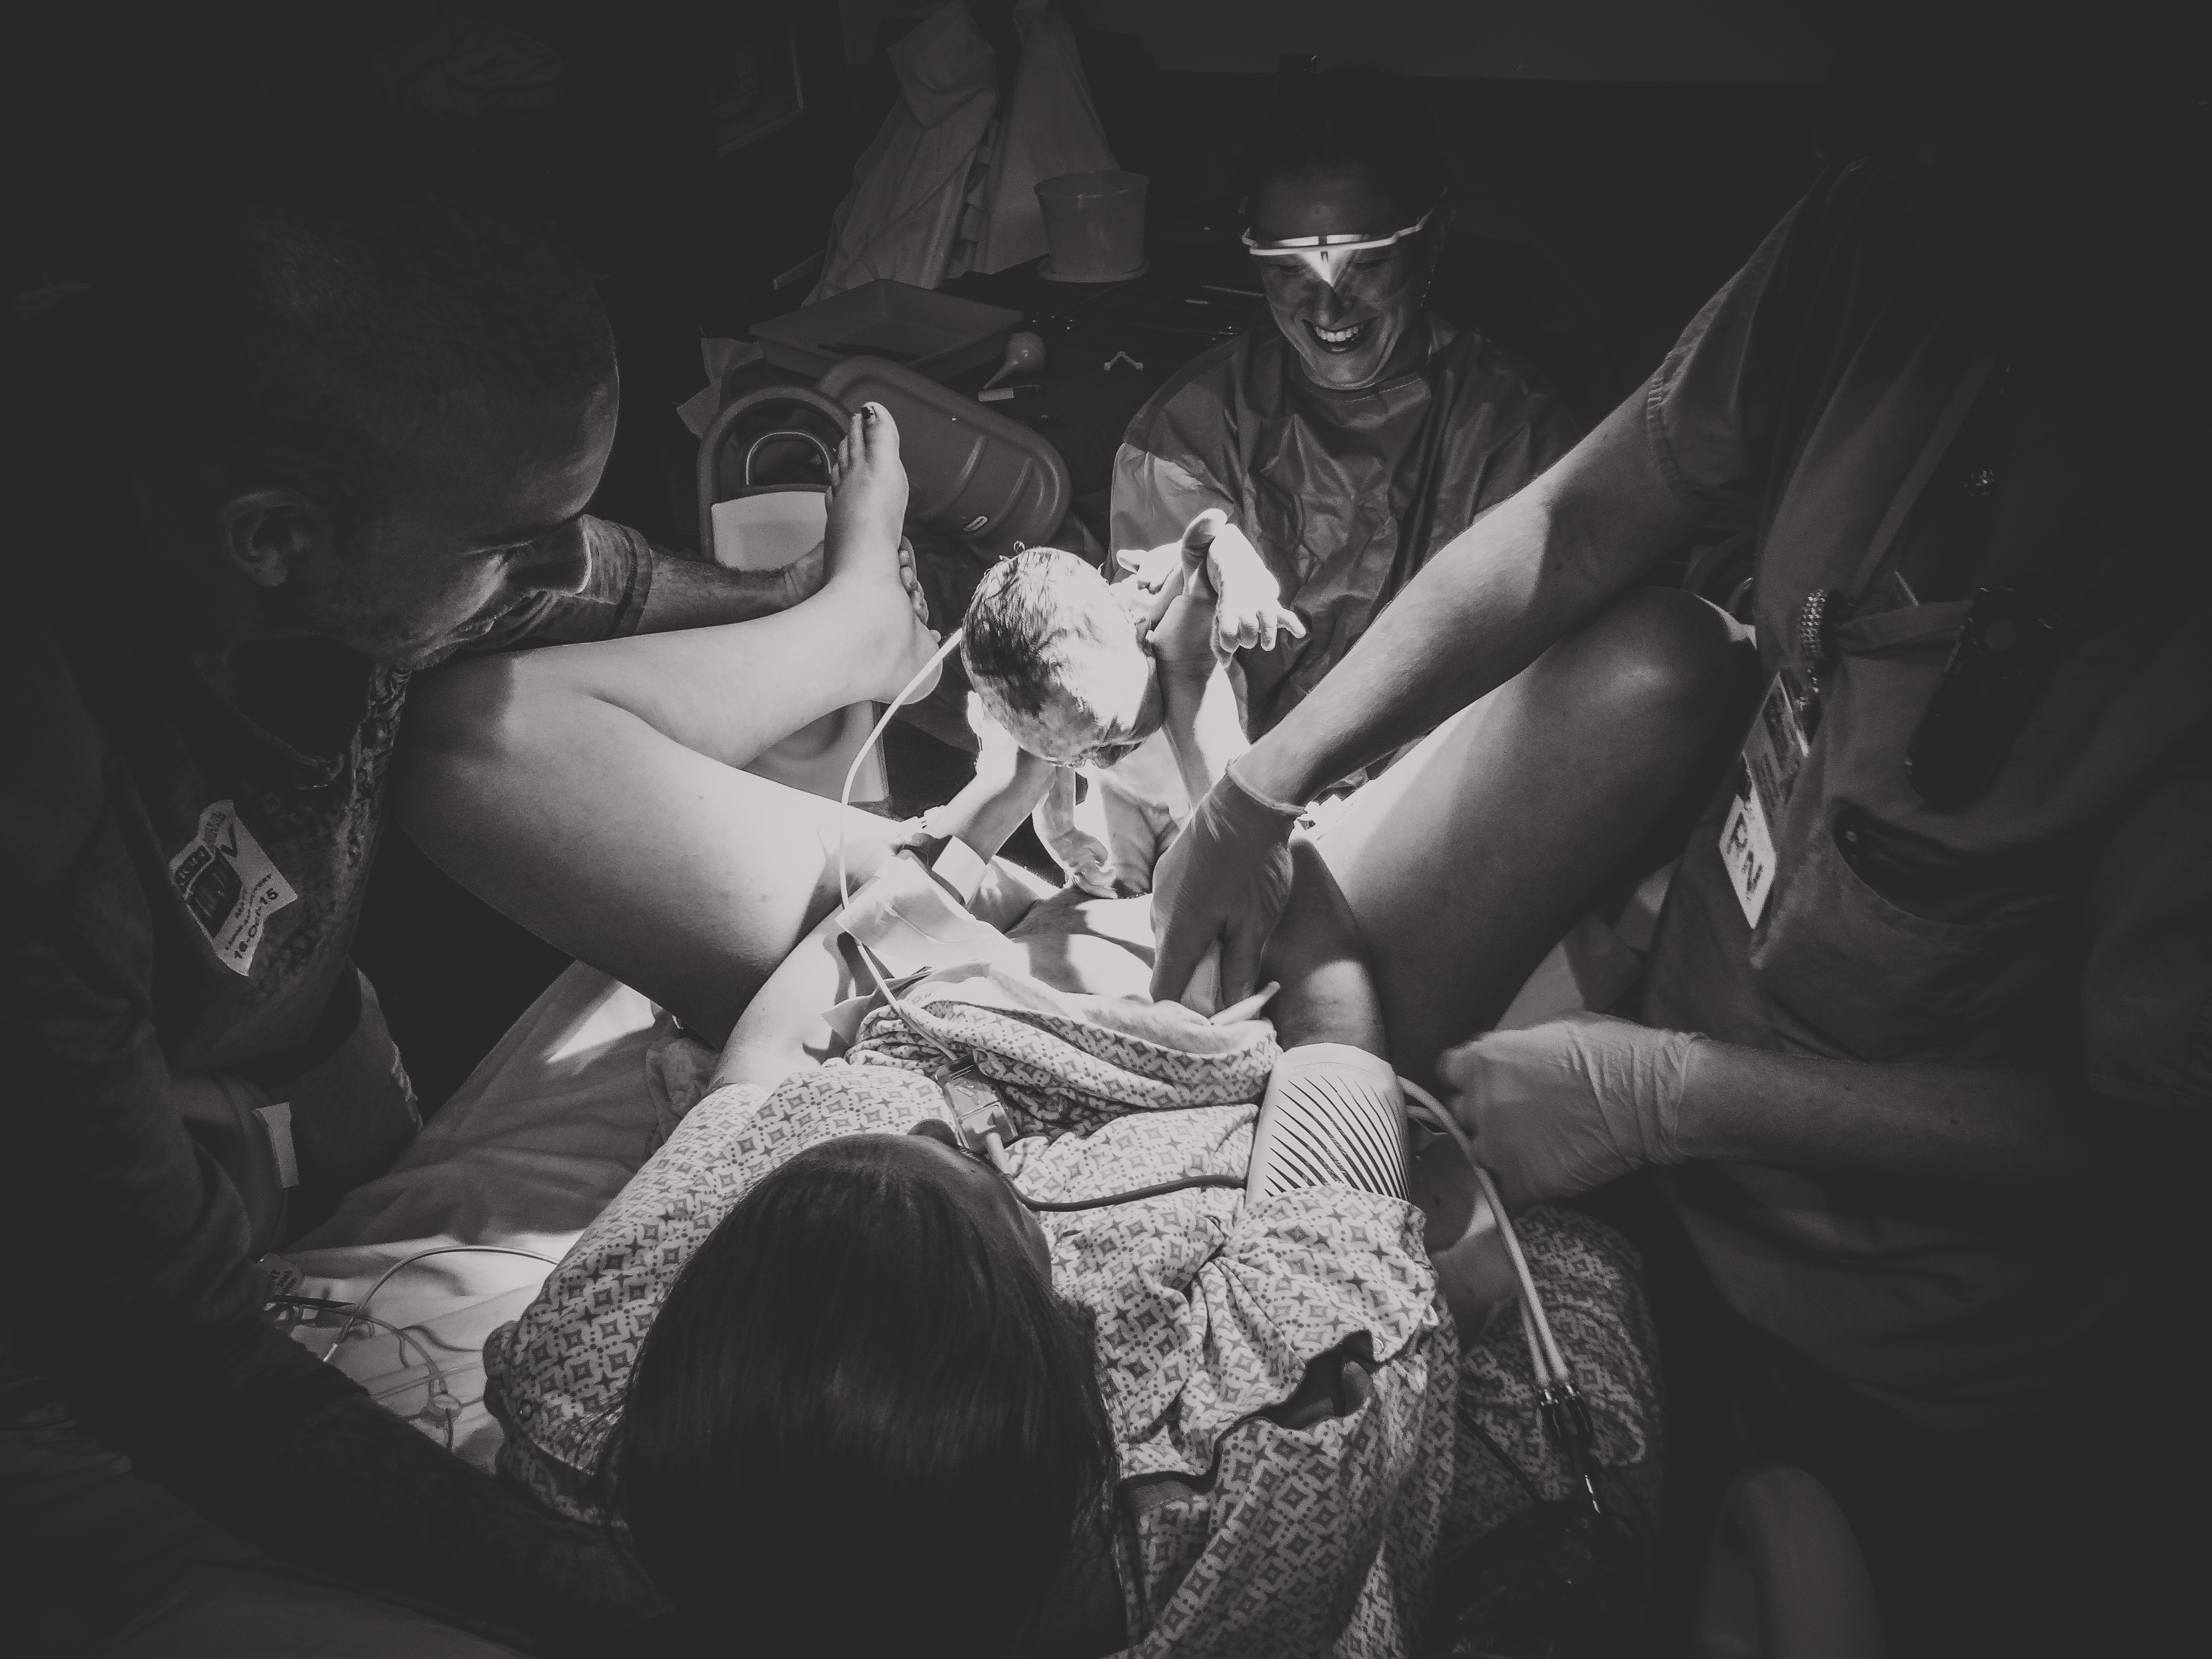
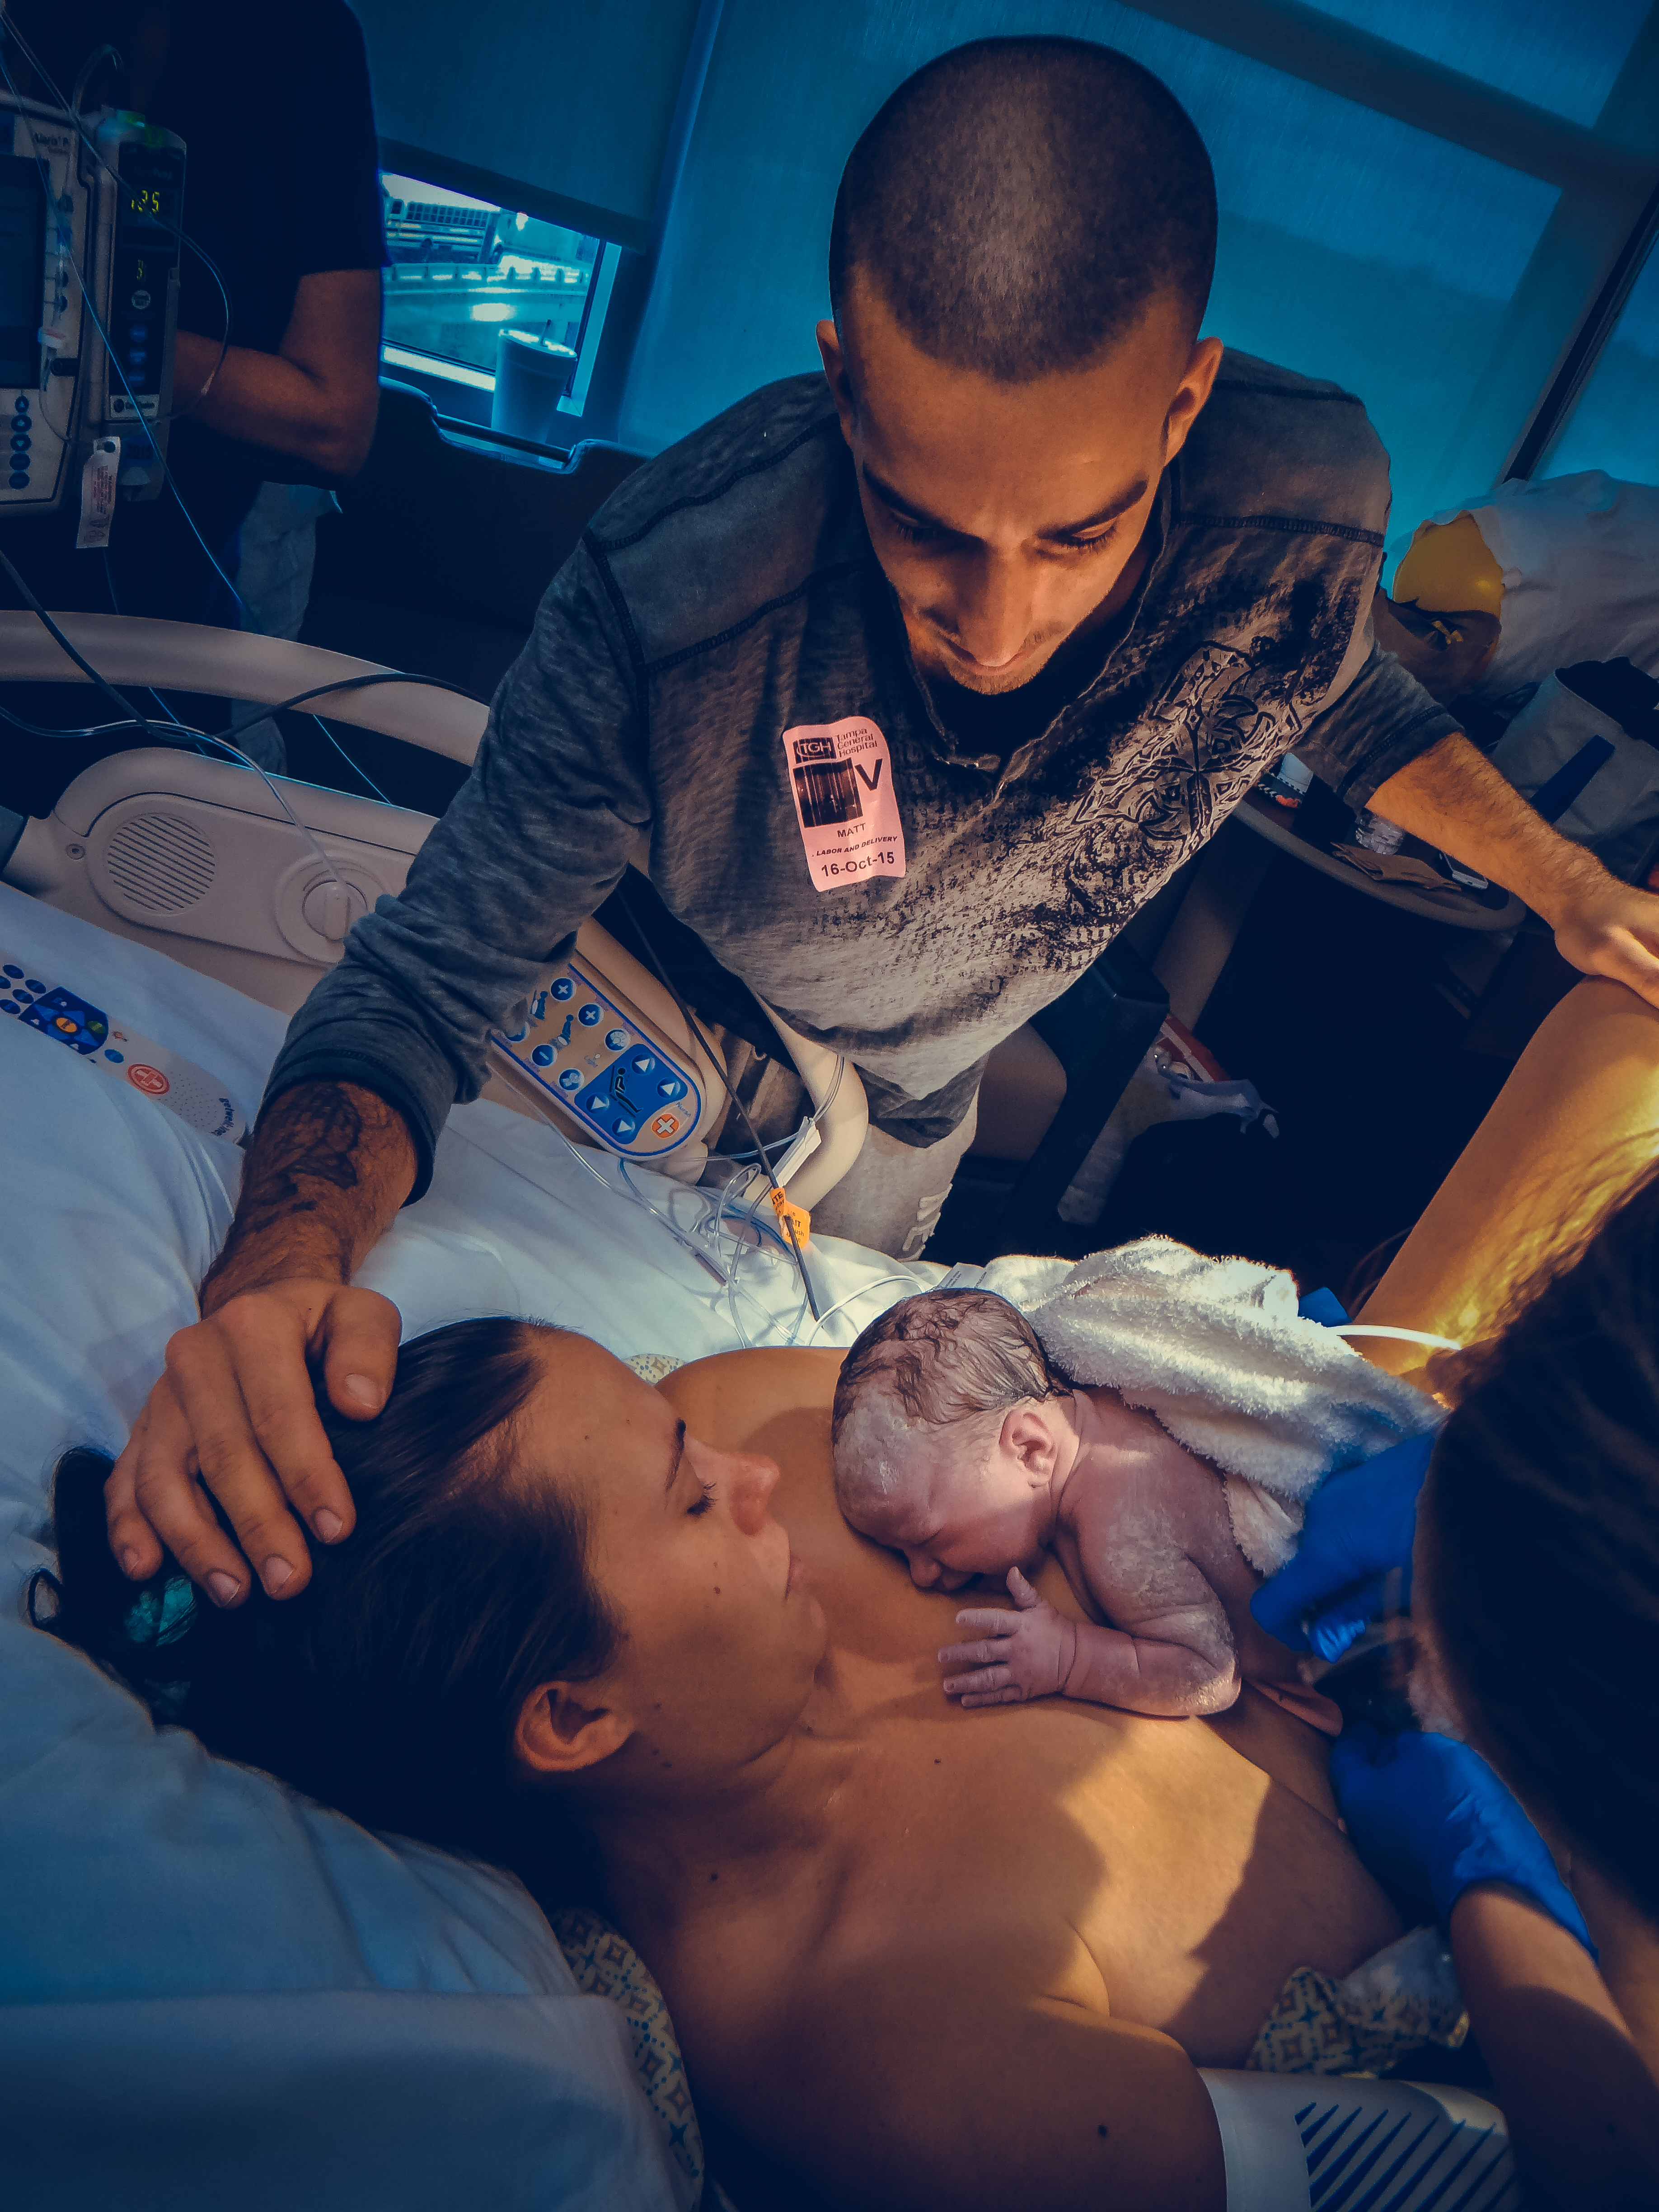
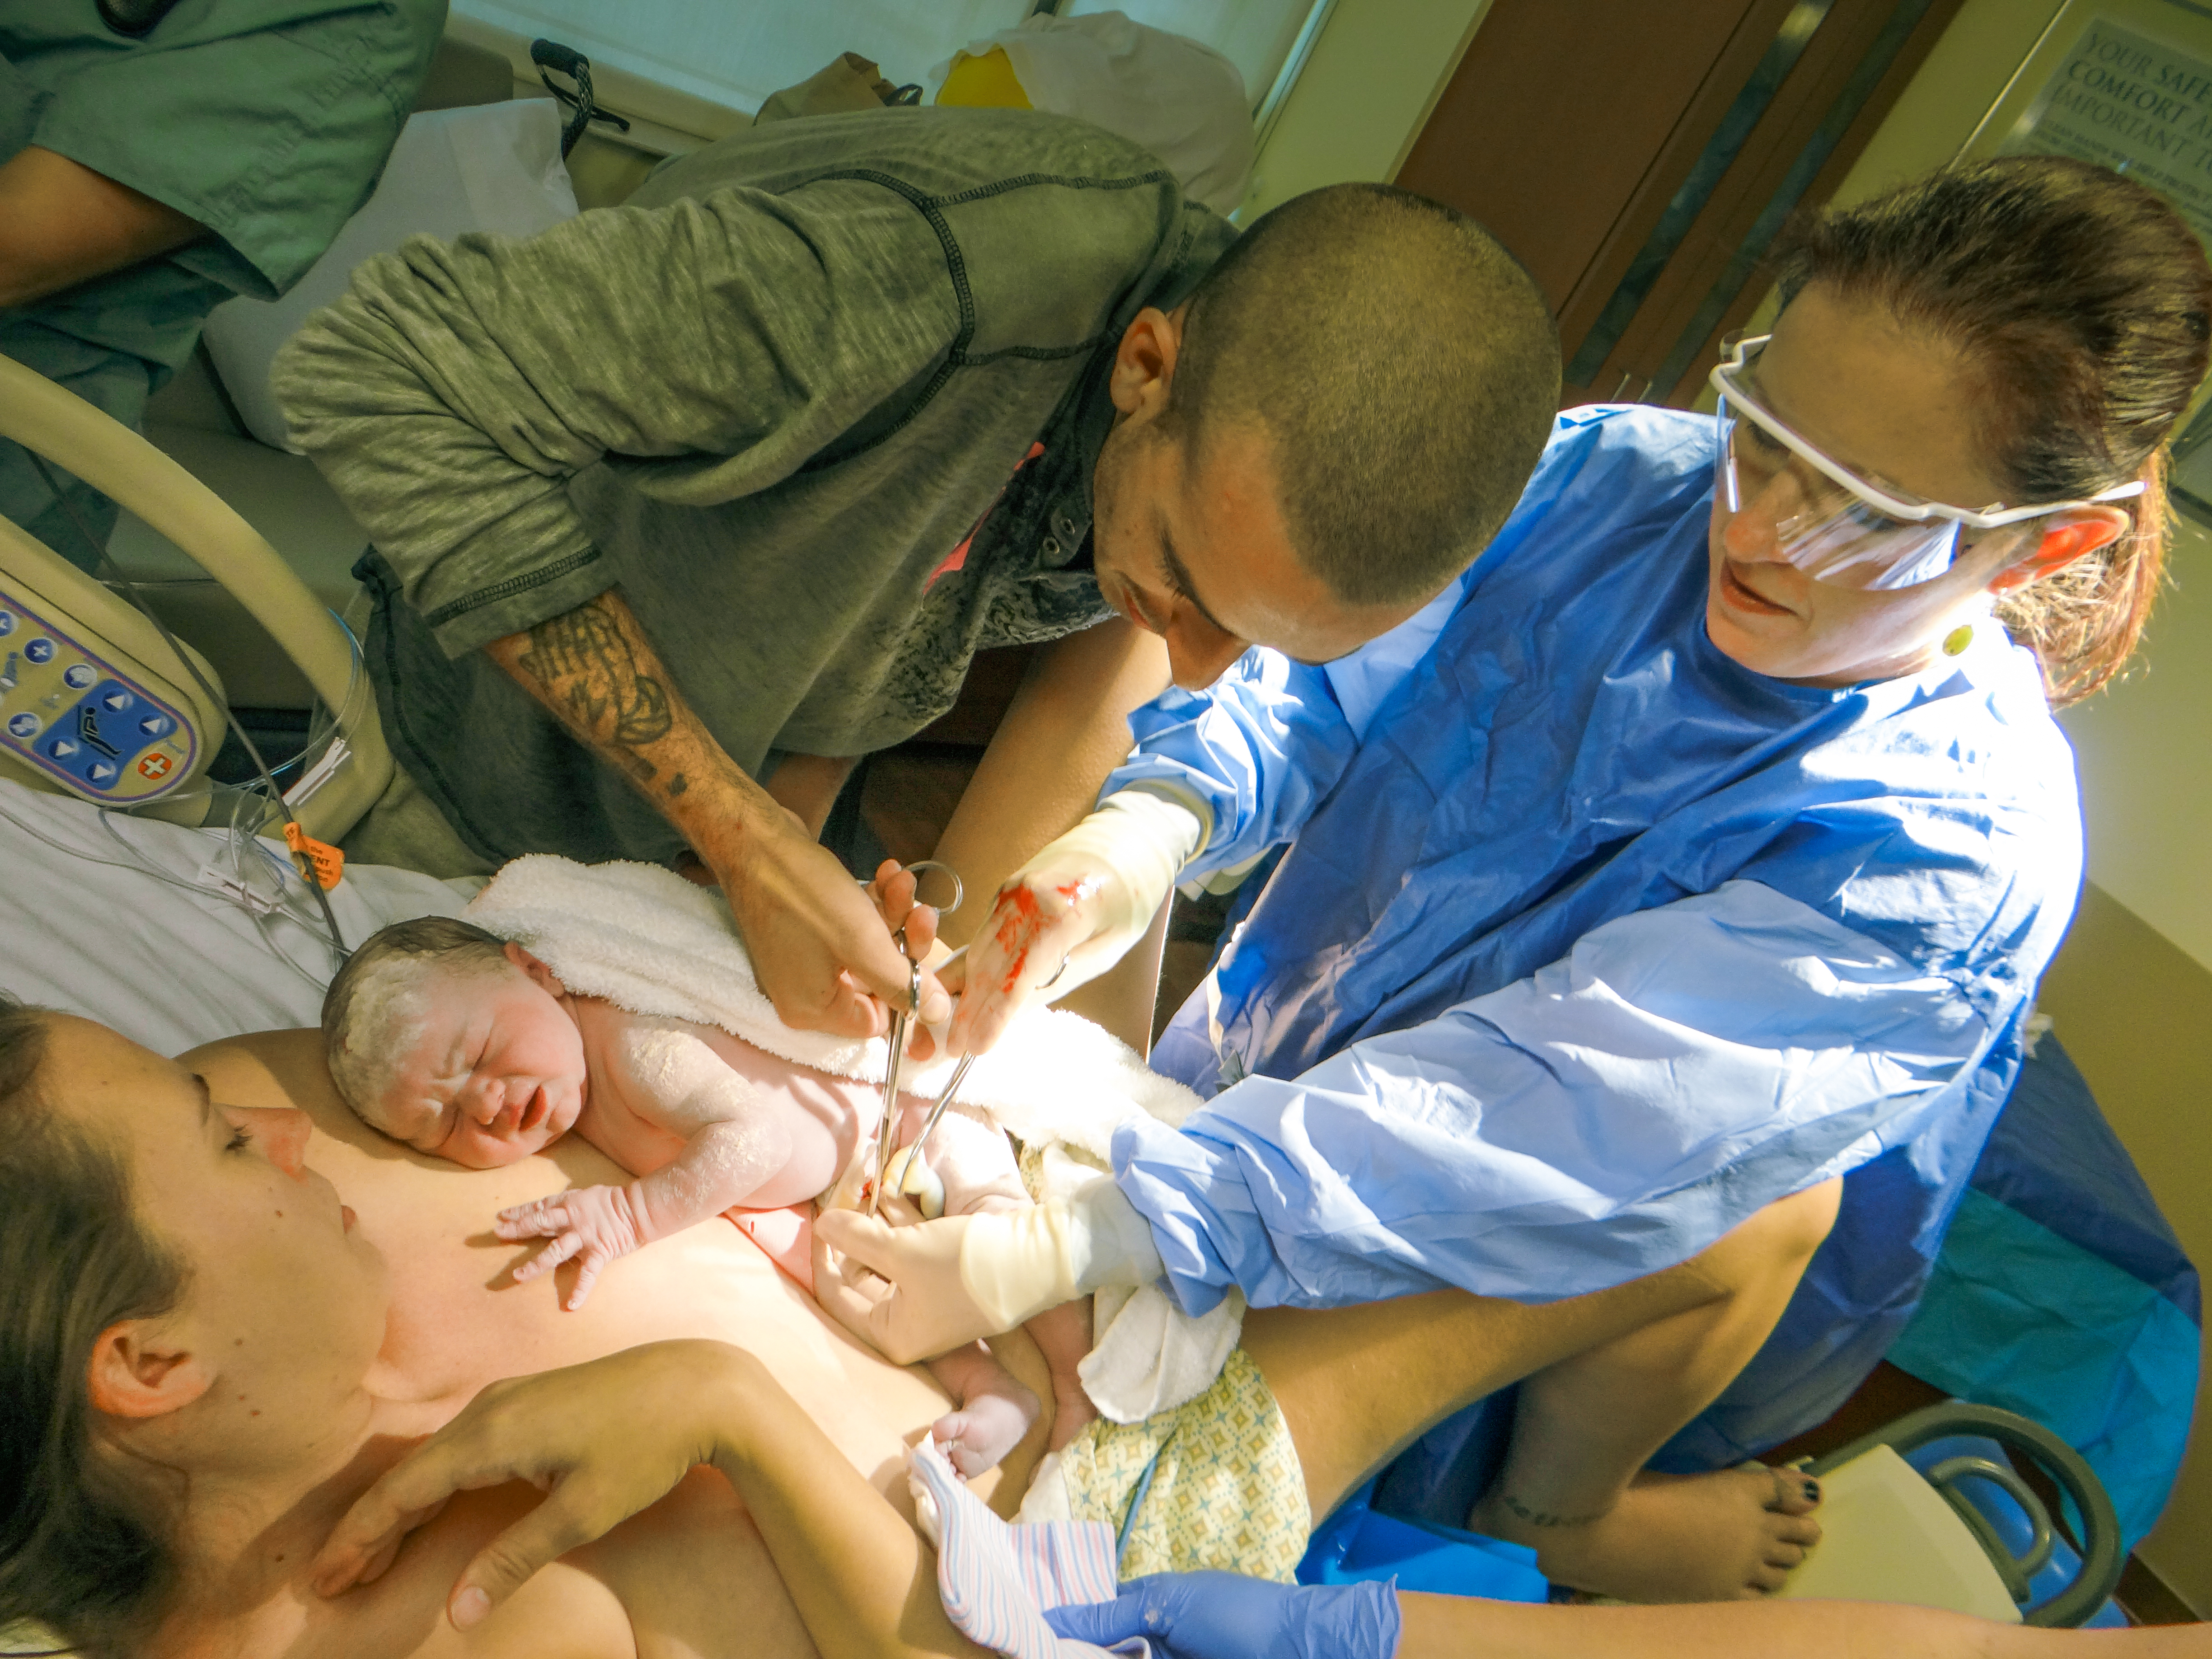


I want to take a second to thank Brittany and Matt for allowing me full access to their labor and delivery story. I feel extremely honored to have been present for the birth of my new niece and the privilege of capturing such a special moment. Thanks guys!!
Do you have a story to tell with pictures? I'd love to hear about it below!