My favorite craft projects are those that take something mundane, utilitarian or used up and transform it into something beautiful.
Well, it doesn't get much more ordinary than popsicle sticks.
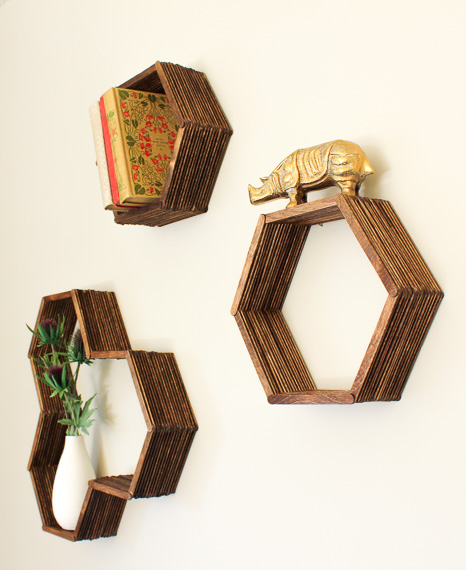
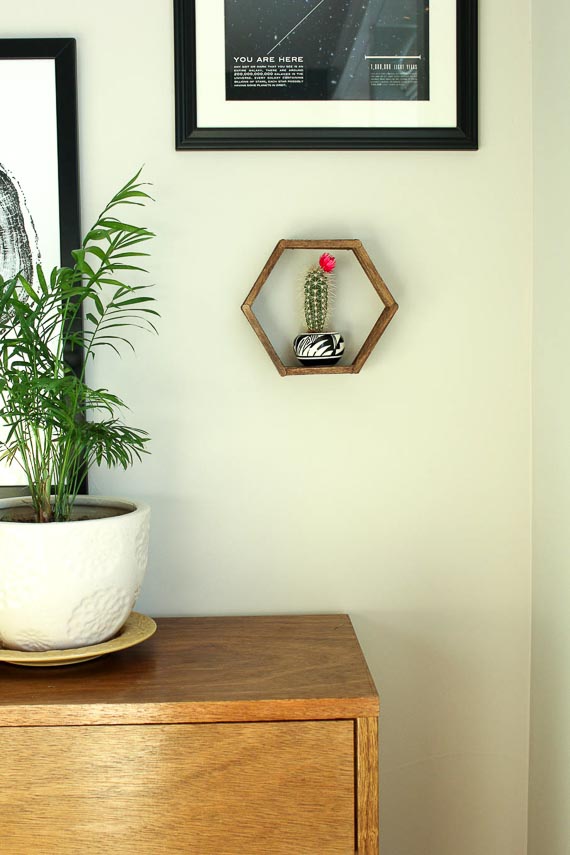
Most of us probably haven't given them much thought since about third grade. But that is going to change today with these DIY hexagon shelves.

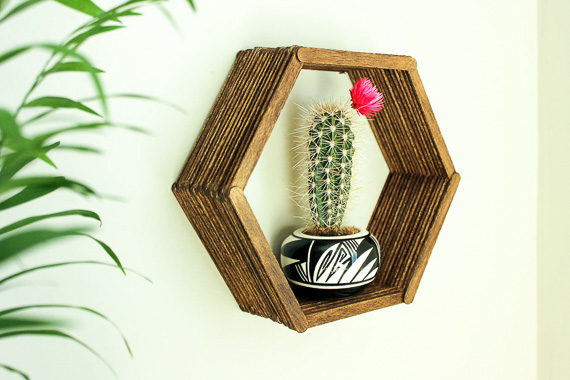
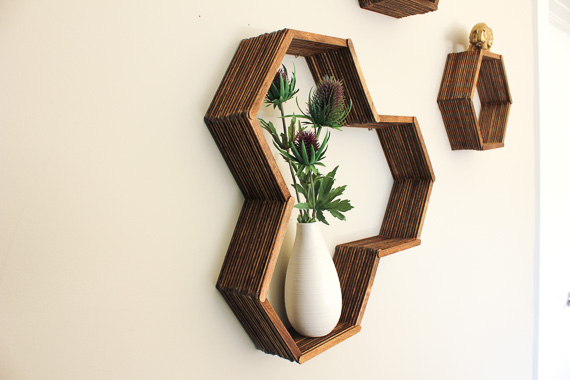
These shelves add instant dimension and warmth any room. Plus, you can change out what lives inside them throughout the year.
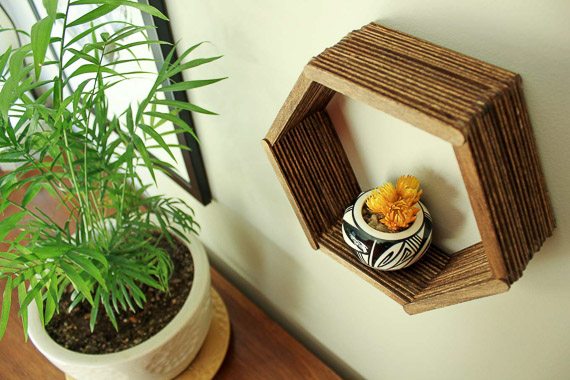
If you're looking for an inexpensive décor upgrade that will inevitably become a conversation piece, this is it. At less than $10 for the entire set of honeycomb shelves, this is some super affordable DIY decor. And most of all, these shelves just look positively Mad-Men-esque up on the wall.
Hexagon Shelf Supplies
• popsicle sticks (You'll need about 100 per each single hexagon shelf and 200 for the larger honeycomb shelf)
• tacky glue
• honeycomb shelf template (Download it from MakeAndDoCrew.com.)
• wood stain (Minwax Early American was used here.)
• paintbrush
• 1 picture hanger (Optional)
Instructions
1. Download the template. Print it, trim it and tape it together.
2. Position popsicle sticks as pictured, alternating every other hexagon side. I've found that adding a drop of glue to both ends of 3-4 sticks at a time and laying them in their appropriate position to be the most efficient strategy.

3. Add glue to more sticks and use them to make a second layer on top of the first, alternating every other hexagon side.
4. Continue like this until your honeycomb shelf is desired depth. The shelves pictured are about 16 popsicle sticks deep per side.
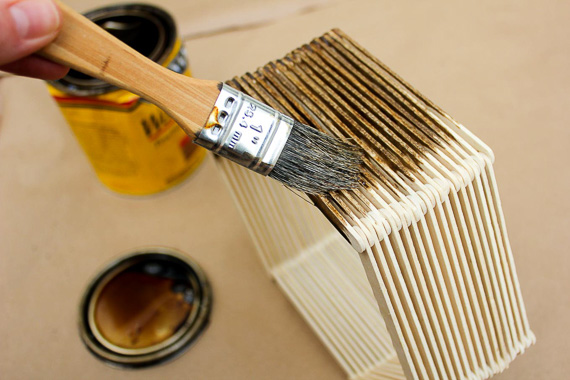
5. After the glue is dry, use a paintbrush to apply wood stain. Make sure to get stain between each stick. Let the stain dry.
6. If you'd like, glue a picture hanger on the top side of the hexagon. (Or simply hang two nails for the shelf to rest on.)
7. To make a larger honeycomb shelf for your new hexagon twins, check out this DIY Honeycomb Shelf Tutorial.
8. Fill your new shelves with your favorite miniature possessions. Less is more.
9. Sit back, admire and let your third grade self revel in the lowly popsicle stick's potential finally actualized.
Find more low-budget, high-style DIYs at MakeAndDoCrew.com.