Shaky hands leave me few options when it comes to getting creative with my nails. Whenever I paint them, they come out a streaky and one hand is always infinitely better than the other. The thought of applying fake nails is daunting, while trying to attempt delicate nail art would be next to impossible -- but this doesn't mean my nails are a lost cause. Enter nail stickers.
They seemed like the perfect solution -- they required little to no skill on my end and came already elaborately decorated. I bought two different pairs to attempt my first nail sticker application (Sephora by OPI Nail stickers and Kiss Nail Dress stickers) and decided to apply them sans video, as the detailed instructions on the back seemed like more than enough (this could have been my first mistake). After about an hour of pain and agony, I finished. They turned out okay, but getting there was no small feat. Let me break down the application:
The good: The Sephora by OPI nail stickers were much too stiff to apply to the nails -- they didn't bend and weren't adhering properly. I quickly switched to my Kiss Nail Dress stickers and application became instantly easier. My biggest concern was filing away the excess sticker, but this turned out to be the easiest part, especially since my second set of stickers came complete with a mini nail file.
The bad: Getting the nail sticker to be the same width as your nail bed is somewhat of a nightmare. They tell you to simply trim them to the correct width but it seems impossible to measure it exactly -- some of mine ended up being too thin or too wide.
The ugly: Bubbles. Laying down the stickers is one thing, but trying to get them to lay flat is another. Eventually I had to settle for a few bubbles as the stickers wouldn't smooth out completely.
Final result:
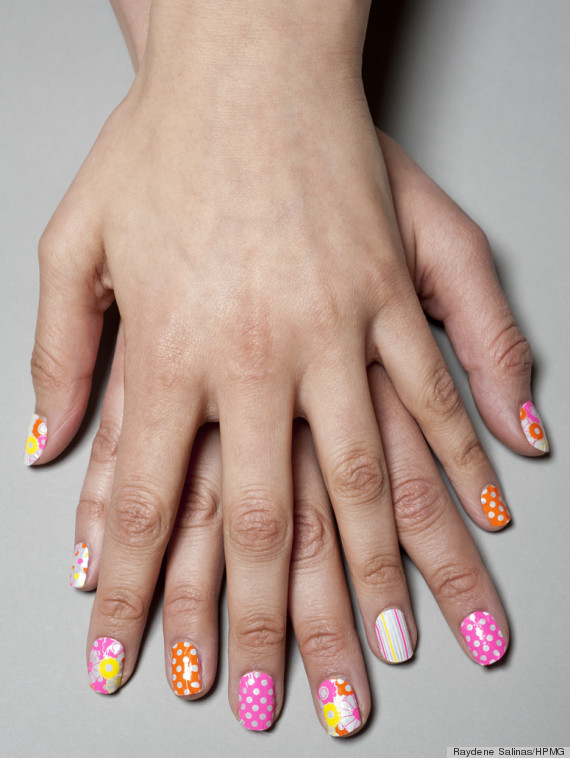
Difficulty: Medium/Hard -- let's just say I won't be trying nail stickers again for a while... unless I have an hour to kill.
Meanwhile, checkout other inspiration nail art:

DIY Nail Art Ideas
Want more HuffPost Style beauty content? Check us out on Twitter, Facebook, Tumblr, Pinterest and Instagram at @HuffPostBeauty. (For everything else check out our main HuffPost Style Twitter, Tumblr, Pinterest and Instagram @HuffPostStyle.)
--
Do you have a style story idea or tip? Email us at stylesubmissions@huffingtonpost.com. (PR pitches sent to this address will be ignored.)