
My son once asked me, "If I could eat only one thing for the rest of my life, what would it be?" Pizza of course, for me it was an easy answer. It's such a versatile food. It can be savory, it can be sweet and you can add just about any topping. My friend Sue has always said, "Sex is like pizza, even when it's bad, it's good." I'm not sure everyone would agree, however, it does illustrate how yummy pizza can be even when it's not perfect.
I have attempted many pizza dough recipes over the years and quite honestly, I haven't produced a dough I didn't like. This recipe in particular, by Cooks Illustrated, intrigued me. It included a potato in its ingredients and it described the finished product as a deep-dish pan style, similar to that of Pizza Hut.
Did someone say, Pizza Hut? I have very fond memories of eating at Pizza Hut as a kid. To me, it's emblematic of the 1980s; a time in which life seemed simple and safe. The red ski slope roof, the brown vinyl booths, the stained glass chandeliers, the jukebox -- quintessential eighties indeed.
My dad actually worked for the Pizza Hut corporation located in Wichita, Kansas during the early 1980s and I would visit during the summer and school breaks. Almost every weekend, as part of "research and development," our parents would take us kids to eat at Pizza Hut.
With Pat Benatar in the background and a BBQ-beef pan pizza, life could not be sweeter.

Check out our '80s threads -- such a motley crew. Can you tell we are a blended family and I'm the one who got tossed into the blender? Yep, that's me, the brunette.
With pizza in my genes, it seemed only natural my first job would be at a pizza joint, Little Caesars in fact. Back then, the "pizza, pizza" slogan was in full swing and we were required to say, "Thank you, come again, pizza, pizza." As an acerbic 16-year-old, I was not pleased. I felt embarrassed repeating myself, would people think I had a stutter? Nonetheless, it was my first legitimate job and when I sometimes skipped class, my friends and I would stop by work, make a pizza and head to the beach. Overall, not the worst gig for a teenager.
These days, I try to avoid commercially made pizzas, as they often contain unhealthy ingredients such as MSG, GMOs, hydrogenated oils, nitrates and most likely a plethora of unpronounceable ingredients.
Making your own pizza dough is actually quite easy. It may seem intimidating at first, but pizza dough in reality is a very forgiving dough and can even be frozen. If you have a stand mixer with a dough hook, you've got it made.
Recipe
The original recipe calls for AP flour, I used bread flour instead. If you use AP flour, you might find you have a slightly chewier dough. I also added honey, as I like to add honey to all yeast doughs. You can make your pizza after you have allowed it to rest and rise, however, the cold fermentation process (leaving your dough overnight in your refrigerator) will release more sugars and flavors, resulting in a better tasting pizza. This recipe will yield enough dough for a 14 inch pizza. You can also double this recipe and freeze your extra dough.
Ingredients
Dough
1 medium russet potato, peeled and quartered
3 1/2 cups of bread flour
1 1/2 tsp of instant yeast
1 3/4 tsp of salt
1 cup of warm water (about 110 degrees)
2-4 Tbsp of olive oil
1 Tbsp of honey
Toppings
3 slices of bacon
1/4 cup of maple syrup (preferably grade B)
1 1/2 tsp of soy
1 Vidalia onion sliced into 1/4 inch slices
1 Tbsp of canola oil
Salt and pepper (to taste)
3 cups of shredded mozzarella
pizza sauce
goat cheese
Directions
Set your oven to 200 degrees, one it reaches temperature, continue to heat for 20 minutes, then turn off your heat.
Boil your potato until it is tender, but not falling apart. About 10 minutes. Drain and set aside to cool. Once the potato has cooled, grate on the large holes of a box grater. Measure 1 1/2 cups and discard the rest.
Combine the flour, yeast and salt in your stand mixer.
Measure your warm water and add your honey to the water. With the motor running at medium speed, add your water mixture to your dry ingredients. Once it forms a shaggy ball formation, add your potato. Add your 2 Tbsp of oil and process until your dough pulls away from the bowl. The total active mixing time should take about 7 minutes.
Transfer your dough to a lightly oiled bowl, cover with oil sprayed plastic wrap and place in your warmed oven. Allow to rise for 2 hours.
You can now start your onions.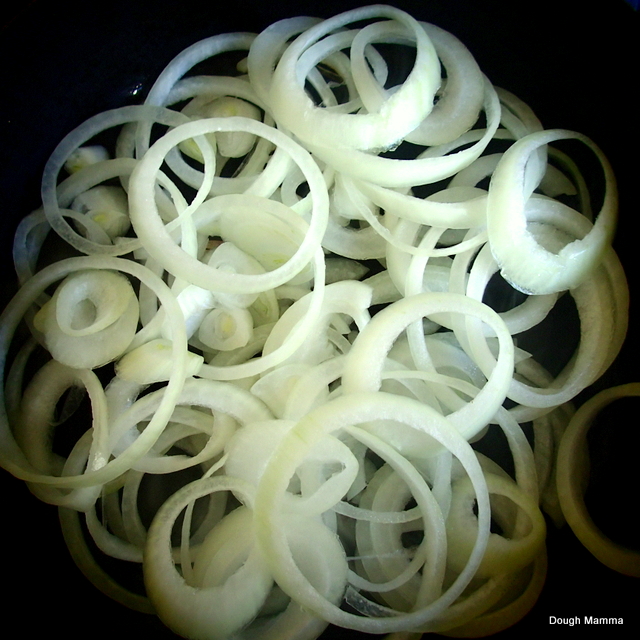
Heat your oil in the pan over low to medium/low heat depending on your stove range. To caramelize your onions correctly, here are [b]five helpful tips:[/b] don't slice your onions too thin; don't add too many onions in the pan or it will take forever to caramelize; cook them over medium/low heat, stir frequently and cook them for about 40 minutes. Salt and pepper to taste. Remove onions and set aside.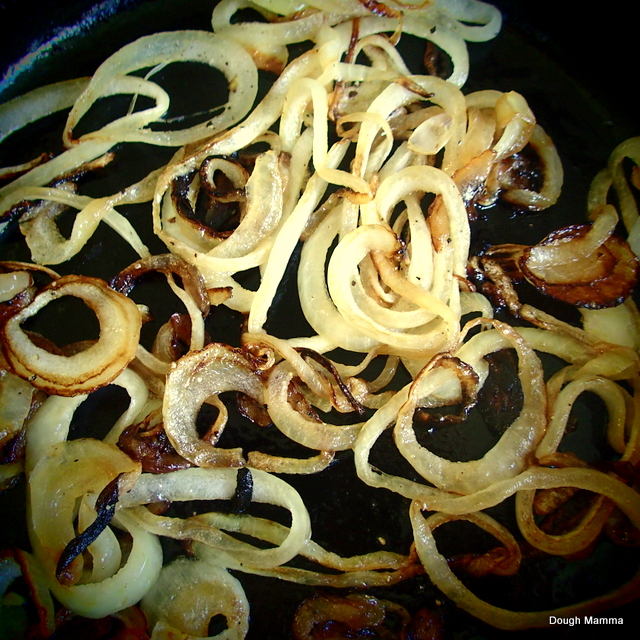
Mix together your maple syrup and soy sauce. Place a piece of parchment paper on a cookie sheet. Lay your strips of bacon on your parchment covered cookie sheet. Take a pastry brush and baste your bacon strips with the maple syrup mixture on both sides.
Now, take each bacon strip and create arches. Creating arches in your bacon will help to circulate the heat and create a more evenly, crisp bacon.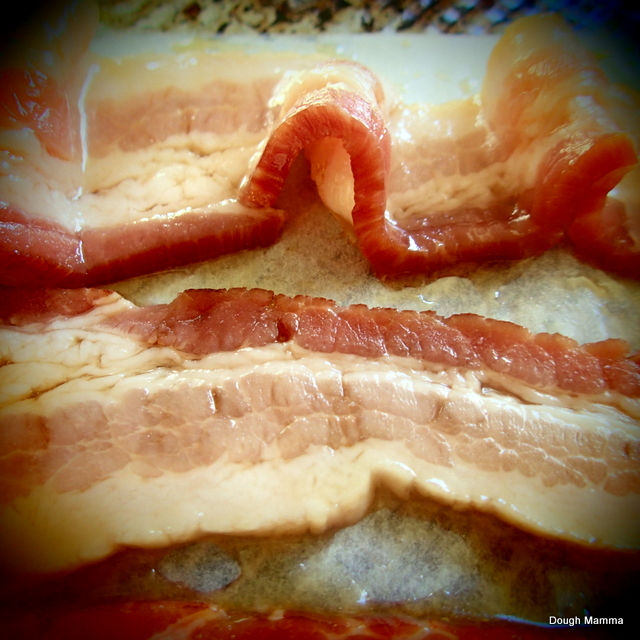
At this point, your dough is probably still rising. You can either set your bacon aside until you are ready to heat your oven or if your dough is finished rising, you can set your oven to 375 degrees and cook your bacon for about 15 minutes or until crisp.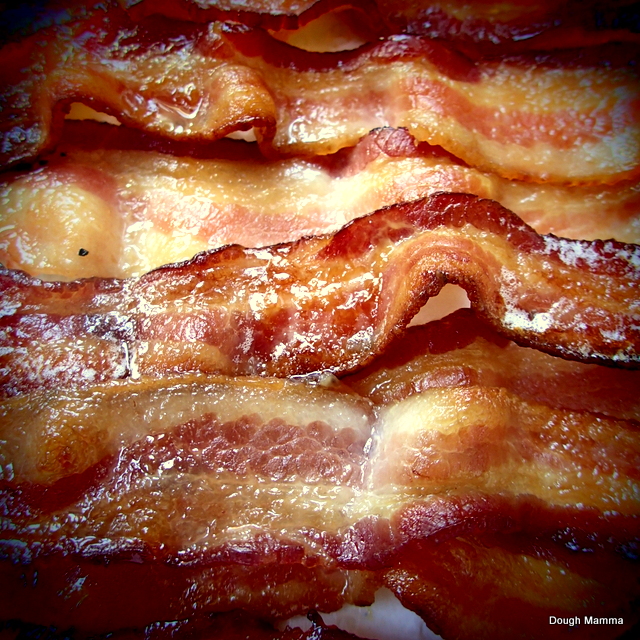
Drain your bacon on paper towels.
Once your dough has risen, punch it down. At this point you can either go ahead with the following steps to make your pizza or recover your dough in the bowl and place it in your refrigerator until the next evening.
Lightly oil (1 Tbsp) a deep dish pan. I used my cast iron skillet and it produced great results. Shape your dough in the pan. Cover again with plastic wrap and allow to rest on your counter top for about 25 minutes. If your dough was difficult to shape in the pan, don't worry, the resting time will allow it to be more easily shaped for the next step.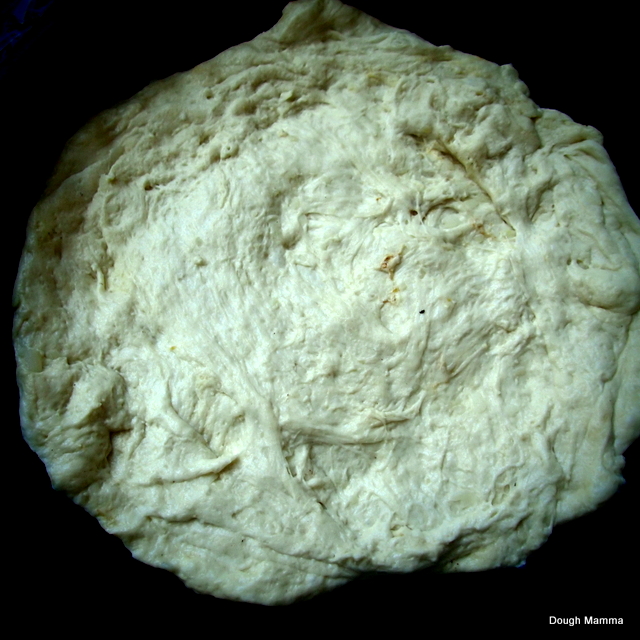
Set your oven to 425 degrees.
Reshape your dough to fit your pan nicely. It should be easier to work with after its second resting period. Stretch the dough about 1 1/2 inches up the sides of the deep dish pan. Add your pizza sauce, leaving a 1-1 1/2 inch perimeter for the crust. Add your mozzarella cheese, your goat cheese and onions.
Cook for about 12 minutes - as always, keep your eye on your pizza. During the last 3 minutes of baking time, add your bacon to the pizza so that it gets warm but doesn't get overcooked.
To freeze your dough, simply take your raw dough (after its two hour rest time), punch it down, cover it in lightly oiled plastic wrap, place it in a freezer safe Ziplock bag and freeze. When you are ready to use it, its best to place your frozen dough in the refrigerator overnight (12 hours), then allow it to rest on your counter for about 30 minutes prior to shaping.
Enjoy!