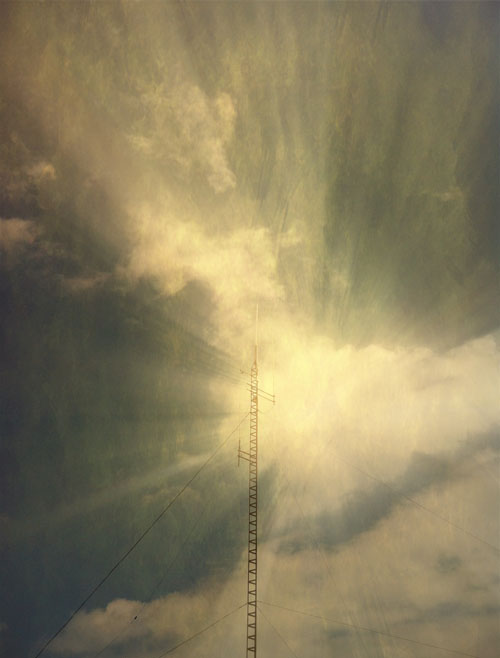
As far as magic moments go, few can compare to those fleeting moments when light streams from the heavens or wraps around objects, as if making visible some some divine presence. Kings and priests would pay dearly for the ability to place such signs at their command. You can have it for the simple price of an app.
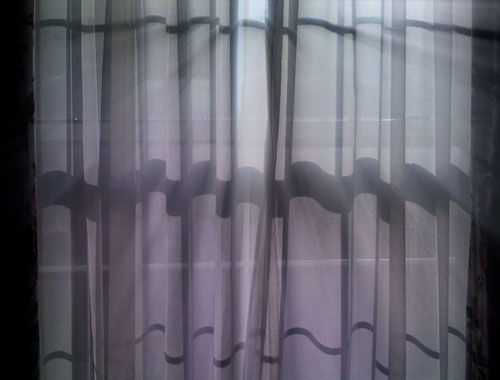
Rays identifies highlights within an image and uses them as sources to render rays of light from; consequently, Rays is not the app to use if you want to draw effects from dark image areas. The effects Rays renders are convincingly complex. It even takes into account surrounding dark areas and renders effects as if those areas were blocking the light. What you can do with Rays in minutes would take hours to render similar effects in Photoshop, unless you use the Rays Photoshop plug-in.
Positioning a large white point overlaid on your image controls both the angle and the intensity (based on distance to highlights) of the rays. The dynamic preview can be seductive. It's inevitable that you will find yourself becoming absorbed in moving the source and watching the fluidly changing effect. (A great addition to this app would be the ability to record video of the changing effect.) I recommend you allow yourself to play with this effect, as exploring the many options this effects offers you will help you choose the best final effect for an image.
Rays offers three submenus that let you control the effects it generates.
The Rays submenu let's you adjust the Length of the rays and Threshold lets you adjust how widespread the effect is or how many rays are rendered. (Be on the lookout for posterization close to the light source.)
Color allows you to choose the Brightness and Color of the effect. (Consider changing the default color white to another color to blend the effect more convincingly with some backgrounds or to give the impression of a colored light source.)
Opacity offers you a Rays slider to control the opacity of the effect (partially restoring the unaffected image can make the effect seem more convincing) and a Source slider to control the opacity of the final rendered image (partially revealing a black background can darken the image making the effect more pronounced or if pushed to a minimum leave only the effect on a black background, which can be useful for layering in other apps).
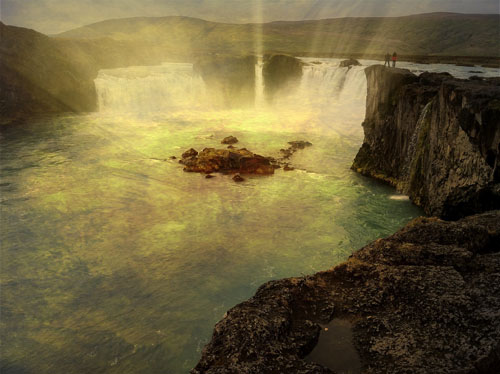
If you used Rays for nothing more than to add a subtle accent your skies, you'd find it can add a sophisticated and sometimes dramatic impact to a great many of your images. But, if you choose to explore them further, you'll find the possibilities are much greater than this.