I love food that you can eat with your hands, and pizza is my absolute favorite. Pizza is undeniably one of America's most popular foods, which is why there are so many different styles available in the United States.
New York-style pizza, for example, is known for being oversized with thin, hand-tossed crust and traditional Italian toppings, while Chicago is famous for deep-dish pies baked in a round steel pan. California-style pizza has a lighter, airier crust and is topped with unique flavor combinations using fresh seasonal ingredients. California-style pizza allows you to be creative with your topping selection, and you can make it as light and healthy or as hearty as you want.
Making pizza at home can be very fun, and it's a wonderful way to spend time in the kitchen with family and friends of all ages. When making your own pizza, it's important to start with a solid foundation, and for me that means great dough. A critical part of the process to achieve a great dough, is that it needs to be proofed properly (proofing is what happens when dough rises) -- for the right amount of time and at the right temperature. I suggest proofing your seven- to eight-ounce dough ball for 1.5 to two hours at a room temperature of 65 to 75 degrees.
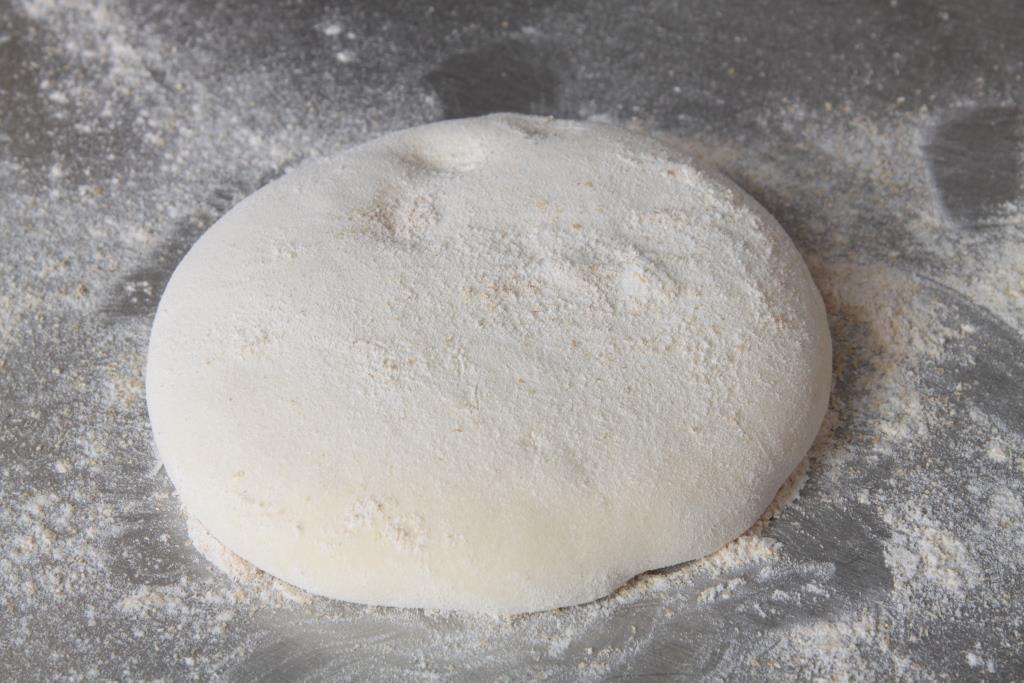
Hand stretching your dough is an important step in creating a great pizza. Put that rolling pin away! In preparation for hand stretching your dough, generously flour the dough ball, while also lightly flouring your countertop. This step will prevent the dough from sticking to your hands and the stretching surface.
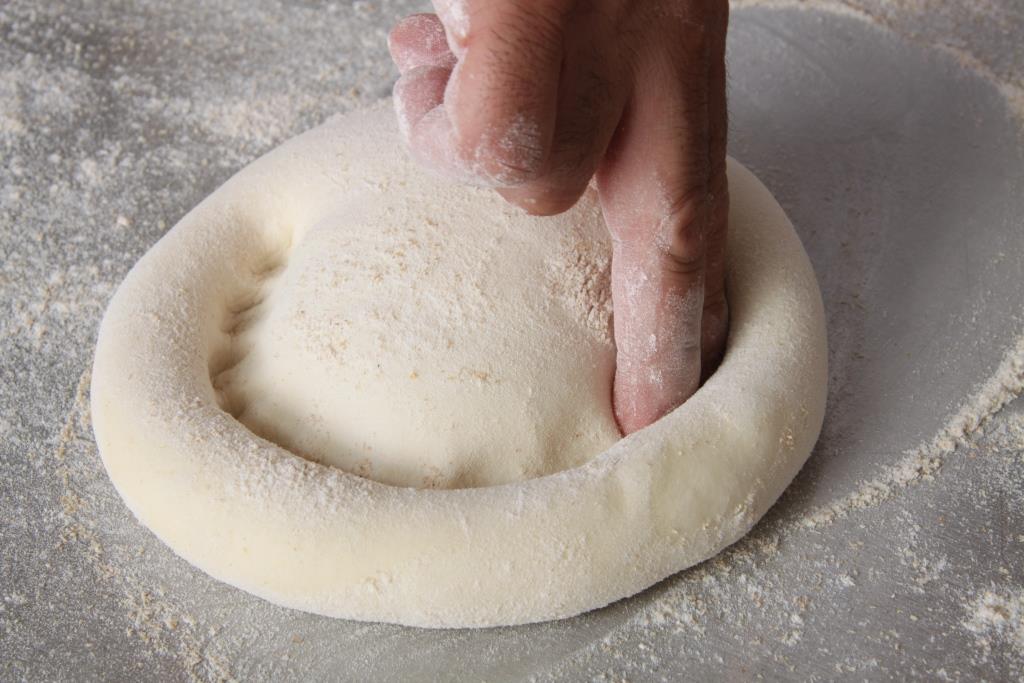
Using your index fingers, make a 1" rim in the dough.
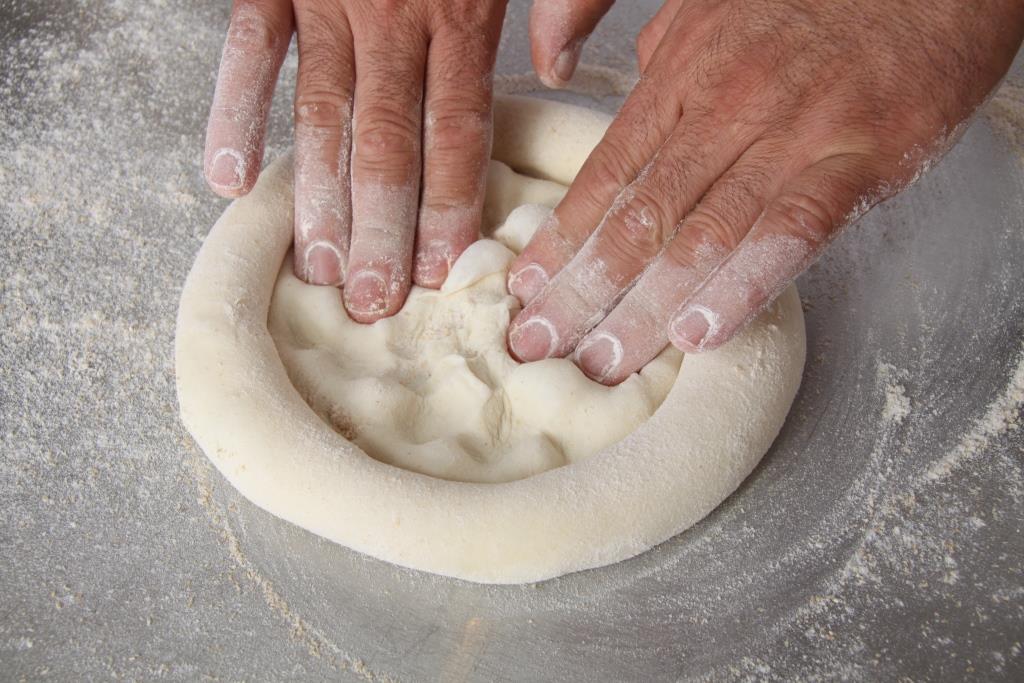
Once the rim is formed, use your fingertips to flatten the center leaving the 1" rim untouched. Be sure not to flatten the rim, this is how you will achieve a light airy crust.
Once the center is flattened, pick up the dough and make two fists placing your knuckles on the bottom of the dough under the rim. Carefully stretch the dough making sure the center maintains a uniform thickness.

Rotate the dough and repeat until the dough is approximately 11 inches in diameter. Keep in mind, it doesn't need to be perfectly round.

If you're feeling adventurous, toss the dough into the air a couple of times -- but be careful not to press the air out of the rim while doing so. To toss your dough, ball your fists and, using an upward rotating motion, toss the pizza and catch the dough back on your closed fists. Not only is this sure to impress your family and friends, but it will also help stretch the dough another 1/2 inch or so.
Once you have your dough at the desired size, carefully place it directly on your floured countertop and you'll be ready to top with your favorite ingredients! Tell me what your favorite toppings and flavor combinations are in the comments below.