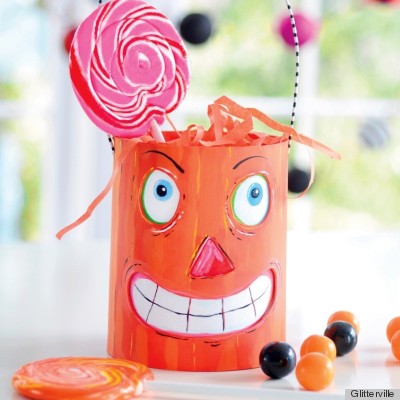
With Halloween almost here, it's time to start thinking about the necessities you or your little goblins will be needing on October 31st. The obvious list includes your costume and a Jack O' Lantern, but have you put any thought at all into your candy collection receptacle? Let's be honest, if you're eight years old, this holiday is all about candy management and how you're going to get home with all this candy you've gone door-to-door for. Well let me suggest making a painted folk art bucket! Why? Because it's a super crafty project that you will have a ton of fun doing and it will make any costume cuter, which equals more candy for you in the end. Now, I know you may be saying that it's not as big as you would like, but that's part of the gimmick, don't look greedy. Instead, keep a kitchen size garbage bag in the car in which to keep dumping your moderately sized treat pail in, assuring you a very sweet November 1st.

Materials
5-inch-diameter wooden or papier-mâché craft bucket
Acrylic paints
Card stock
White glue
Glitter
18-inch piece of 18-gauge floral stem wire
Floral tape
Tools
Pencil
Craft knife
Rotary tool (optional)
Drill with 3/32-inch bit (optional)
Paintbrushes
Scissors
Click through the slideshow to see the steps! All photos and text by Glitterville.
