

Photo Credit: Heather Hummel Photography
One of the leaps from amateur to pro photographer is investing in gear beyond the lens and camera body. From tripods to lens hoods to external flashes to filters, accessories are a photographer's best friend.
There are three filters that every pro photographer carries in their bag, no matter what the photoshoot might be...UV, Polarizer, and Neutral Density Filters.
Each of these basic, yet necessary, filters enhances a photo in its own way and depending on the scene being shot.
UV Filters 
The simplest filter of the three is the UV filter. Likely the most purchased filter for its role of protecting lenses.
What's its purpose?
Photography is all about light, and the visible light spectrum runs from red to violet. Red light has the longest wavelength and violet light has the shortest. Light with a longer wavelength than red is called infrared, and light with a shorter wavelength than violet is called ultra violet or UV. That's the basic lesson.
So, how does it translate to the camera?
Truthfully, today's DSLR sensors really aren't impacted by UV rays. The reason for using a UV filter is more of a protection for the lens against scratches. Out in the field, scratches are likely to happen, especially when many photographers forgo a lens cap during a photo shoot, relying on the protection of the UV filter.
Protecting the lens with a much less expensive UV filter is worth the investment, even if the filter isn't really needed for its initial use. Make sure you order the right size for your lens...and buying an extra for each lens doesn't hurt either.
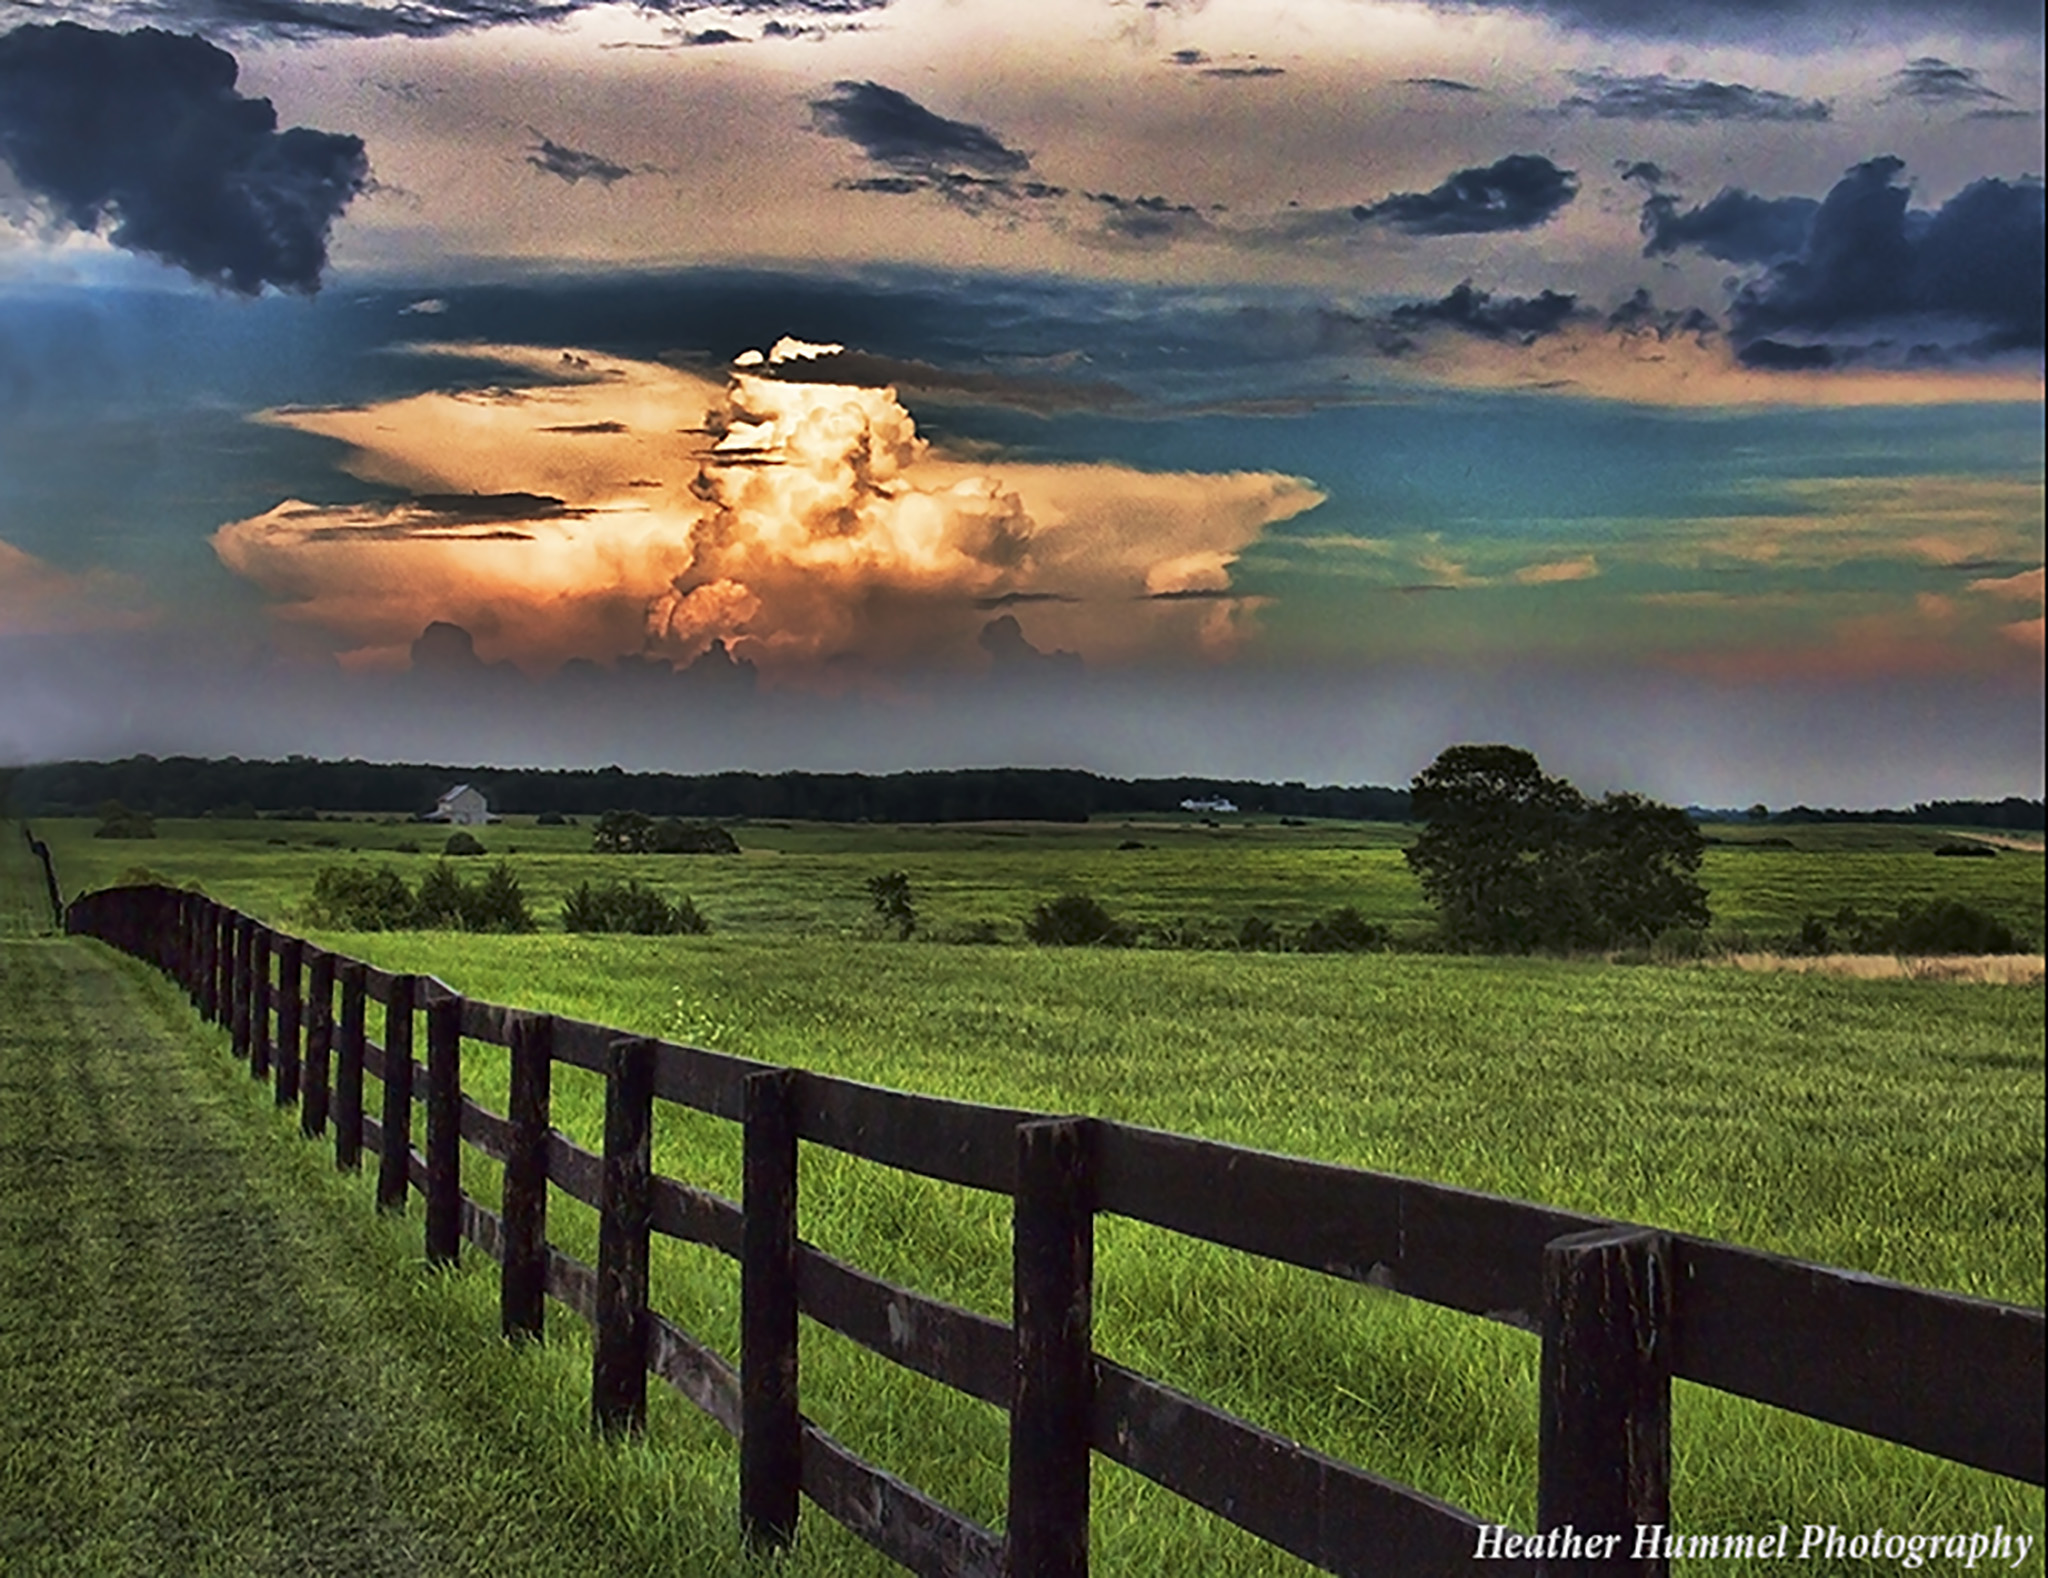
Photo Credit: Heather Hummel Photography
Polarizer Filters
No landscape photographer I know leaves home without their polarizer filters. I say "filters" (plural) because I know they have one for each lens they'll be using.
This filter is critical for two reasons. One, it enhances the blues in the sky, and when clouds are present, they add a dramatic contrast. The other benefit is that they cut reflection and glare, such as when photographing reflective surfaces such as water or glass.
The best polarizing filter results are images shot when the sun is at a 45-degree angle from the subject...or think of it like this--when the sun is over your left or right shoulder. If the sun is directly casting down, even with rays, this filter won't do much good.
Polarizers are most effective when used with dramatic skies or when reducing or enhancing reflection in bodies of water.
When purchasing a polarizer filter, note that a "circular" polarizer will allow you to turn the filter until the desired lighting effect is achieved.
Lastly, some photographers stack a polarizer filter on top of their UV filter. This isn't recommended because the odds of vignetting, especially with wide angle lenses, are increased, so it is better to switch the polarizer for the UV filter.
Graduated ND Filter
The graduated neutral density filter is ideal for outdoor photo shoots. Graduated neutral density filters are clear on the bottom and slightly opaque on the top. They have either an abrupt or a gradual shift in the middle of the filter and their purpose is to shade the brightest part of a scene. This creates two results. One is that by shading the brightest part of a scene, for example a sunset, it evens out the foreground, cutting down on over or under exposing parts of the photo.
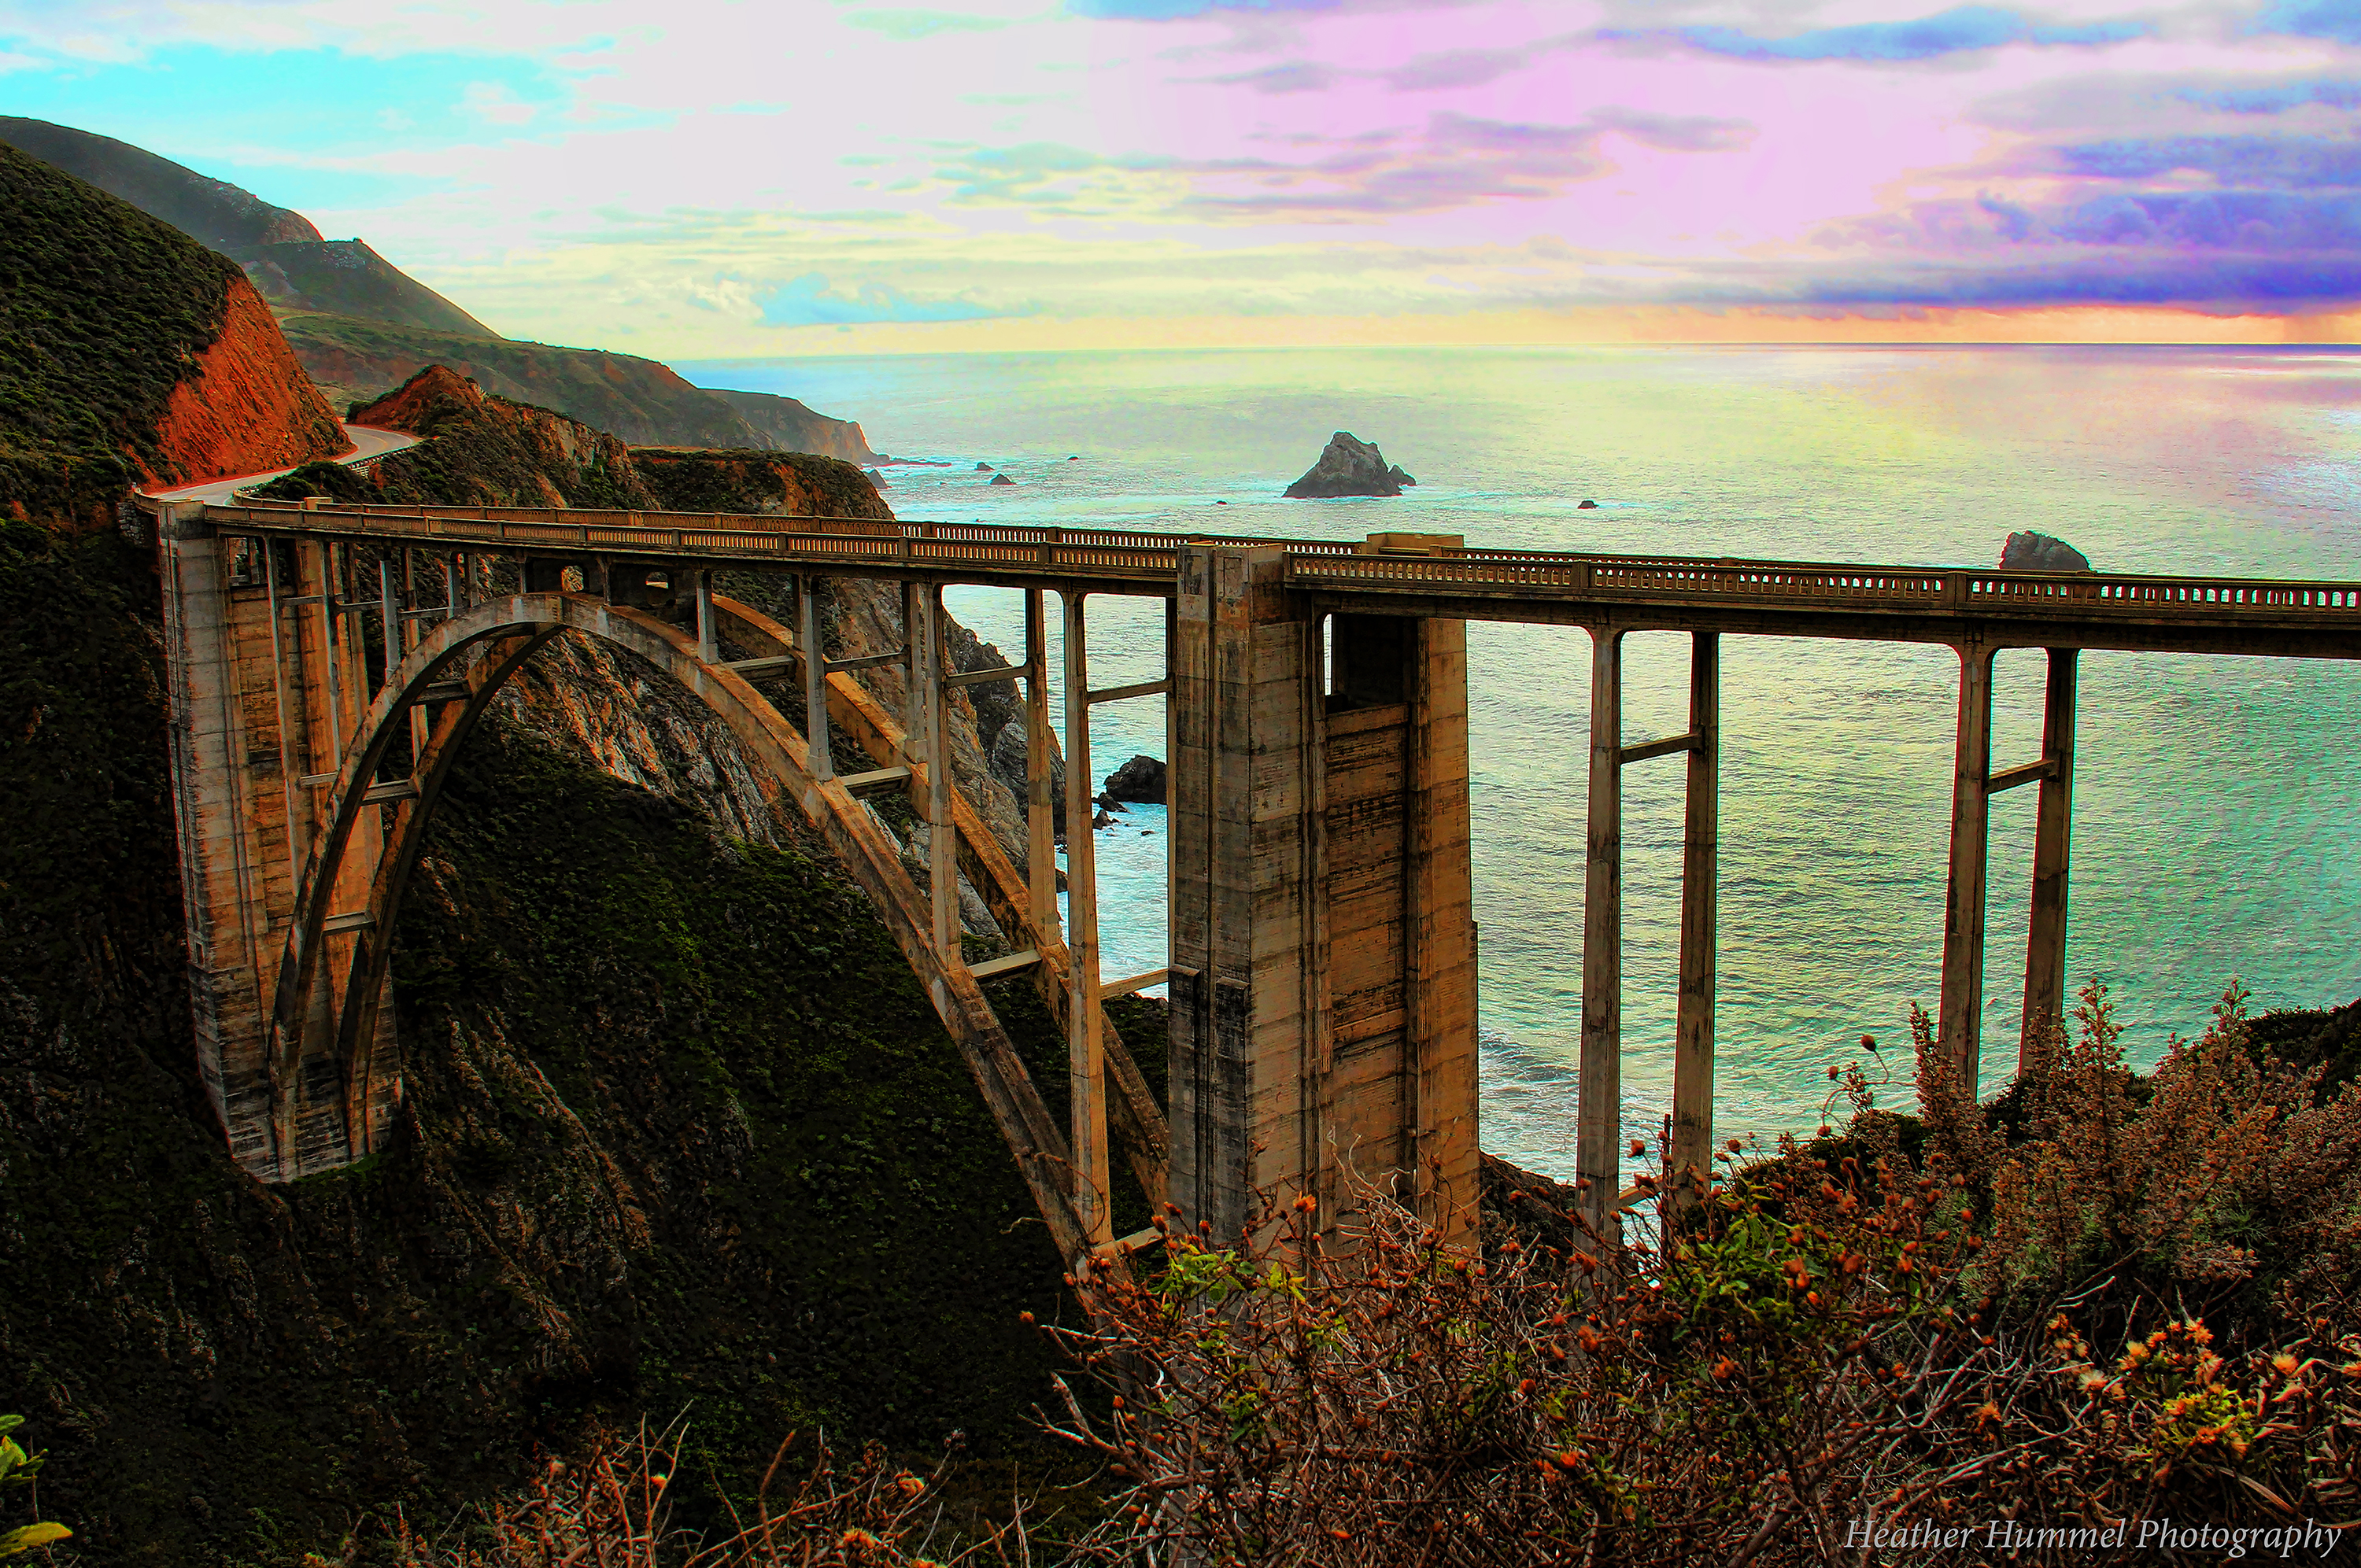
Photo Credit: Heather Hummel Photography
The most critical thing to realize when using this filter is that they work best with a scene where there is a fairly linear line, such as a horizon or cityscape. Otherwise, even with the graduated part of the filter, a shadowing line can be evident.
Another purpose for this filter is to simply shade the image to slow the shutter speed. This comes in handy when photographing water, which helps to create a beautiful dreamlike effect as the water flows and is captured at a slower shutter speed. It creates the image without overexposure and it lets the water blur into the desired milky effect.
If you're an amateur looking to add filters to your accessory bags, start with these and take the time to use each one for their intended purpose. You'll start to see a vast improvement in the quality of your images.
This post originally appeared on My Photographer Friends Blog