Spot relies on great imagery to deliver a compelling place-discovery experience. Here, our content and community lead, Kelly Lack, shares the one simple tip that has helped top Instagrammers build beautiful portfolios (and huge followings).
Off the bat you should know that this is not an article about how to game followers. I possess no secret intel there. The main reason I have the numbers I do is because my personal account has twice been featured on Instagram's suggested-user list. That, plus a couple articles about it and regrams by brands including Design*Sponge, Steven Alan, and Coastal Living mag, have accelerated my follower count. BUT...none of this would've happened had I not been posting halfway decent photos. And that's what this article is about.
5 quick facts you should know:
1. I wasn't an early Instagram adopter. I put up my first shot (more on it below) 136 weeks ago, which translates to mid-2013ish.
2. I have no inside contact at Instagram, nor do I have insight into their selection process. I wish I did, then maybe
would have more followers.
3. I am no "photographer," and have received no proper training outside the one film-photography class I took years ago in college.
4. I've shot 99% of the photos on both my account and Spot's account with my iPhone, NOT a camera.
5. I work pretty much nonstop during the week, so I take most of my shots on weekends, making what I can out of limited shooting time.
So what's the big secret?
While there are overarching tips I could share--shoot during the day, pay attention to your background, avoid overly cluttered compositions--my #1 secret (or crutch as true photographers might call it) is mastering photo-editing tools. And I don't mean heavy-handed photo filters (I'm looking at you, Valencia).
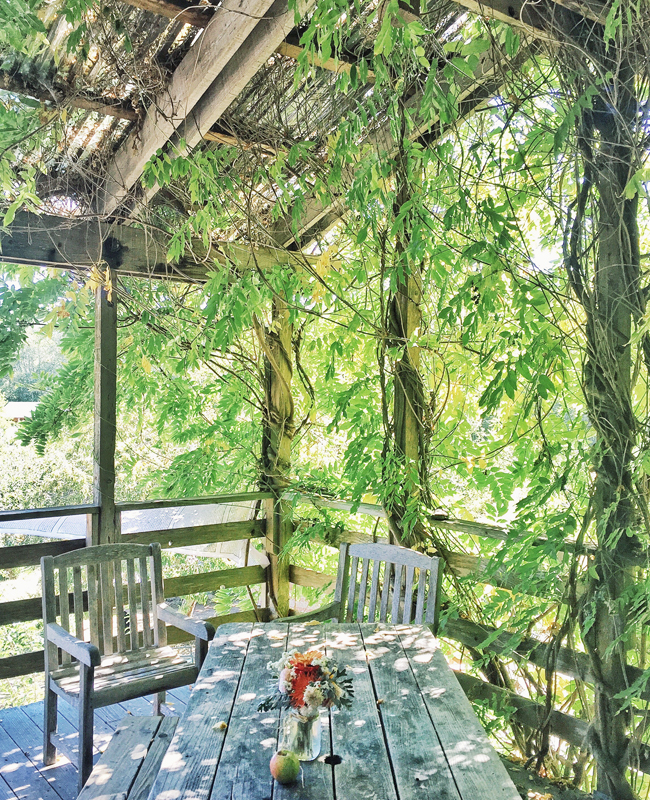
You want your shots to look like this:
A well-lit, visually balanced snap of Oz Farm, on the Mendocino Coast.
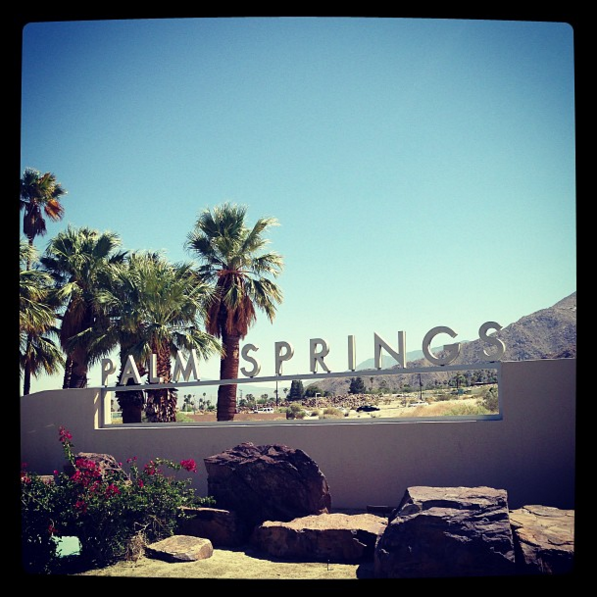
Not like this:
Say hello to my first-ever Instagram photo, posted exactly 132 weeks ago. Note the border and hardcore filter. I've learned a trick or two since then.
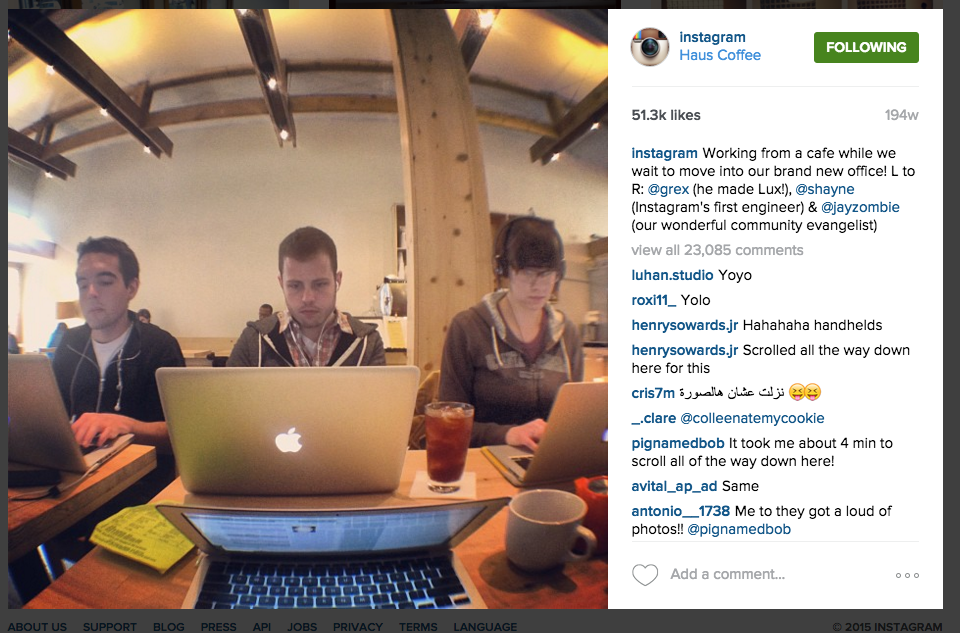
Nor this:
Instagram's very own first photo. At least the first photo currently available on their account.
What I do mean is downloading and learning some of the more sophisticated photo-editing apps. Personally, I use Snapseed and VSCO. But there are others: For example, my good pal Rosie D'Argenzio, who heads up social for One Kings Lane, uses Afterlight. I'm going to talk general photo-editing tips here, not review apps, because the photo-manipulation levers they offer are relatively similar.
Now for the good stuff. My BEFORES and AFTERS:
Oh, you know, just hanging with some cattails on Muir Beach, as we do.
Before:
Dull, dreary, and lifeless.
After:
Colors are more saturated and textures are visible.
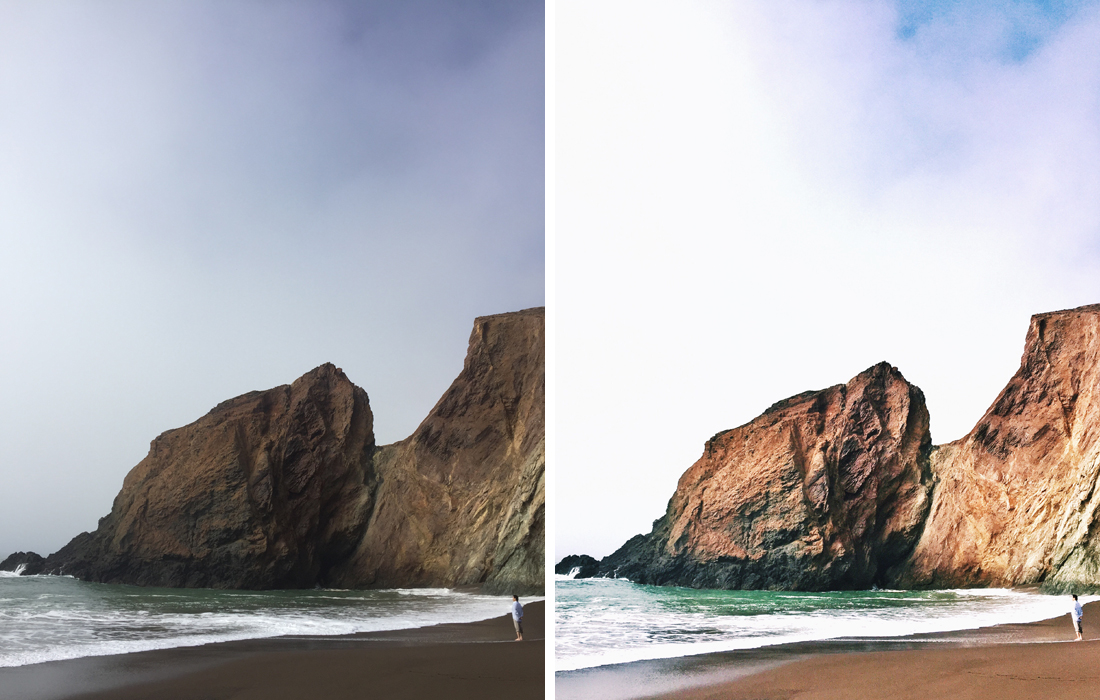
While Tennessee Beach is very cool in real life, its color variation doesn't translate to the small screen.
Before:
Though the shot obviously has good bones--those copper cliffs are pretty stunning--it winds up being dark and difficult to visually "read."
After:
The multi-tones of the cliff-face come to life and make the picture.
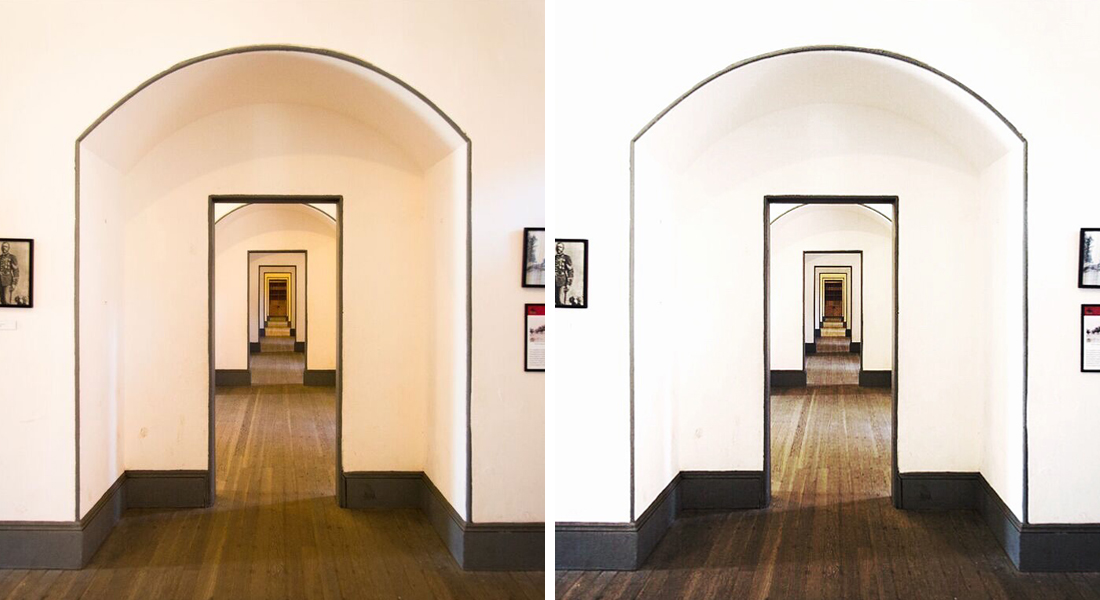
You can score a pretty rad hallway perspective in San Francisco's Fort Point.
Before:
The yellow-y tones of interior lighting are like the visual equivalent of nails on a chalkboard to me. I cringe. They make rooms appear blah at best, dirty at worst.
After:
If you up the contrast and cool down the light spectrum, the photo ends up being much crisper and cleaner.
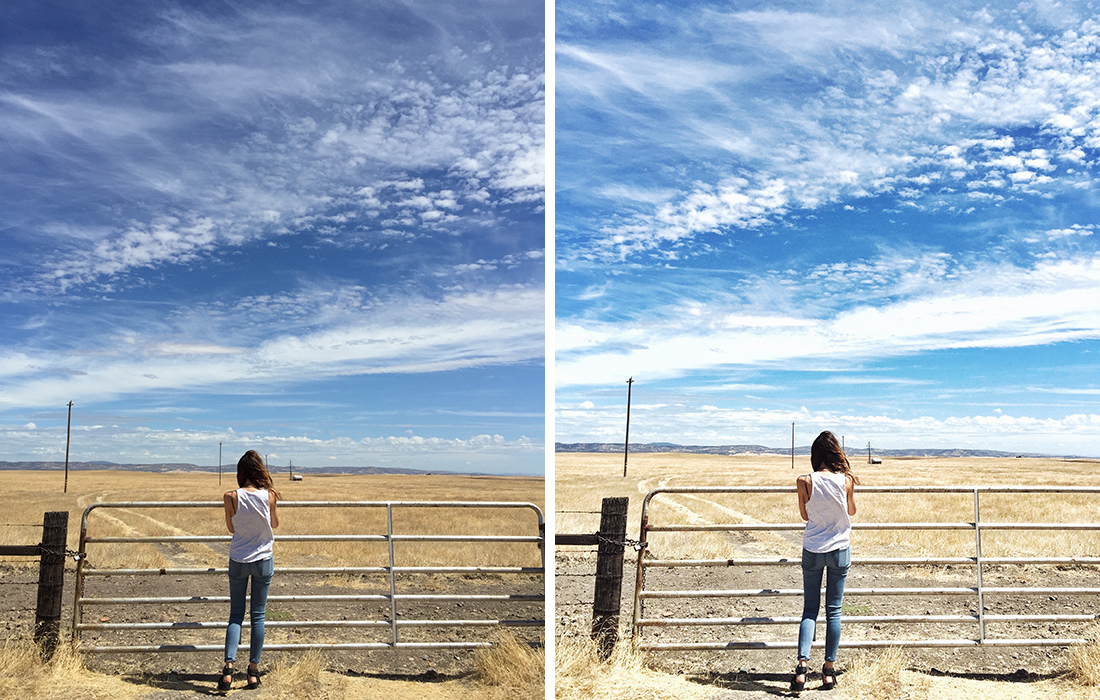
While I tend to avoid posting photos of myself, here's a pic of yours truly (snapped by my hubs) out in the field taking a shot of a field.
Before:
The blues in the sky are fine and the field is pretty enough, but we can do better.
After:
Now, the sky pops and the hayfield appears to glow.
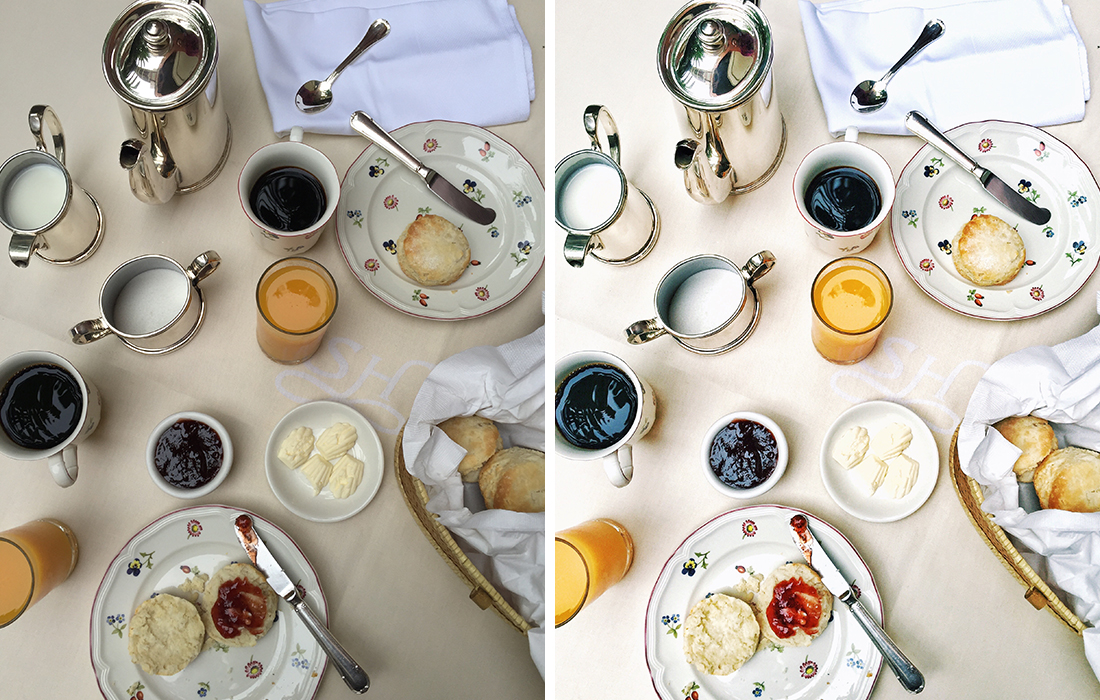
The famous chicory coffee and biscuits at New Orleans' Soniat House hotel are practically worth the trip alone.
Before:
The tablescape looks washed out, shadow-y, and less than inviting.
After:
Exaggerating the contrasts and brightening the photo makes the silverware glisten and the food take on a wish-I-was-at-that-table glow. (Pro tip: Overhead food shots are tried-and-true Instagram gold, but you'll notice that I personally don't post very many because I'm rarely in restaurants during daylight and night shots are nearly impossible to nail.)
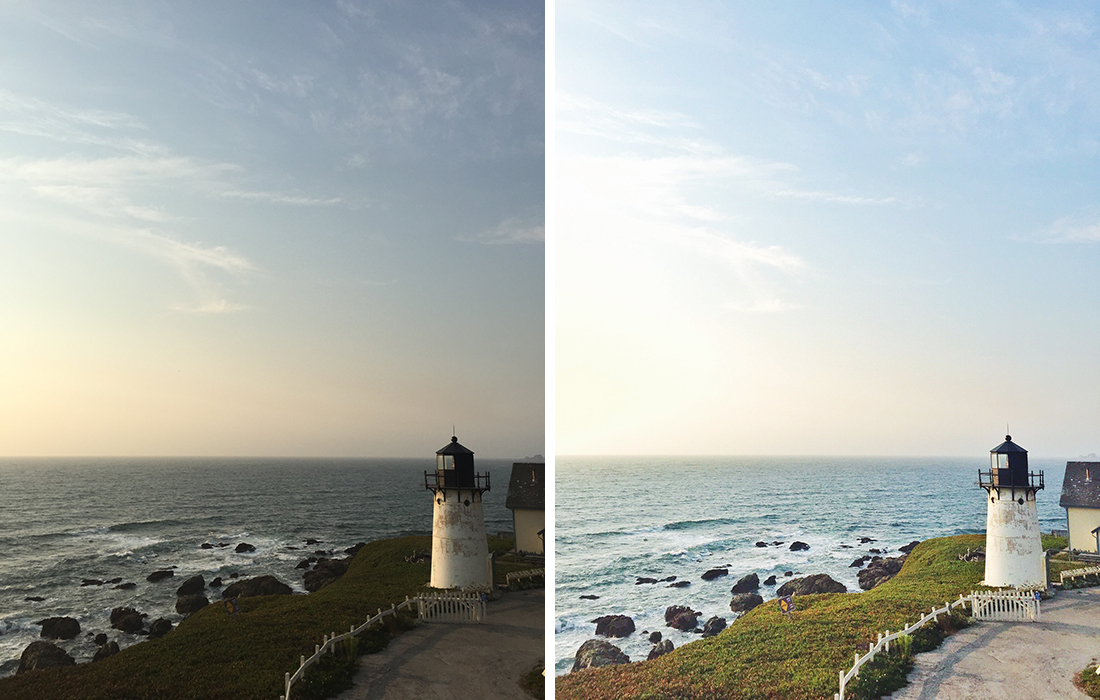
Ah, the infamous sunset shot, snapped here at the Point Montara Lighthouse.
Before:
Dusk is a tricky little minx. Despite there being some nice light in this shot, the majority of it falls in shadow.
After:
Raising the brightness and saturation while exaggerating the contrast brings out the turquoise of the water and the green of the grass.
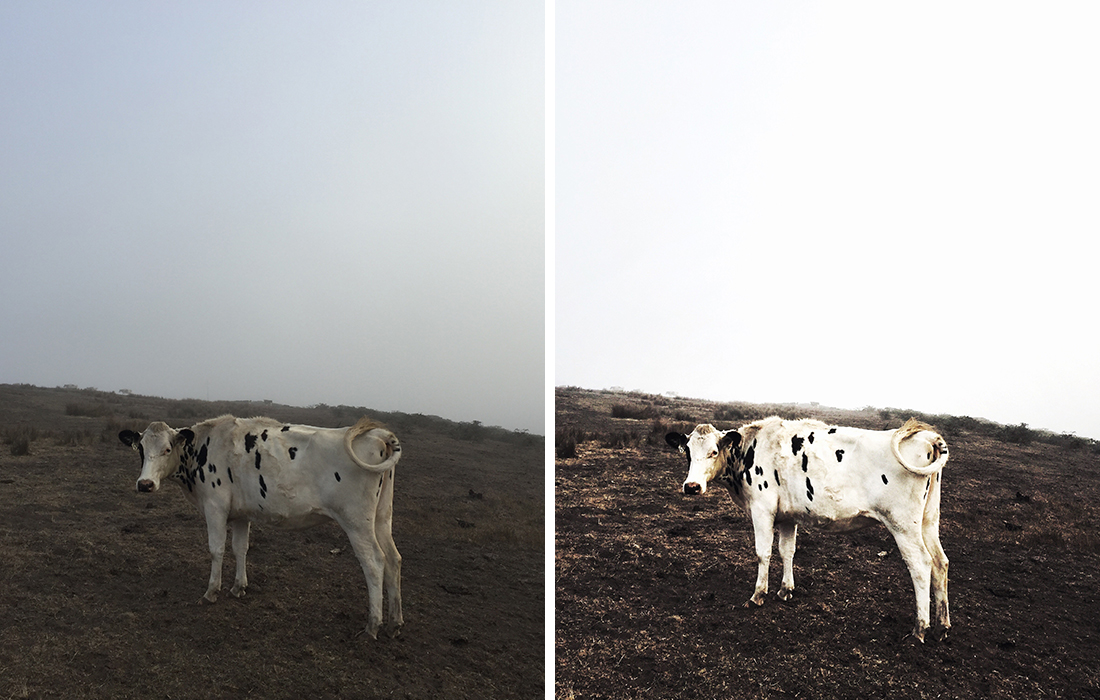
Sometimes a nearly black-and-white shot can be visually stunning, but if not done right, it puts off the hue of an old newsprint, like the sad cow on the left.
Before:
With too little differentiation between the black and white, the cow on a foggy hillside practically appears greyscale.
After:
The contrast is revved up (although it is still a color shot), making the photo take on a vividness that was absent before.
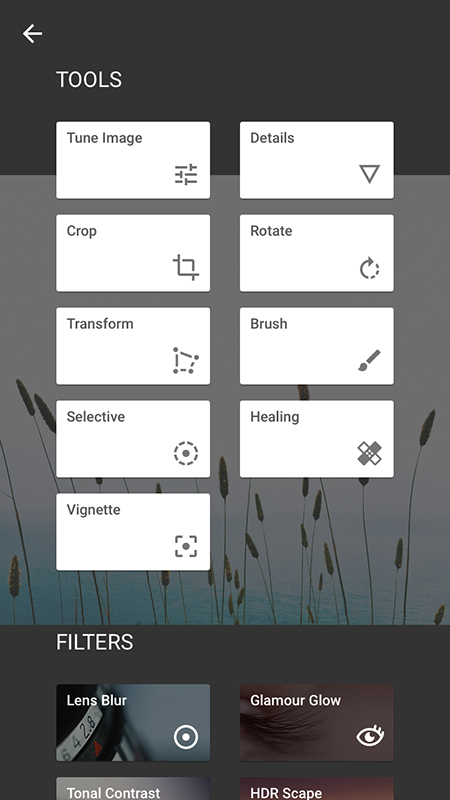
But what am I actually doing??
Above you have a look at Snapseed's main editing tool. As mentioned, I primarily use Snapseed and VSCO, and while I have no go-to, one-size-fits-all editing sequence, there are a few steps I do almost always (found within "Tune Image" and "Details" in Snapseed):
- Up the brightness.
- Up the contrast.
- Up the ambiance.
- Lower the shadows.
- Up the highlights.
- Lower the warmth (a tad).
- Up the structure.
- Up the sharpening.
Lastly, I occasionally overlay a VSCO filter (above) scaled way down for a final bit of intensity. Depending on the image, C1 Vibrant, F2 Mellow, and G3 Portraits are my favorite VSCO filters.
And there you have it, folks.
A caveat:
What works for me might not for you. I've absolutely developed a style that tends towards brighter images living within a color palette of blues, pinks, greens, and browns. That said, these tools will improve, say, moodier shots streaked with shadow just as well.
And, finally, a conclusion:
Even if your end goal is not to amass hordes of Instagram followers (it was an unsolicited surprise when it started happening to me), it's nice to be able to create content that is, simply, more elegant. Doesn't matter if you're posting pictures on your blog (truth, I edit a lot of the photos for Spot's blog on my phone), to Pinterest (um, same goes for our Pinterest images), or to Spot (soon you'll be able to upload shots of your favorite places). Learning some simple tricks that successful Instagram users prefer to keep close to the vest can help accelerate your ability to make your work more beautiful.
Discover more at Spot.com and follow our adventures:
Instagram
Our 2024 Coverage Needs You
As Americans head to the polls in 2024, the very future of our country is at stake. At HuffPost, we believe that a free press is critical to creating well-informed voters. That's why our journalism is free for everyone, even though other newsrooms retreat behind expensive paywalls.
Our journalists will continue to cover the twists and turns during this historic presidential election. With your help, we'll bring you hard-hitting investigations, well-researched analysis and timely takes you can't find elsewhere. Reporting in this current political climate is a responsibility we do not take lightly, and we thank you for your support.
Contribute as little as $2 to keep our news free for all.
Can't afford to donate? Support HuffPost by creating a free account and log in while you read.
Already contributed? Log in to hide these messages.